Introduction
Tile projects fail in the gaps between steps — the substrate that never got checked for flatness, the membrane that never got flood-tested, the grout bought in the wrong type for the joint width. A checklist closes those gaps by turning the project into a sequence where each step is verified before the next begins.
Work through this checklist in order, and run your quantities through the Tile Calculator at the planning stage — accurate numbers early prevent every downstream shortage.
Phase 1: Planning and Measurement
- ☐ Sketch the room with all dimensions, fixtures, and openings marked.
- ☐ Measure net tiled area (gross minus fixture cutouts, plus alcoves) — see the estimating guide.
- ☐ For showers: measure each wall, the pan, niches, and benches separately.
- ☐ Choose tile size and layout (straight, diagonal, herringbone) — layout sets the waste %.
- ☐ Run dimensions through the Tile Calculator; verify with a hand calculation per the formula guide.
- ☐ Set the waste allowance: 10% simple straight, 12–15% cutouts/niches, 15–20% diagonal/patterned.
- ☐ Round up to whole boxes; confirm the box count covers spares for future repairs.
- ☐ Check permit requirements with the local building authority (showers, plumbing, electrical, heated floors) — see the code compliance guide.
Phase 2: Substrate Assessment
- ☐ Check flatness with a long straightedge: no more than 1/4 in deviation over 10 ft (6 mm over 3 m).
- ☐ Check deflection: floor should feel solid; bouncy floors need structural assessment before tile (L/360 ceramic, L/720 stone).
- ☐ Verify the subfloor is sound — no rot, no delamination, no deteriorating existing flooring.
- ☐ Confirm finished floor height won’t bind doors or create trip hazards at transitions.
- ☐ For wet areas: confirm the waterproofing plan (membrane type, coverage, drain integration).
- ☐ Decide DIY vs pro for each surface — see the DIY vs pro guide. High-stakes wet areas deserve professional installation.
Phase 3: Shopping List
- ☐ Tile — full quantity in one order, one dye lot; check lot codes on every box at pickup.
- ☐ Thinset mortar — type matched to tile (polymer-modified for porcelain/large format); quantity by trowel notch coverage (50 lb / 22.7 kg bag ≈ 60–100 ft² / 5.6–9.3 m²).
- ☐ Grout — sanded for joints ≥1/8 in (3 mm), unsanded for narrower; color chosen before purchase.
- ☐ Backer board or uncoupling membrane — area ÷ 15 ft² per 3×5 ft sheet, rounded up; plus alkali-resistant seam tape.
- ☐ Waterproofing membrane (wet areas) — coverage per manufacturer; don’t skip this line.
- ☐ Spacers (joint width), leveling clips (for 18 × 18 in / 45 × 45 cm and larger tile).
- ☐ Silicone caulk color-matched to grout (for changes of plane).
- ☐ Edge profiles for exposed tile edges, transition strips for floor changes.
- ☐ Sealer (natural stone tile; cement grout in wet areas).
- ☐ Tools: notched trowels (notch per mortar spec), wet saw (rent or buy), mixing paddle, buckets, sponges, grout float, knee pads, chalk line.
Price the full list with the cost guide before checkout — and keep the spare half-boxes afterward, labeled with SKU and dye lot. Material selection detail is in the material guide.
Phase 4: Preparation
- ☐ Demo old flooring; dispose of debris.
- ☐ Repair subfloor: grind high spots, fill low spots with leveling compound, replace damaged sections.
- ☐ Install backer board or membrane per manufacturer instructions; tape seams.
- ☐ Install waterproofing membrane in wet areas; flood-test shower pans before tiling (24-hour water hold where required).
- ☐ Dry-lay the tile layout with spacers along both axes; adjust to avoid sliver cuts at visible edges.
- ☐ Snap center chalk lines; plan to work outward in quadrants.
- ☐ Stage tiles from 3–4 open boxes to blend shade variation as you work.
Phase 5: Setting Tile
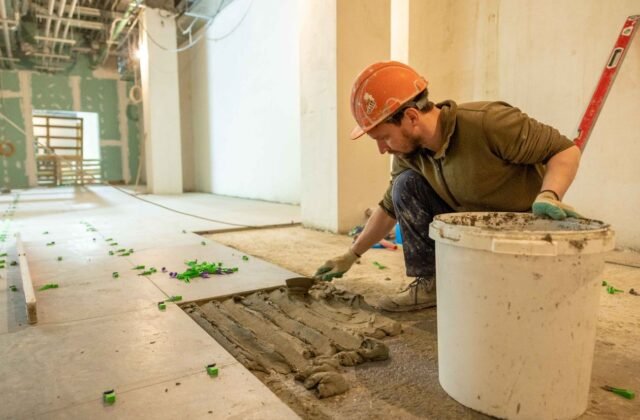
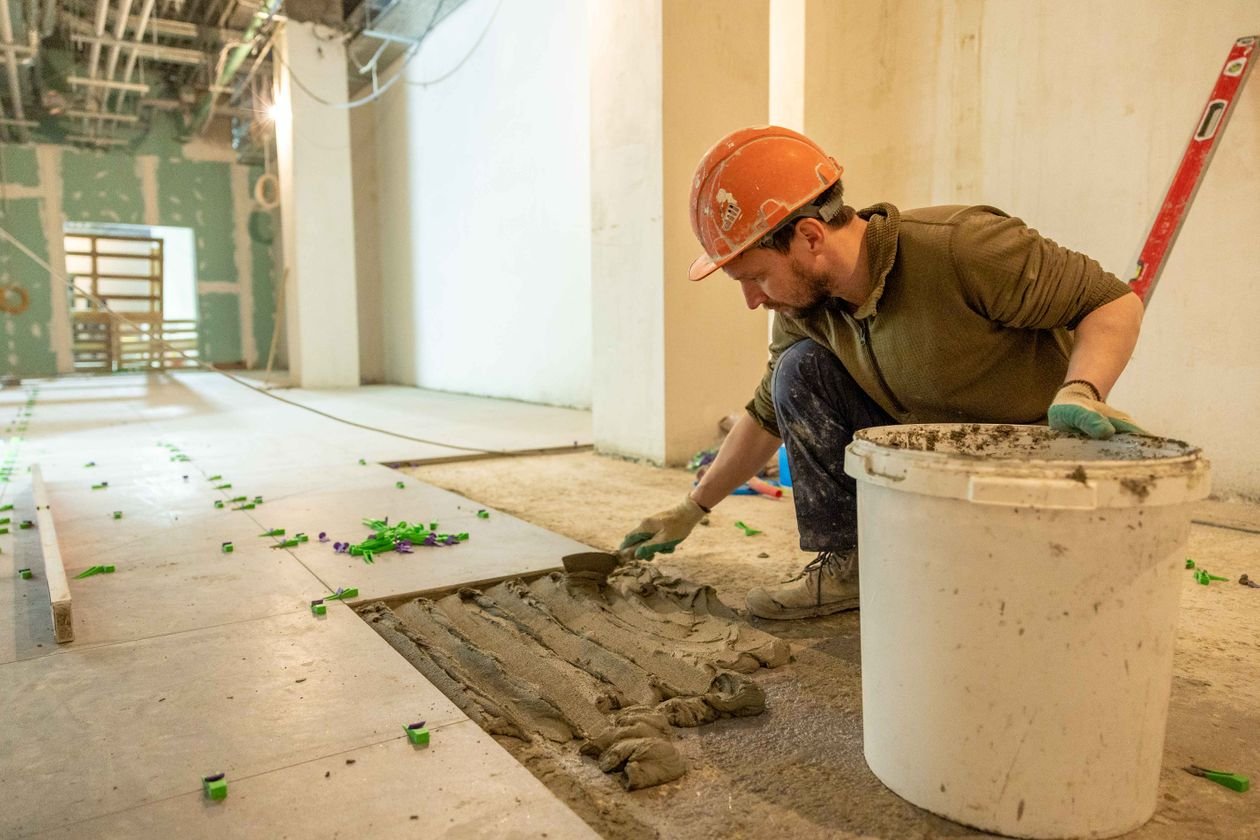
- ☐ Mix thinset per bag instructions — small batches, correct water ratio, proper slake time.
- ☐ Spread mortar in sections tileable within 15–20 minutes (shorter in heat).
- ☐ Back-butter tiles 18 × 18 in (45 × 45 cm) and larger.
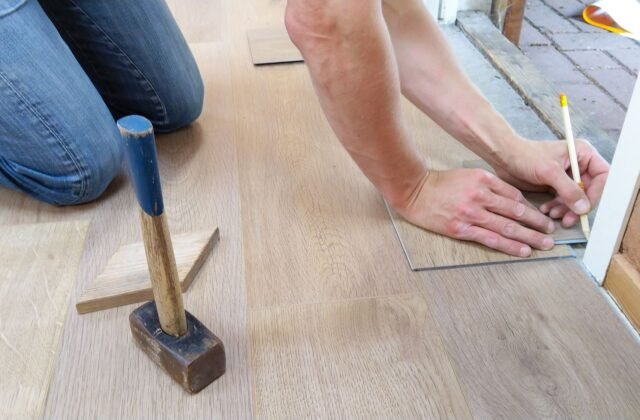
- ☐ Set tiles with firm, even pressure; use leveling clips on large format.
- ☐ Check alignment and lippage frequently — every few tiles, not every few rows.
- ☐ Clean thinset off tile faces before it cures.
- ☐ STOP: let mortar cure — typically 24 hours for floors (longer for large format) before grouting.
Phase 6: Grouting and Finishing
- ☐ Verify mortar is fully cured before grouting (see the pro tips guide for why rushing fails).
- ☐ Mix grout per instructions; work in small sections.
- ☐ Tool joints consistently; sponge off haze within the manufacturer’s window (usually 15–30 min).
- ☐ Caulk (don’t grout) every change of plane: corners, tub-to-tile, floor-to-wall.
- ☐ Seal natural stone and cement grout in wet areas after grout cures.
- ☐ Install edge profiles, transition strips, and fixture trim.
- ☐ Final clean; keep traffic off per grout manufacturer cure time (typically 24–72 hours).
- ☐ Store spare tiles flat, indoors, labeled — your future-repair insurance.
Phase 7: Verification
- ☐ Tap-test suspicious tiles for hollow sounds (unbonded tiles need re-setting).
- ☐ Inspect grout lines for voids, pinholes, and consistent color.
- ☐ Verify caulk at all changes of plane is continuous with no gaps.
- ☐ Confirm doors clear the new floor height and transitions sit flush.
- ☐ For permitted work: schedule final inspection.
- ☐ File away: tile SKU + dye lot, grout color code, membrane product, installer contact (if hired).
Related Guides
- Tile Calculator Complete Guide — the estimating behind the checklist.
- Pro Tips — technique detail for each phase.
- Common Mistakes — what this checklist prevents.
- How to Estimate — Phase 1 measuring in depth.
- Code Compliance — permits, waterproofing, and inspections.
- Case Study — a hypothetical project worked end to end.
Frequently Asked Questions
Can I skip the flood test on a shower pan?
Not if you want any confidence in the waterproofing — and some jurisdictions require it as an inspection step. Fill the pan, mark the waterline, wait 24 hours. A drop means a leak to fix before tile, when fixing is cheap.
How long does a typical bathroom re-tile take?
A professional crew typically needs 3–5 working days for a standard bathroom floor plus tub surround (including cure waits). A first-time DIYer should plan 1–2 weeks of evenings and weekends for the same scope. The DIY vs pro guide has the phase-by-phase timeline.
What should I keep after the project finishes?
Spare tiles (labeled with SKU and dye lot), the grout color code, leftover caulk, and the membrane/mortar product names. Future repairs need exactly this information, and tile lines get discontinued without warning.
Work the List in Order
Print this page, check boxes as you go, and don’t start a phase until the previous one’s verifications pass — especially the cure waits and the flood test. Good sequencing is what separates smooth projects from stressful ones. Start at the beginning: measure carefully, run the Tile Calculator, and order everything in one lot.
Disclaimer: This checklist is a planning aid, not a substitute for professional guidance. Follow all product manufacturers’ instructions for mortar, grout, membranes, and sealers. Calculator results are planning estimates — verify quantities with your supplier and consult a qualified professional for structural, waterproofing, or code-related decisions.