Introduction
Drywall looks simple — sheets, mud, tape — but the trade has a deep bench of techniques that separate a clean, on-budget job from one that drags on and shows every seam. These are the practical tips working hangers and finishers use: sheet layout that minimizes joints, mud discipline that cuts sanding time, and ordering habits that keep costs inside the ranges in our cost guide.
Use the Drywall Cost Calculator to price your project first, then use the tips below to make sure the number you calculated is the number you actually spend.
Measure Once, Order Smart
- Measure every wall, not just the room. Alcoves, closet returns, and soffits are where sheet counts go wrong. Sketch each wall as a rectangle with its own length and height, then add them up — the method detailed in the estimating guide.
- Order 4×12 sheets for long walls. A 4×12 ft (1.22×3.66 m) sheet covers 48 sq ft (4.46 m²) and eliminates a butt joint every 8 feet. Fewer joints = less taping, less mud, less sanding. They cost more per sheet and need two people (or a lift) to handle, but on walls 12 ft or longer they pay for themselves in finishing time.
- Keep a 10% waste buffer on sheets. Offcuts shorter than ~2 ft (0.6 m) are rarely reusable. Five to ten percent on simple rooms, 10–15% on cut-up remodels.
- Buy mud last, not first. Estimate compound from your sheet count (roughly 1 gallon / 3.8 L per 100 sq ft / 9.3 m² of surface per finish level above Level 1), then buy one extra bucket. An unopened bucket returns; a half-finished wall doesn’t wait.
Hang Like a Pro
- Hang sheets horizontally on walls. Horizontal application puts the tapered long edge at a comfortable working height for taping, reduces the number of butt joints, and lands the 4-ft seams at 48 in — mid-wall, where they’re easiest to finish. (Ceilings go perpendicular to joists regardless.)
- Stagger butt joints between rows. Butt joints (non-tapered ends) are the hardest to hide. Never align them vertically across rows; offset them by at least one stud bay.
- Keep fasteners on the taper. Drive screws just below the paper surface without breaking it — a screw dimple 1/32 in (0.8 mm) deep fills with one coat; a torn paper face needs three.
- Mark studs on the floor and ceiling. Snap or pencil the stud layout on the subfloor and ceiling before hanging so every screw lands in framing. Missed fasteners mean popped screws and callbacks.
- Leave a 1/2-in (13-mm) gap at the floor. Drywall that wicks moisture from a slab or subfloor buckles. The gap hides behind baseboard anyway.
Finish Faster, Sand Less
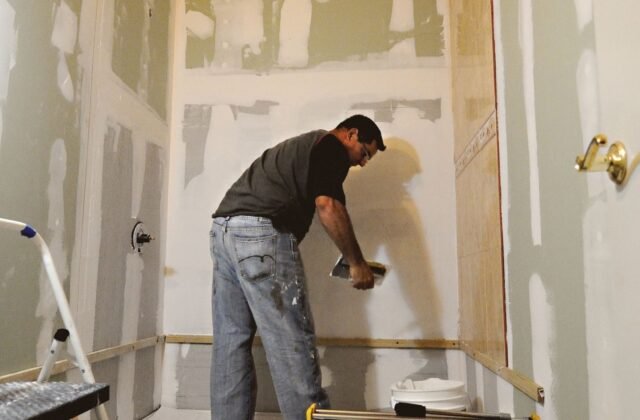
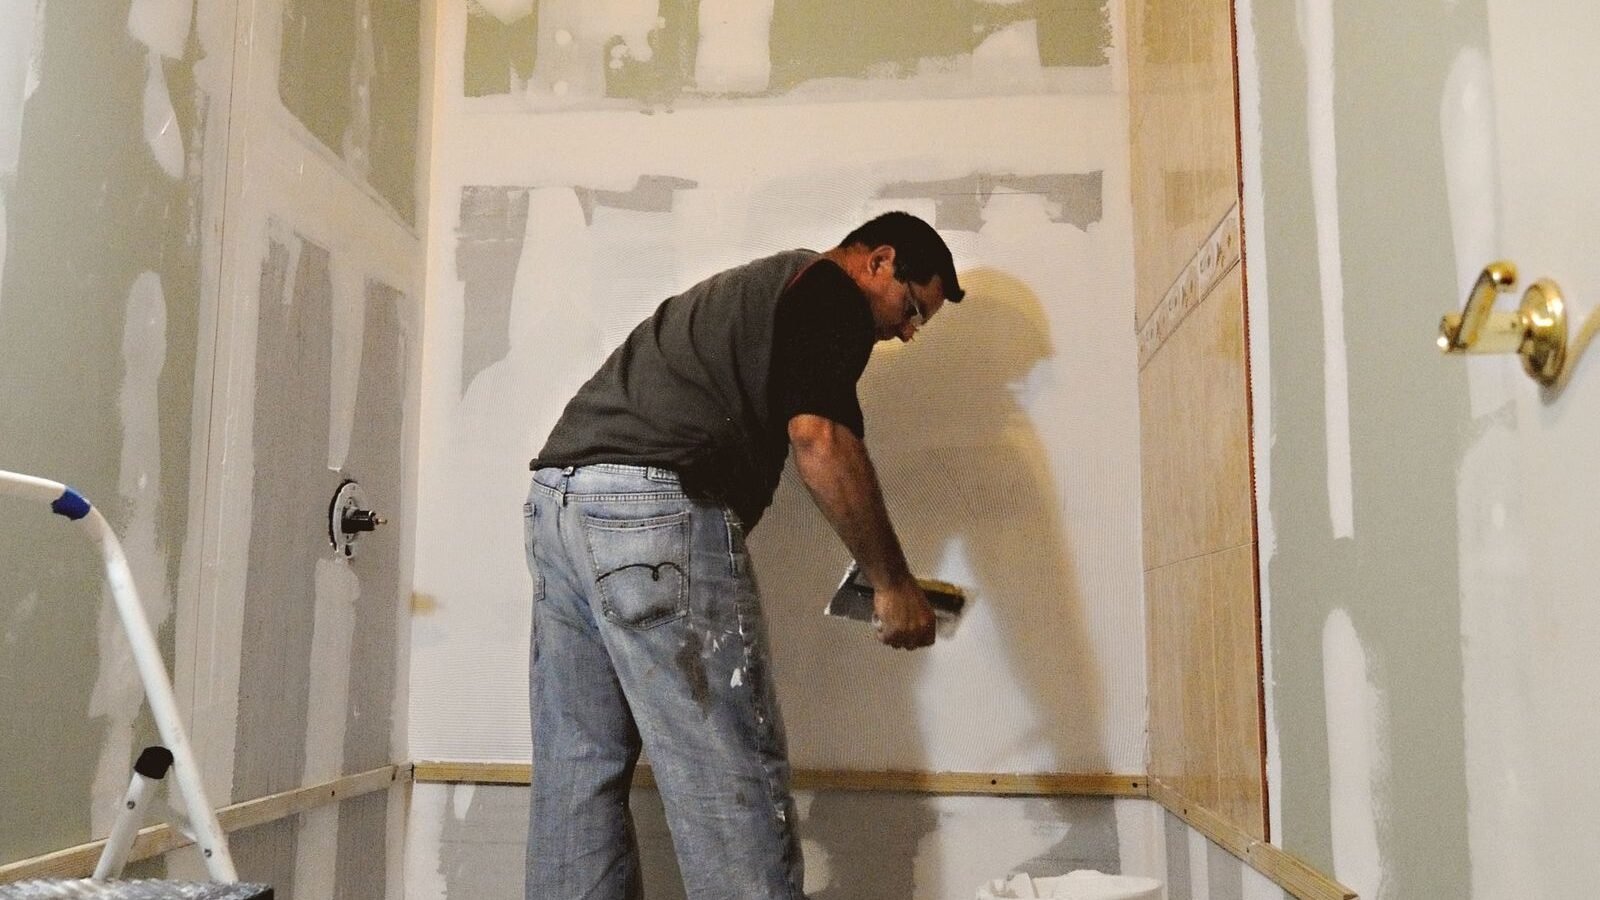
- Thin coats beat thick ones. Every coat should just fill the joint. Thick mud shrinks, cracks, and doubles your sanding. Three thin coats always beat two thick ones — and they dry faster.
- Use setting compound for the first coat. Hot mud (20- or 45-minute setting compound) lets you tape and first-coat a room in one day instead of waiting overnight for premix to dry. Switch to lightweight all-purpose premix for the fill and finish coats, which sand easier.
- Feather wide. Each successive coat should extend 2–3 in (5–8 cm) wider than the last, feathering to nothing at the edges. A 12-in (30-cm) knife on the final coat makes butt joints disappear.
- Work under raking light. Hold a work light at a low angle across the wall while sanding. Defects invisible under ceiling light will scream under a lamp — or under the homeowner’s new sconces.
- Dust before priming. Sanding dust left on the surface causes primer to peel. Wipe or vacuum walls, then use a dedicated drywall (PVA) primer — it seals the paper and mud to equal porosity so the topcoat doesn’t flash.
Spend Money Where It Shows
- Upgrade the finish level, not the board, in visible rooms. As the material guide explains, standard 1/2-in board finished to Level 4 looks identical to premium board finished to Level 4 under flat paint. Spend the upgrade budget on the finisher’s skill.
- Use 5/8-in Type X where code requires it — garage ceilings, walls between garage and living space, many multifamily separations. It’s heavier and pricier, but inspectors measure it. The code compliance guide covers when it’s mandatory.
- Rent a drywall lift for ceilings. A day’s lift rental ($40–$70) is cheaper than a second pair of hands and far safer than balancing a 4×12 overhead. Your shoulders and your seams will both thank you.
- Don’t skip the second sanding pass. Sand after the second coat, touch up, then do a final light pass after the finish coat. The pros’ secret is that the last 10% of sanding produces 90% of the visual quality.
Keep the Schedule (and Budget) Honest
- Plan drying time between coats. Premix compound needs ~24 hours per coat in normal conditions, longer in cold or humid rooms. A Level 4 finish is a 4–5 day process minimum; rushing it causes cracked joints. Dehumidifiers and fans beat heaters (which dry the surface and trap moisture underneath).
- Protect finished work. One trade dragging a ladder across a finished wall costs more in touch-ups than a roll of Ram Board and an hour of masking. Schedule drywall finishing after rough-ins and before trim and paint.
- Agree the finish level in writing. The most expensive drywall dispute is “I expected smooth” vs “we bid Level 3.” The GA-214 level should appear in the contract — a point the DIY vs pro guide also stresses when hiring finishers.
Related Guides
- Drywall Cost Guide — what each tip saves you, in dollars per square foot.
- Common Mistakes — the errors these tips are designed to prevent.
- Estimating Guide — measure and order accurately before you start.
- Material Guide — board types, mud types, and which to buy.
- Drywall Checklist — the full sequence from delivery to final sand.
Get Your Number
Good technique saves money twice: once by reducing waste, and again by avoiding rework. Price your project honestly with the Drywall Cost Calculator, then hang, finish, and schedule with the tips above — the cheapest drywall job is the one you only do once.
Disclaimer: Calculator results are planning estimates based on the dimensions and rates you enter. Actual drywall costs vary with local labor rates, board availability, site conditions, and finish requirements. Verify pricing with local suppliers and contractors, and consult a licensed professional or your local building authority for code-related decisions.