Introduction
Footing concrete is unforgiving in one specific way: once it’s in the trench, it’s permanent. A slab can be ground down or overlaid; a footing buried under a house cannot be fixed without excavation. That permanence is why experienced crews obsess over the unglamorous steps — the trench bottom, the rebar chairs, the inspection timing — while beginners focus only on the pour. The pour is the shortest part of the job.
The Concrete Footing Calculator handles the quantity side — run length, width, depth, and waste in; cubic meters, cubic yards, and bag count out. This guide covers the judgment side: the field-tested practices that separate a quiet foundation from a problem one, drawn from standard trade practice for strip footings, trench work, and reinforcement.
Before the Pour: Trench and Layout Tips
- Dig to undisturbed soil — then stop. The footing must bear on firm, undisturbed ground. Over-digging and backfilling with loose soil defeats the purpose; if you over-dig, fill the excess with lean concrete, not loose dirt.
- Keep trench walls vertical and the bottom level. A level bottom means uniform footing thickness, which means the volume estimate holds. Check with a straightedge and level every few metres — a bottom that wanders 5 cm (2 in) over a 40 m run silently adds or removes nearly a cubic metre of concrete.
- Never pour on mud or standing water. Pump the trench dry and remove soft, saturated material. Concrete placed on mud mixes with it at the interface, leaving a weak layer exactly where the load transfers to the soil.
- Schedule the footing inspection before the pour. Most jurisdictions require the open trench and placed steel to be inspected and approved before concrete goes in. A pour without inspection risks a stop-work order and uncovering — the code-compliance guide covers the sequence.
Rebar Tips: Steel That Actually Works
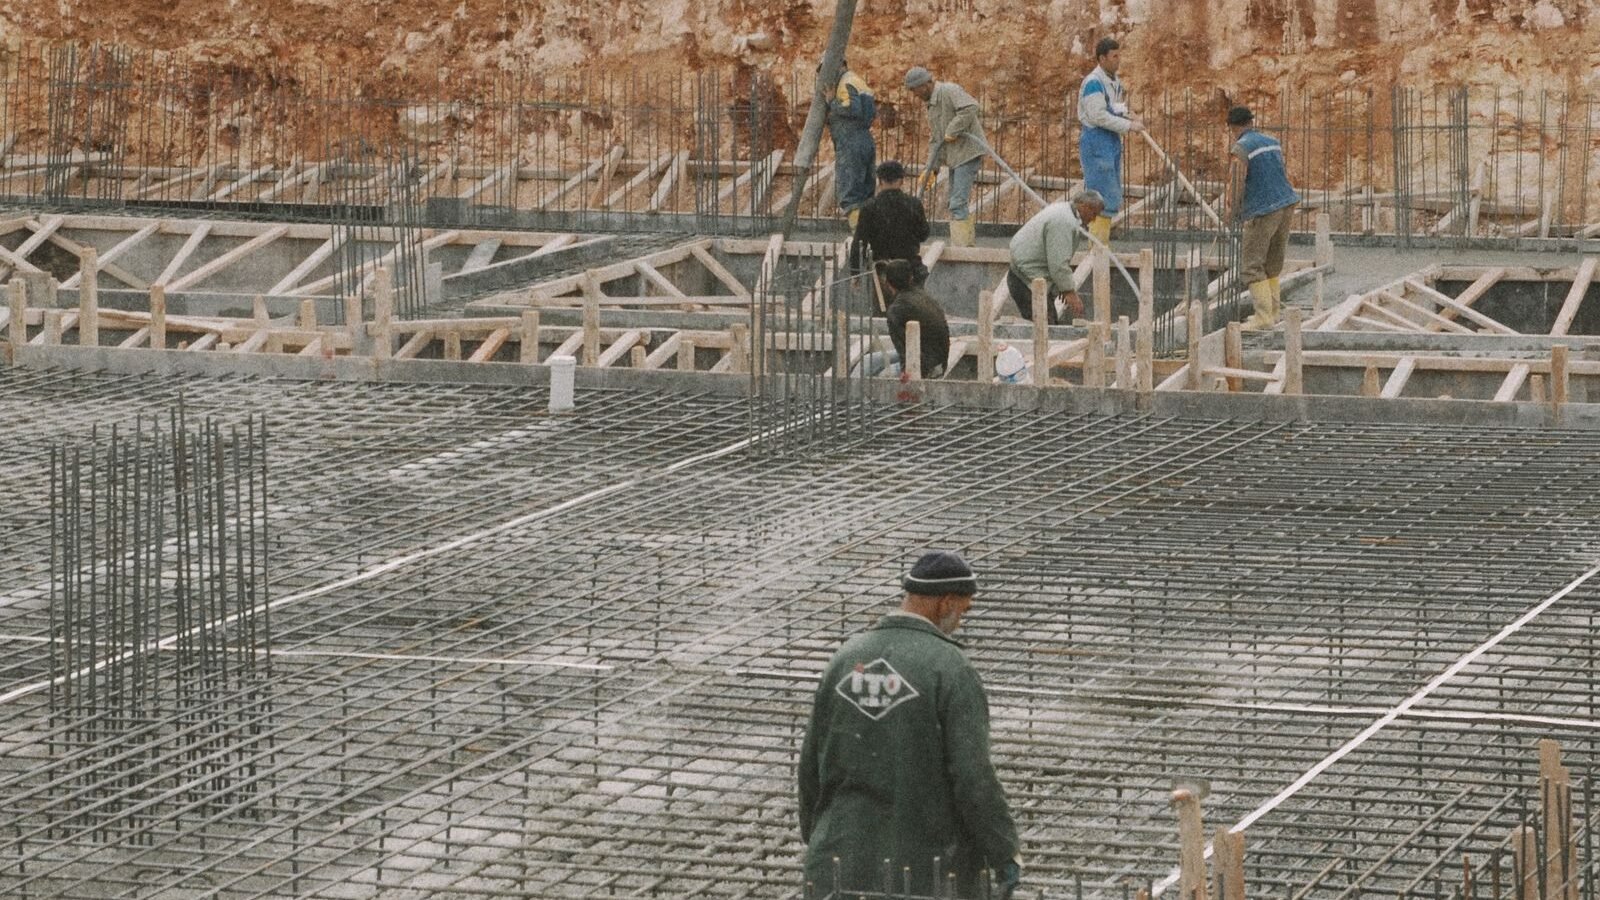
- Chairs are not optional. Longitudinal bars must sit inside the concrete with at least 75 mm (3 in) of cover below and to the sides. Bars lying on the trench bottom corrode and contribute nothing. Space chairs every 1.0–1.5 m (3–5 ft) — on a 40 m run that’s roughly 30–40 chairs per bar line, 60–80 total.
- Lap splices, don’t butt joints. Every bar-to-bar joint needs a lap of about 40 bar diameters — 0.48 m (19 in) for 12 mm (#4) bars. Stagger the laps on the two bars so joints don’t line up at the same cross-section.
- Run corners continuously. At L-corners, bend the bars around the corner or add L-shaped corner bars lapped into both legs. A corner where both bars simply stop is a hinge waiting for a crack.
- Keep steel clean. Mud, oil, and heavy rust scale weaken the bond between steel and concrete. Light surface rust is fine; caked mud is not — hose the bars down before the pour if the trench work dirtied them. Rebar sizes and lap details are in the material guide.
Pour-Day Tips
- Order from the calculator, then round up. Take the calculator’s volume with waste and round the order up to the next half cubic yard/metre. A footing that runs short mid-pour creates a cold joint — a weak plane — at the worst possible location. Short-load fees are cheaper than a compromised footing.
- Pour continuously along the run. Start at one end and work steadily to the other so each new concrete bonds to still-plastic concrete ahead of it. If the pour must stop, form a proper construction joint with a keyed or stepped face — never just stop in the middle of a run.
- Don’t over-water the mix. Extra water makes concrete flow easier but weakens it permanently. If workability is poor, that’s a mix-design conversation with the supplier, not a hose decision at the trench.
- Vibrate or rod the concrete. Work a vibrator or rod along the pour to release trapped air, especially around rebar and at step faces. Honeycombed concrete around the steel is a durability failure in slow motion.
- Strike the top level. The footing’s top surface should be level — the foundation wall or slab sits on it. A quick screed pass with a straightedge while the concrete is plastic saves shimming later.
After the Pour: Curing and Backfill
- Keep it moist for the first few days. Concrete gains strength by hydration, not drying — cover the footing with plastic sheeting or wet burlap, especially in heat or wind. A footing that dries out in the first 48 hours never reaches its design strength at the surface.
- Don’t backfill too early. Wait until the concrete has gained enough strength to take lateral soil pressure — typically a few days for the initial set, longer in cold weather. Backfilling against green concrete can crack or displace it.
- Compact backfill in layers. Fill the trench sides in 15–20 cm (6–8 in) lifts, compacting each. Dumping a full depth of loose fill invites settlement against the foundation wall later.
- Protect the trench from rain before the pour. If rain is forecast between excavation and pour day, cover the open trench. A flooded trench means pumping and re-leveling — or a pour delayed with the crew on standby.
Ordering Tips That Save Money
- Combine pours on one ticket. If the project also needs piers, a slab section, or a second footing run, schedule a single ready-mix visit. One 10.36 yd³ load beats two short loads with two short-load fees — see the worked budget in the cost guide.
- Confirm the mix with the supplier. Footing concrete is typically 20–25 MPa (3,000–3,600 psi); tell the plant it’s a footing pour and let them confirm the mix — they do this daily.
- Have a placement plan for the truck. The mixer needs to get within chute range (~4 m / 13 ft) of the trench, or you need a pump booked. Discovering the access problem with a loaded truck idling is the most expensive possible moment to solve it.
- Keep two wheelbarrows and a backup crew member. For the last half-metre of a pour, or a truck that can’t quite reach, manual backup turns a crisis into a delay.
Related Guides
- Concrete Footing Complete Guide — strip footing sizing, trench dimensions, and the full worked example.
- Concrete Footing Checklist — the pre-pour verification list in checklist form.
- Concrete Footing Common Mistakes — the errors these tips are designed to prevent.
- Concrete Footing Material Guide — concrete mixes, rebar sizes, chairs, and cover requirements.
- Concrete Footing DIY vs Pro — when these techniques are a DIY job and when to hire.
- Concrete Footing FAQ — quick answers to the most asked footing questions.
Frequently Asked Questions
How long should I wait before backfilling a footing?
Typically a few days for initial strength gain, longer in cold weather. The concrete must be strong enough to resist lateral soil pressure without cracking or displacement — when in doubt, wait and keep it moist.
Do I really need chairs under footing rebar?
Yes. Bars on the trench bottom end up with no concrete cover underneath, which leads to corrosion and zero structural contribution at the bottom face. Chairs every 1.0–1.5 m (3–5 ft) are cheap insurance.
Can I pour footings in the rain?
Light rain during the pour is manageable if the trench isn’t flooding; heavy rain washes cement out of the surface. The bigger risk is rain before the pour, which turns the trench bottom to mud — cover open trenches when rain threatens.
Should I vibrate footing concrete?
Yes — rodding or a vibrator along the pour removes trapped air, especially around rebar and step faces. Honeycombing around steel is a long-term durability problem, and consolidation takes minutes.
What happens if the concrete truck can’t reach the trench?
Book a concrete pump, or plan wheelbarrow placement for small volumes. Chute range is roughly 4 m (13 ft) from the truck — confirm access the day before, not when the truck arrives.
How do I avoid a cold joint in a long footing run?
Order enough concrete (calculator volume plus waste, rounded up) and pour continuously from one end to the other so fresh concrete always meets plastic concrete. If a stop is unavoidable, form a proper keyed construction joint.
Pour It Right the First Time
Footing quality is decided before the concrete arrives — in the trench bottom, the steel placement, the inspection, and the order quantity. The Concrete Footing Calculator locks down the quantity; the practices above lock down everything else. Walk the trench with the checklist the morning of the pour, confirm the truck’s access, and you’ll spend pour day placing concrete instead of solving problems.
Disclaimer: Calculator results are planning estimates based on the dimensions you enter. Actual footing requirements vary with soil conditions, local frost depth, weather, and mix design. Verify volumes with your supplier and consult a licensed professional or your local building authority for structural or code-related decisions.