Introduction
Estimating tells you how much wall you’re building. Building it well is a separate skill — and basement walls punish sloppy execution more than almost any other residential concrete work, because the wall disappears underground the day it’s backfilled.
The Basement Wall Calculator sizes your material order; this guide covers the field craft that turns those materials into a wall that stays straight, stays dry, and stays standing. These are trade-standard practices — formwork discipline, pour sequencing, curing, waterproofing, drainage, and above all backfill timing — written for the owner or GC who wants to know what “done right” looks like.
Respect the Formwork
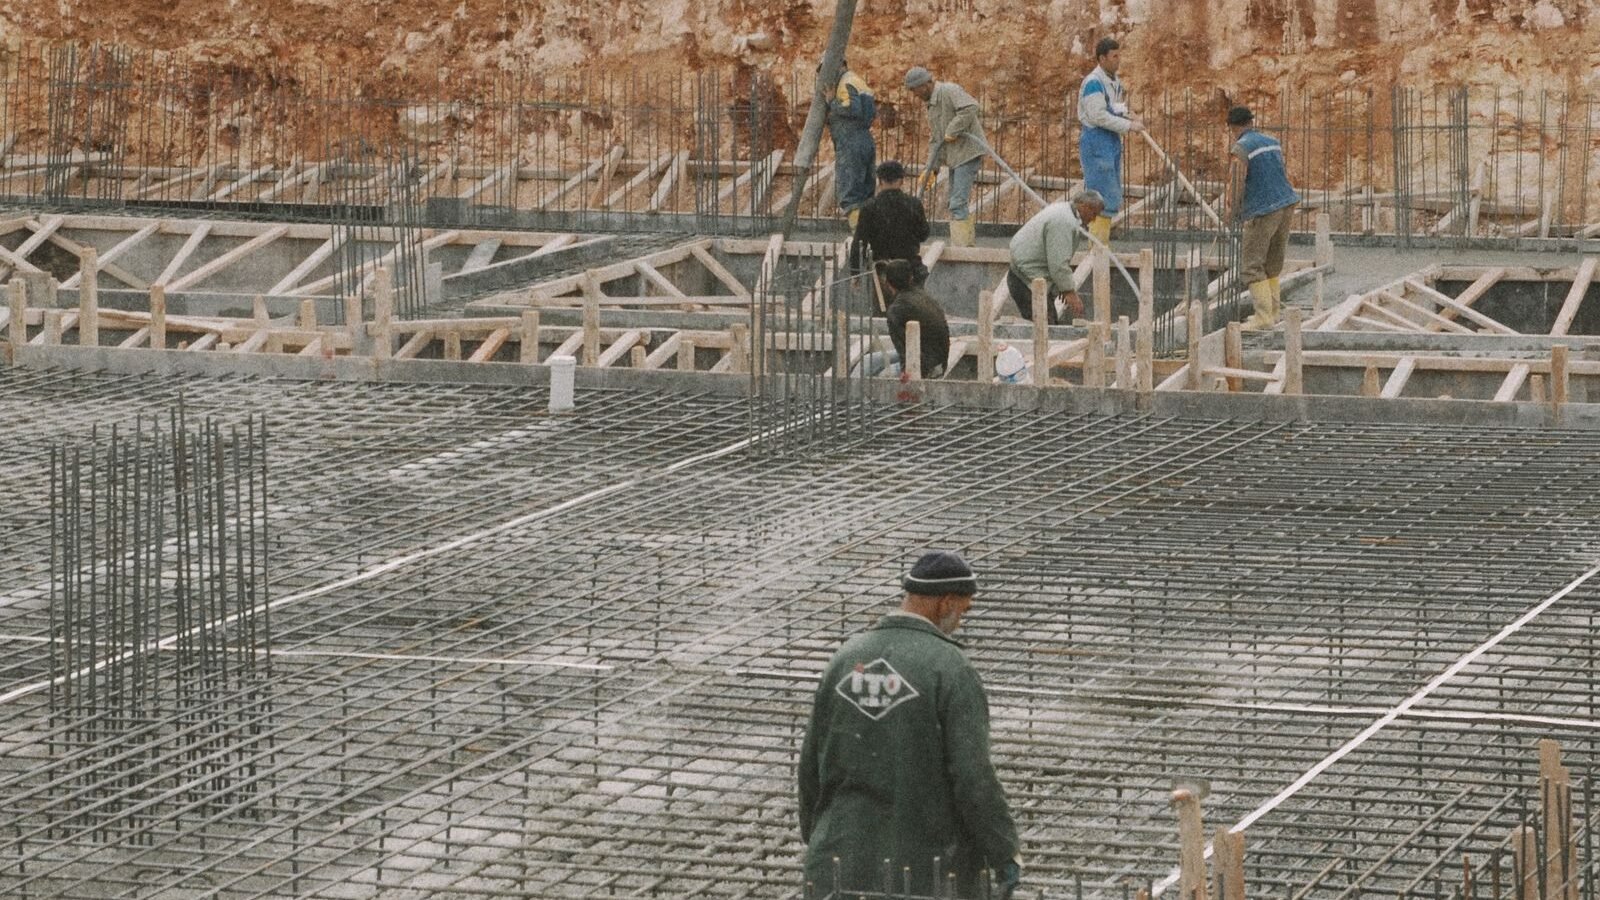
A poured wall is only as straight and true as its forms. Set form panels plumb and to exact line, brace against pour pressure — wet concrete exerts full hydrostatic pressure at the bottom of the form, roughly 150 lb/ft³ (2,400 kg/m³) times the pour height — and verify tie spacing against the form manufacturer’s tables for your wall height. Walk the forms before the pour checking for gaps at the footing (grout leakage honeycombs the wall base), misaligned panels, and missing ties. An hour of form inspection prevents a wall that’s out of plumb for the life of the building.
Pour in Controlled Lifts
Walls are placed in horizontal lifts — typically about 1–1.2 m (3–4 ft) at a time — with each lift consolidated before the next goes on. Consolidate with an internal vibrator, inserted vertically at regular intervals and withdrawn slowly; the goal is to remove entrapped air without segregating the mix. Keep the pour continuous enough to avoid cold joints between lifts: each new lift should go onto concrete that’s still plastic. If the pour must stop, form a proper construction joint where the engineer allows it — never mid-wall at random.
Mind the Pour Rate
Placement rate and consolidation capacity have to match. A crew that can place 20 m³ per hour but only consolidate 10 m³ per hour is building honeycombed walls at speed. For the reference basement in the complete guide — 18 m³ (23.5 yd³) of wall concrete — plan the pour as two lifts around the full perimeter rather than filling one section to the top and moving on; this keeps every lift plastic when the next arrives and keeps form pressures balanced. Three ready-mix trucks at ~8 yd³ each, sequenced 30–45 minutes apart, is the typical rhythm — confirm the schedule with your supplier the day before.
Cure Before You Load Anything
Concrete gains strength over days, not hours, and basement walls get loaded early — by form stripping, by waterproofing crews, and eventually by thousands of tons of soil. Keep walls moist for the curing period your specification requires (commonly 7 days for standard mixes), using wet burlap, soaker hoses, or curing compound applied per the product data. Don’t strip forms early to “keep the schedule” — form removal timing comes from the specification and the strength gain, not the calendar. And nothing braces against the wall — no backfill, no heavy material staging — until the engineer says so.
Waterproof the Wall Before It Disappears
Waterproofing is applied to the exterior face, which means it happens in the narrow window between form stripping and backfill — once soil goes back, that face is inaccessible for decades. Apply membrane to a clean, reasonably dry wall per the manufacturer’s instructions, protect it with protection board before backfilling, and detail penetrations (tie holes, pipe sleeves) individually — most leaks start at a penetration, not in the field of the membrane. Dampproofing and waterproofing are different products with different capabilities; the material guide explains which is which, and the quantities come from your waterproofing area estimate.
Get the Drain Tile Right the First Time
Exterior drain tile is cheap insurance that’s ruinously expensive to retrofit. Lay perforated pipe at footing level, below the top of the footing, bedded in washed gravel and wrapped in filter fabric to keep fines out. Pitch it continuously toward the sump pit or daylight outlet — standing water in the tile means the pitch failed somewhere. Connect downspouts away from the foundation, never into the tile, unless the design explicitly combines them. Like waterproofing, this entire system is verified before backfill, because after backfill it’s archaeology.
Backfill Timing Is Structural, Not Cosmetic
This is the tip that prevents the most catastrophic failures: do not backfill until the wall is braced. A freestanding basement wall is designed to span between the footing and the first-floor diaphragm — without the floor deck (or engineer-approved temporary bracing) in place, backfill soil pressure can crack, bow, or collapse the wall. The sequence is: cure → waterproof → drain tile → floor framing/deck → then backfill. When you do backfill, place soil in compacted lifts of 150–200 mm (6–8 in), keep heavy equipment away from the wall, and never backfill with frozen soil, organic material, or construction debris.
Plan for the Weather You’re Actually Getting
Cold weather slows strength gain — concrete placed below about 5°C (40°F) needs protection (heated enclosures, insulated blankets) per the specification, and antifreeze admixtures are not a substitute for proper curing temperature unless the mix is designed for it. Hot weather accelerates setting and evaporates mix water — schedule pours early, keep subgrades and forms damp (not ponded), and have curing materials ready before the truck arrives. Either extreme is manageable; what’s not manageable is discovering the forecast at the jobsite with concrete en route.
Worked Example: Sizing the Pour Day
Reference basement again: 30 m × 2.4 m × 0.25 m = 18 m³ (23.5 yd³), ordered as 19.8 m³ (25.9 yd³) with 10% waste.
- Trucks: 25.9 ÷ 8 ≈ 3.2 → 4 trucks at 8 yd³, or 3 trucks at 9 yd³. Order the fourth as the measured top-up if your supplier allows split scheduling.
- Lifts: 2.4 m wall → two ~1.2 m (4 ft) lifts around the full 30 m perimeter: ~9 m³ per lift.
- Timing: at a placement rate of ~12 m³/hour with proper consolidation, the wall concrete places in about 1.5 hours — the trucks, not the crew, usually set the pace.
- After: forms stay until the spec allows stripping; waterproofing and drain tile go on next; the floor deck goes on before any backfill.
Notice how the estimate drives the logistics: the volume sets the truck count, the truck count sets the schedule, and the schedule has to respect lift discipline. The checklist turns this sequence into a day-of verification list.
Related Guides
- Material Guide — mixes, admixtures, membranes, and drain tile components to specify.
- Checklist — pre-pour, pour-day, and post-pour verification lists.
- Common Mistakes — what goes wrong when these tips are skipped.
- Code Compliance — inspections that verify this work as it happens.
- Complete Guide — the estimating foundation all of this builds on.
Frequently Asked Questions
How long should I wait before backfilling a basement wall?
Until two conditions are met: the concrete has cured to the strength your specification requires, and the wall is braced — normally by the first-floor deck or engineer-approved temporary bracing. Your engineer sets the exact timing for your wall and soil.
What is the maximum lift height for pouring a basement wall?
Typically about 1–1.2 m (3–4 ft) per lift, consolidated with an internal vibrator before the next lift. Follow the form manufacturer’s pressure tables and your specification.
Do I need to waterproof a poured concrete wall?
Yes, for any basement you intend to keep dry. Poured walls have fewer joints than block, but concrete is still permeable and tie holes and construction joints are leak paths. Waterproof the exterior face before backfill.
Where does drain tile go?
At the exterior footing level, below the top of the footing, in washed gravel wrapped in filter fabric, pitched continuously to a sump pit or daylight outlet.
Can I backfill with the excavated soil?
Often yes, if it’s granular and compactable — placed in 150–200 mm (6–8 in) compacted lifts. Don’t use frozen soil, topsoil/organics, or debris, and keep heavy equipment off the wall zone.
How do I avoid honeycombing in wall concrete?
Proper consolidation (internal vibrator at regular intervals, withdrawn slowly), adequate — not excessive — slump, sealed form joints at the footing, and a placement rate the crew can consolidate. Honeycombing at the wall base usually means grout leaked under the forms.
Get Your Number
Good field practice starts with an accurate material order: run your dimensions through the Basement Wall Calculator, schedule the trucks around lift discipline rather than the other way around, and hold the backfill until the wall is cured and braced. The wall you can’t see for the next fifty years deserves the care you’d give the parts you can.
Disclaimer: Field practices described here are general trade guidance, not engineering instructions. Concrete placement, curing, bracing, and backfill timing must follow your structural drawings and specifications. Consult a licensed structural engineer or your local building authority for project-specific requirements.

