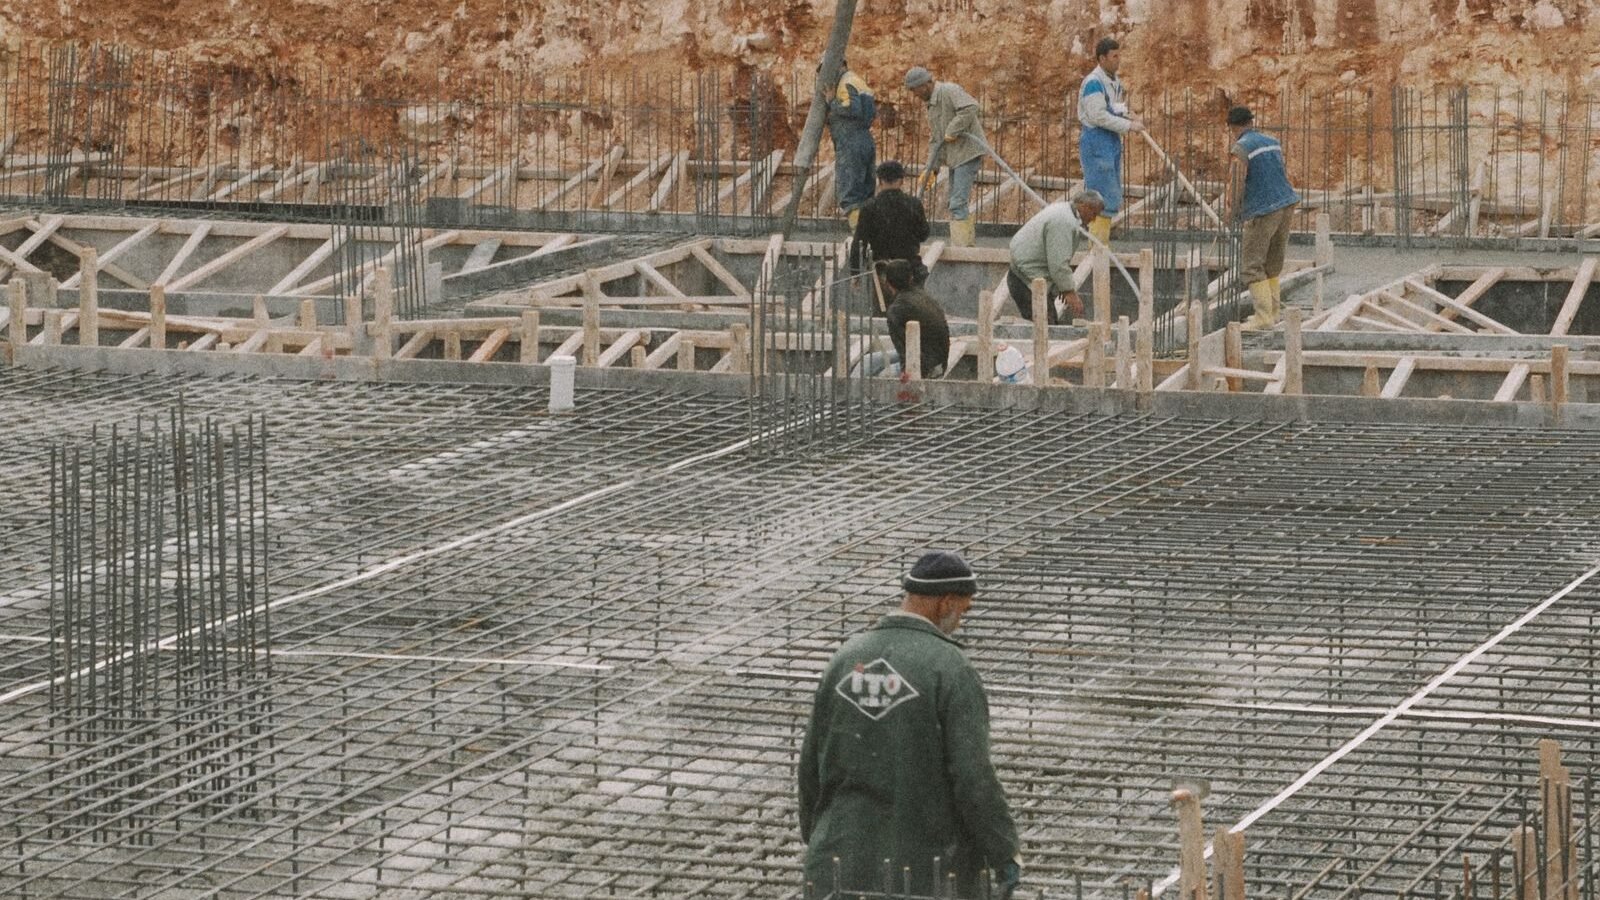
Introduction
Basement wall work fails in the gaps between steps — the inspection nobody scheduled, the membrane laps nobody checked, the backfill that started a week early. A checklist doesn’t replace judgment, but it makes skipping a step a conscious decision instead of an accident. This is the consolidated verification list for the whole arc: estimate, pre-pour, pour day, and everything after the concrete sets.
Quantities referenced below come from the Basement Wall Calculator — run your dimensions first, then use this list to verify that what was estimated is what gets built, in the right order.
Before You Order: Estimate Checks
- ☐ Wall lengths measured to the outside face of the wall (centerline dimensions converted).
- ☐ Corners counted once — one opposite pair through corners, the other pair butted in.
- ☐ Openings ≥ 0.5 m² (5 ft²) deducted from concrete volume, block area, and waterproofing area.
- ☐ Stepped or varying-height sections split into constant-height segments.
- ☐ Footings estimated separately — not folded into the wall volume.
- ☐ Thickness entered in the correct unit (in ÷ 12 = ft; mm ÷ 1000 = m) — hand-check volume per linear foot.
- ☐ Waste allowance added: 5–10% concrete/block, 10% membrane, ~5% drain tile.
- ☐ Metric and imperial results cross-checked — both paths must agree.
- ☐ Specification confirmed from drawings: mix strength, slump, block type, membrane product.
- ☐ Supplier lead time and truck access confirmed (pump booked if trucks can’t reach).
Forms, Steel, and Pre-Pour
- ☐ Footing poured, cured, and inspected; wall layout verified against the plan.
- ☐ Form panels plumb, to line, and braced for full liquid concrete pressure; tie spacing per manufacturer’s tables.
- ☐ No gaps at the form-to-footing joint (grout leakage = honeycombed wall base).
- ☐ Reinforcement placed per the structural drawings: bar sizes, spacing, cover from the soil face, dowels from the footing.
- ☐ Embedments set: anchor bolts, beam pockets, sleeves for penetrations — positioned before concrete, not chipped in after.
- ☐ Pre-pour inspection signed off by the AHJ.
- ☐ Concrete ordered to specification: strength, slump, air, admixtures, quantity — ticket verified at the truck.
- ☐ Consolidation equipment on site and working (internal vibrators, plus backup).
- ☐ Curing materials staged before the pour: burlap/soakers or curing compound.
- ☐ Weather plan in place: cold-weather protection or hot-weather evaporation control as conditions require.
- ☐ Waterproofing membrane, protection board, drain tile pipe, gravel, and filter fabric on site before backfill day — not ordered after.
Material quantities for this stage — mix, block types, membrane, drainage components — are specified in the material guide.
Pour Day
- ☐ Slump checked at the truck — within spec, no jobsite water added beyond the design allowance.
- ☐ Concrete placed in controlled lifts (~1–1.2 m / 3–4 ft), each consolidated before the next.
- ☐ Vibrator inserted vertically at regular intervals, withdrawn slowly — no dragging through the mix.
- ☐ Placement rate matched to consolidation capacity; pour kept continuous to avoid cold joints.
- ☐ Top of wall screeded to line and elevation; anchor bolt positions rechecked while concrete is plastic.
- ☐ Tickets collected and filed: quantities, mix design, batch times.
- ☐ Curing started promptly — walls kept moist per the specification (commonly 7 days).
After the Pour: The Sequence That Protects the Wall
- ☐ Forms stripped only when the specification allows — not on calendar pressure.
- ☐ Wall inspected: alignment, honeycombing repaired per spec, tie holes patched.
- ☐ Exterior waterproofing membrane applied to a clean, dry wall; laps, corners, and penetrations detailed; protection board installed.
- ☐ Drain tile laid at footing level (below top of footing), bedded in washed gravel, wrapped in filter fabric, pitched continuously to sump or daylight.
- ☐ Waterproofing and drainage inspected and signed off before any backfill.
- ☐ First-floor deck framed (or engineer-approved temporary bracing installed) — the wall is now braced.
- ☐ Backfill placed in compacted 150–200 mm (6–8 in) lifts; granular compactable material only — no frozen soil, organics, or debris.
- ☐ Heavy equipment kept clear of the wall during backfill.
- ☐ Final grading slopes away from the foundation; downspouts discharge away from the wall.
The reasoning behind this order — especially why backfill waits for bracing — is explained in the pro tips guide, and the failure modes of skipping steps are catalogued in the common mistakes guide.
Worked Quantity Check
Use this as the template for verifying any estimate — reference basement 30 m × 2.4 m × 0.25 m:
| Check | Metric | Imperial | Match? |
|---|---|---|---|
| Geometric volume | 30 × 2.4 × 0.25 = 18 m³ | 98.4 × 7.87 × 0.82 = 635 ft³ = 23.5 yd³ | 18 × 1.30795 = 23.5 ✓ |
| With 10% waste | 19.8 m³ | 698.5 ft³ = 25.9 yd³ | 19.8 × 1.30795 = 25.9 ✓ |
| Block count (5% waste) | 72 m² → 872 → 916 | 774.4 ft² × 1.125 = 872 → 916 | ✓ |
| Waterproofing | 72 m² + 10% | 775 ft² → 8 rolls @100 ft² | ✓ |
| Drain tile | 30 m + fittings | 98.4 ft → ~100 ft | ✓ |
If any row disagrees, stop and find the unit error before ordering — the estimating guide shows where they hide.
Related Guides
- Estimating Guide — measuring technique behind the pre-order checks.
- Pro Tips — the field practices this checklist verifies.
- Material Guide — specifying every item on the pre-pour list.
- Common Mistakes — what each unchecked box risks.
- Complete Guide — the full method this checklist condenses.
Frequently Asked Questions
What should I verify before ordering concrete for walls?
Outside-face measurements, corners counted once, openings deducted, thickness in the correct unit, waste added, and a metric↔imperial cross-check that agrees. Plus the specification (mix, slump) from the drawings and confirmed truck access.
When is the waterproofing inspected?
After application and before backfill — along with the drain tile. This is the last moment the exterior face is accessible, so the inspection is scheduled before any soil goes back, not after.
How soon can forms be stripped?
When the specification allows, based on strength gain — not on schedule pressure. Stripping early to “keep things moving” risks damaging green concrete that still has to carry backfill loads later.
What makes backfill acceptable?
Granular, compactable soil placed in 150–200 mm (6–8 in) compacted lifts, after the wall is cured and braced. Frozen soil, organics, topsoil, and debris are never acceptable backfill.
Do I need the drainage materials on site before the pour?
Before backfill day, at the latest — membrane, protection board, pipe, gravel, and fabric staged and ready. Ordering them after the pour invites the temptation to backfill “temporarily” without them.
What’s the single most important checklist item?
No backfill until the wall is cured and braced by the floor deck (or engineered temporary bracing). Every other item protects quality; that one protects the structure.
Get Your Number
Print this list, run your dimensions through the Basement Wall Calculator, and check off each stage as it’s genuinely complete — not as it’s scheduled. The wall you’re building disappears underground; the checklist is how you make sure it was built right before it does.
Disclaimer: This checklist is general planning guidance, not engineering instruction. Sequencing, bracing, curing, and backfill decisions must follow your structural drawings and specifications. Consult a licensed professional or your local building authority for project-specific requirements.

