Introduction
Framing a wall starts with one question: how many studs, plates, and trimmers do I need? Stud estimating answers it with arithmetic: divide the wall length by the stud spacing, add one for the end stud, then add the extras real walls need — corners, intersections, and the kings, jacks, and cripples around every opening.
The Stud Calculator runs that math: enter wall length, spacing, and openings, and it returns stud counts, plate lumber, and extras in imperial or metric units. This guide explains what’s behind those numbers — wall parts, spacing choice, plates, openings, and a worked example you can check by hand.
How a Stud Wall Is Built
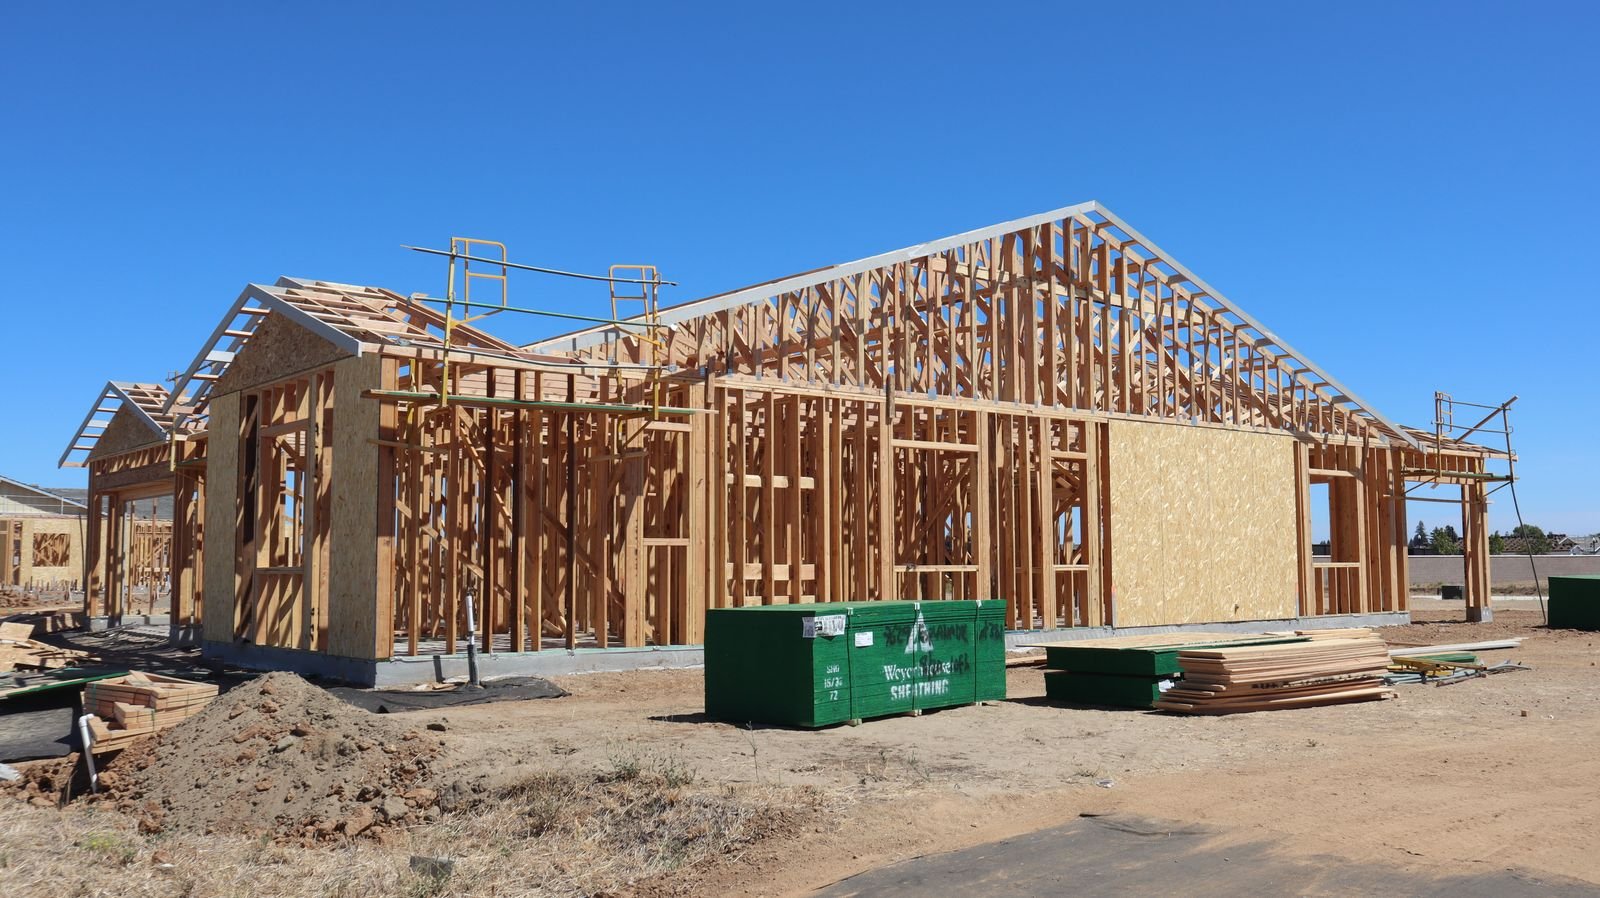
A framed wall is a sandwich of vertical and horizontal lumber. The parts you need to count are:
- Studs — the vertical 2×4 or 2×6 members, usually spaced 16 or 24 inches on center, that carry the load from the top of the wall to the floor or foundation.
- Bottom (sole) plate — a single horizontal member the studs sit on, fastened to the floor or foundation.
- Top plate — almost always a double top plate: two horizontal members stacked on top of the studs, with their joints staggered for strength.
- King studs — full-height studs on each side of a door or window opening.
- Jack (trimmer) studs — shorter studs nailed alongside the kings that support the header over the opening.
- Header — the beam (usually doubled 2×8, 2×10, or engineered lumber) spanning the top of the opening.
- Cripples — short studs above the header and below a window sill that keep the 16″ (400 mm) layout continuous.
Corners and intersections need extra studs — typically a three-stud corner — for nailing and drywall backing. These extras are what beginners most often forget; the common mistakes guide lists them all.
The Inputs the Calculator Needs
Five numbers drive a stud takeoff. Get these right and the rest is arithmetic:
Wall length
The total run of the wall. For L-shaped rooms, estimate each straight run separately and add the results. Measure to the outside of the framing, not the finished surface.
Stud spacing (on center)
Standard is 16″ on center (400 mm in metric layouts) — the center-to-center distance. 24″ o.c. suits non-load-bearing walls under typical code; confirm locally. The formula guide derives the spacing math.
Openings
Every door and window removes full-height studs from the run and adds kings, jacks, a header, and cripples. The calculator counts these once you enter each opening’s width.
Corners and intersections
Each outside corner and T-intersection needs extra studs for nailing and backing: 2 extra studs per corner or intersection beyond the base count.
Waste allowance
A 5–10% overage covers culled studs (twist, bow, knots) — far cheaper than a second lumberyard run.
Choosing Stud Spacing: 16″ vs 24″ o.c.
Spacing is a structural and sheathing decision, not just a material-saving one:
| Spacing | Typical use | Pros | Cons |
|---|---|---|---|
| 16″ o.c. (400 mm) | Load-bearing walls, exterior walls | Strongest; matches standard sheathing and drywall edges (48″ sheets break on 16″ multiples) | More studs, more cost, more thermal bridging |
| 24″ o.c. (600 mm) | Non-load-bearing partitions | Fewer studs, lower cost, better insulation cavity per wall | Not permitted for load-bearing without engineering; sheathing must span 24″ |
Metric layouts commonly use 400 mm centers (16″ = 406.4 mm) and 600 mm (24″). Use metric spacing if your wall is drawn in metric — the arithmetic is identical.
Openings: Headers, Kings, Jacks, and Cripples
For each door or window, count:
- 2 king studs — one full-height stud on each side of the opening, part of the regular layout.
- 2 jack studs — one nailed to each king, cut to the header height, carrying the header’s load down to the plate.
- 1 header — sized for the span (commonly doubled dimensional lumber; the calculator counts the header material as linear footage).
- Cripples — short studs above the header (and below window sills). Rule of thumb: 3 above, 2 below the sill per window; 3 above a door.
The estimating guide shows how to run a complete wall takeoff without double-counting openings.
Plates: Double Top, Single Bottom
Plate lumber is the easiest part of the estimate and the most commonly forgotten:
Plate lumber = 3 × wall length — two runs for the double top plate plus one for the bottom (sole) plate. For a 40-foot wall, that’s 120 linear feet of plate stock, or fifteen 8-foot 2×4s (120 ÷ 8 = 15). Stagger the top-plate joints so no joint lands over another, and break joints over a stud where possible.
On concrete, use pressure-treated sole plates — standard SPF wicks moisture from masonry. More in the material guide.
Worked Example: A 40-Foot Wall, Start to Finish
Here’s a complete hand check: a 40-foot exterior wall, 16″ o.c. spacing, 2 corners, 2 windows and 1 door.
Step 1 — Base studs. 40 × 12 = 480″; 480 ÷ 16 = 30 bays + 1 end stud = 31 studs.
Step 2 — Corner extras. 2 corners × 2 extra studs = 4 studs.
Step 3 — Opening kings and jacks. 3 openings × (2 kings + 2 jacks) = 12 studs.
Step 4 — Cripples. Windows: 3 above + 2 below = 5 each × 2 = 10. Door: 3 above = 3. Total 13 cripples.
Step 5 — Total. 31 + 4 + 12 + 13 = 60 studs; +10% waste → buy 66.
Step 6 — Plates. 3 × 40 ft = 120 ft → fifteen 8-ft plates.
Metric cross-check: 12 m at 400 mm centers → 12 ÷ 0.4 + 1 = 31 studs; imperial: 472.4 ÷ 16 = 29.5 → 30 + 1 = 31. Same answer in both systems.
Mistakes to Avoid
Most estimating errors aren’t arithmetic — they’re forgotten extras and bad setup:
- Forgetting plates entirely. Three runs of wall length is a lot of lumber to leave off the list.
- Using a single top plate. The double top plate is the structural standard — count two runs.
- Skipping king/jack studs and cripples. Openings need their full complement, or the count is short by 6–9 studs per opening.
- Two-stud corners. With no third stud there’s no backing for drywall and no nailing for the intersecting wall.
- Measuring finished surfaces. Frame dimensions are what the lumber fills — measure to the framing faces.
- Mixing inches and feet. Convert wall length to inches before dividing by the inch spacing.
The complete catalogue — with fixes — is in the common mistakes guide.
Related Guides
- Stud Formula Explained — the stud-count formula, plate math, and opening extras derived step by step.
- Stud Cost Guide — per-stud prices, plate and fastener costs, and a full wall budget example.
- Stud Material Guide — 2×4 vs 2×6, lumber grades, pressure-treated plates, and fasteners.
- Pro Tips — layout tricks, California corners, and straightening walls like a framer.
- Estimating Guide — the step-by-step wall takeoff method for whole rooms and houses.
- Stud Calculator FAQ — quick answers to the most asked framing questions.
Frequently Asked Questions
How many studs do I need for a 40-foot wall?
At 16″ o.c.: (40 × 12) ÷ 16 + 1 = 31 studs base. With 2 corners and 3 openings, a realistic total is about 60 studs before waste.
What does “16 inches on center” mean?
Center-to-center distance between adjacent studs. Metric layouts use 400 mm centers (16″ = 406.4 mm exactly).
How much plate lumber do I need?
Three times the wall length: two runs for the double top plate and one for the bottom (sole) plate. A 40-foot wall needs 120 linear feet of plate stock.
Do windows and doors reduce the stud count?
Each opening adds 2 kings, 2 jacks, cripples, and a header — openings almost always add lumber overall.
How much extra should I buy?
Five to ten percent — it covers culls and offcuts, and it’s cheaper than a second lumberyard trip.
Get Your Number
Stud estimating is base count (length ÷ spacing + 1), corner extras, opening extras, and plates at 3 × length. The Stud Calculator does the arithmetic — your job is the tape measure and an honest opening list. Spot-check one wall by hand, then price the list with your supplier.
Disclaimer: Calculator results are planning estimates based on the dimensions you enter. Framing is structural work — spacing, headers, and fastening must satisfy your local building code and the authority having jurisdiction. Consult a licensed engineer or qualified professional for load-bearing walls, and verify all requirements with a pro before building.