Introduction
This is a hypothetical, illustrative example — a walkthrough of a fictional project, created to show how the rafter calculation process works end to end. The people, place, and decisions are invented; the arithmetic is real and cross-checked in both unit systems. Follow it as a worked demonstration, not as a report of actual work.
The Rafter Calculator produces the numbers used below — lengths, angles, counts, and board footage. This case study shows how those numbers flow into real decisions: stock sizes, the lumber order, the cutting sequence, and the budget.
The Project (Hypothetical)
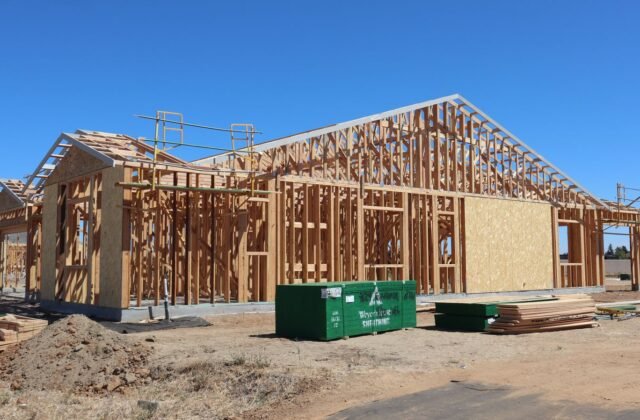
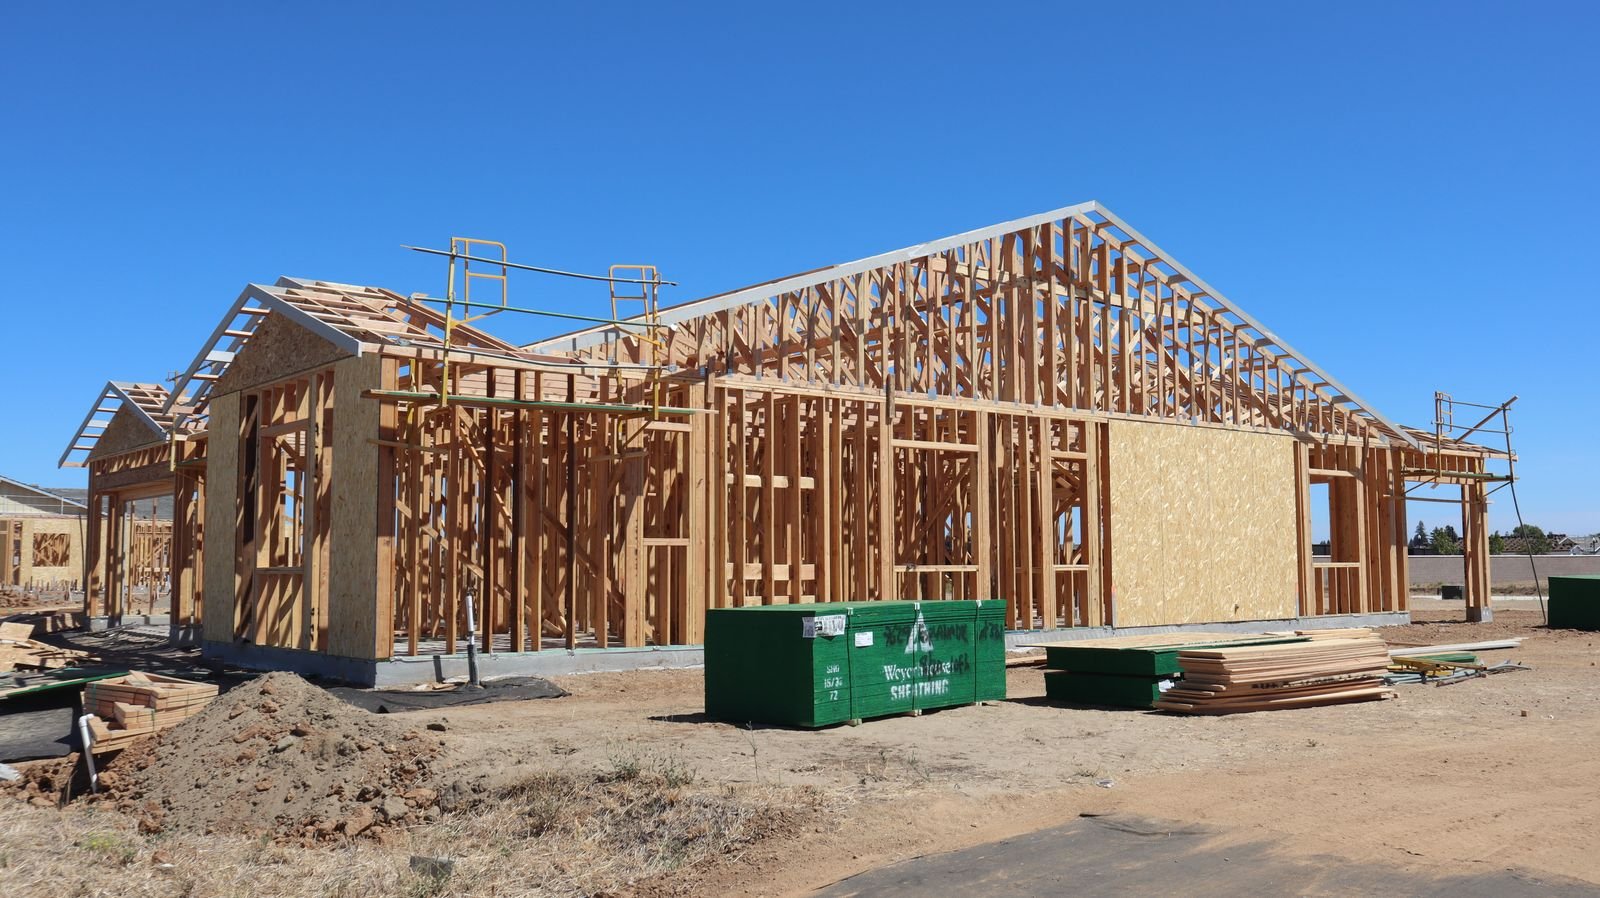
Illustrative scenario: a homeowner — call him Dan — is framing a detached double garage, 24 ft × 36 ft (7.32 m × 10.97 m), with a simple gable roof at 6:12 pitch and rafters at 24 in (610 mm) o.c. He has framed walls before but never a roof. His goals: a straight roof, no mid-project lumber runs, and a budget he can defend to his spouse. The local building department confirms a permit is required and points him to the applicable span table.
Step 1: The Calculation
Dan enters the dimensions into the calculator and verifies the key outputs by hand:
- Run: 24 ft ÷ 2 = 12 ft (3.658 m).
- Unit length: √(12² + 6²) = 13.416 in per ft of run.
- Theoretical rafter length: 13.416 × 12 = 160.99 in = 13.42 ft (4.090 m).
- Ridge deduction: half of a 2× ridge board (0.75 in / 19 mm) → layout length 160.24 in (4.070 m).
- Plumb cut angle: atan(6/12) = 26.6°; seat cut 63.4°.
- Count: 36 ÷ 2 + 1 = 19 per side → 38 common rafters.
He cross-checks the metric path: run 3.658 m, rise 1.829 m → √(13.381 + 3.345) = 4.090 m, matching the imperial result. The span table check comes next: at 24 in o.c., his 12-ft run, and local loads, the table confirms 2×8 #2 SPF — the size he’d hoped to use. The complete guide covers this verification sequence in detail.
Step 2: The Stock-Size Decision
The rafter needs 13.35 ft of board to the plate, plus a 2-ft (610 mm) eave overhang. Measured along the rafter, the overhang adds 2 × 13.416/12 = 2.24 ft — total ≈ 15.6 ft (4.75 m) of lumber per rafter.
That lands between 14-ft and 16-ft stock. Dan prices both options:
- 16-ft stock: one board per rafter, 0.4 ft of offcut each. Simple, fast, slightly more per board.
- 14-ft stock with spliced tails: cheaper per board but every rafter needs a spliced extension — 38 splices, each a potential weak point and an inspection question.
He chooses 16-ft stock without hesitation: the labor and risk cost of 38 splices dwarfs the per-board saving. This is the classic estimating lesson — the right stock size is a structural and labor decision, not just a price decision — explored further in the estimating guide.
Step 3: The Lumber Order
Dan builds the takeoff (10% waste, rounded up to whole boards):
| Item | Specification | Calculated | Ordered |
|---|---|---|---|
| Common rafters | 2×8 × 16 ft (50×200 × 4.8 m) | 38 | 42 |
| Ridge board | 2×8 × 16 ft | 3 (spliced 36 ft) | 3 |
| Collar ties | 2×4 × 8 ft (50×100 × 2.4 m) | 19 | 21 |
| Hurricane ties | per local requirement | 38 | 40 |
| 16d nails | framing connections | ~5 lbs | 10-lb box |
At his local yard’s prices, the package totals roughly $1,100–$1,300 — inside the planning range from the cost guide. He orders the full package for a single delivery ($75 fee) and schedules it two days before framing starts, keeping the stack covered on stickers.
Step 4: Cutting Day
Dan follows the pattern-rafter method from the pro tips guide:
- Morning: sorts the delivery — straightest boards reserved for rafters, two rejected for twist (the 10% waste absorbs this).
- Layout: marks the pattern rafter — 26.6° ridge cut, birdsmouth at 160.24 in down the top edge with a 2-in (50 mm) seat cut, tail cut at the overhang.
- Test fit: carries the pattern up, checks ridge and plate fit. The birdsmouth seats fully; the ridge cut is flush. One adjustment: he re-marks the seat 1/8 in shallower for a tighter bearing.
- Production: traces and cuts the remaining 37 rafters in batches — all ridge cuts, then all birdsmouths — finishing the corner of each notch with a handsaw.
- Afternoon: sets the ridge on temporary bracing, installs rafters in opposing pairs, string-lines the ridge every six pairs, and adds collar ties progressively.
Total cutting and setting time: two and a half days with a helper on day two — within the planning range for a first-timer, and the roof passes its framing inspection on the first visit.
What Made It Work (and What Almost Didn’t)
What worked: the test-fit caught the seat depth issue before it multiplied; ordering 10% over meant the two rejected boards caused zero delay; setting rafters in opposing pairs kept the ridge straight (final string-line deviation: under 1/4 in / 6 mm over 36 ft).
What almost didn’t: Dan initially laid out the birdsmouth from the tail end, which would have shifted every plate position by the overhang variance — caught when the pattern didn’t match his hand calculation. He also nearly ordered 14-ft stock to save ~$90, which would have forced 38 splices. Both near-misses are catalogued in the common mistakes guide.
Related Guides
- Complete Guide — the calculation method Dan used.
- Estimating Guide — the takeoff method behind the order.
- Cost Guide — the budget ranges the project landed in.
- Framing Checklist — the job sequence in checklist form.
- Pro Tips — the field practices applied on cutting day.
Run Your Own Numbers
Reminder: this case study is a hypothetical, illustrative example — not a report of real work. But the method transfers directly: calculate, verify by hand, check the span table, choose stock sizes deliberately, order with waste, cut a pattern, test-fit it, and set in pairs. Plug your own span, pitch, and spacing into the Rafter Calculator and walk the same five steps — the arithmetic is the easy part; the discipline is the project.
Disclaimer: This case study is a hypothetical illustrative example for planning purposes only. Actual project costs, timelines, and structural requirements vary with location, lumber, loads, and local building codes. Verify all dimensions and sizing with your supplier and consult a licensed professional or your local building authority for structural or code-related decisions.