Introduction
Two people can buy the same seven sheets for the same wall and get very different results. The difference isn’t the arithmetic — it’s the fieldcraft: how the sheets are laid out, where the seams land, which direction the face grain runs, and the small habits that keep panels flat, tight, and quiet for decades. These are the tips that separate a sheathing job that performs from one that merely covers.
The Plywood Sheet Calculator tells you how many sheets to buy. This guide tells you how to make those sheets count — layout strategy, handling, fastening judgment, and the sequencing tricks that save time and waste on site.
Layout: Where Sheets Go Matters as Much as How Many
- Stagger the seams. Never stack vertical joints directly above each other course to course. Offset each course by at least one stud bay (16″ / 40.6 cm) so seams don’t line up into a continuous weak line.
- Run the long dimension across the supports. On floors and roofs, the 8-ft length should span perpendicular to joists or rafters, so each sheet bears on the maximum number of supports.
- Start from a corner and a straight edge. Begin sheathing at one bottom corner of a wall (or one corner of a floor) and work outward. The first sheets set the reference for everything after.
- Plan the rips before cutting. When a wall is 12 ft tall and sheets are 8 ft, the 4-ft rip course goes at the top or bottom — decide in advance so offcuts are usable, not random. Sketching the layout is covered in the formula guide’s cut-optimization section.
- Consider 4×9 or 4×10 sheets for tall walls. A 9-ft or 10-ft wall sheathes with zero horizontal seam using longer sheets — fewer cuts, less waste, a stiffer wall. Price the longer sheets; the labor savings often justify the premium.
Handling and Storage: Flat In, Flat Out
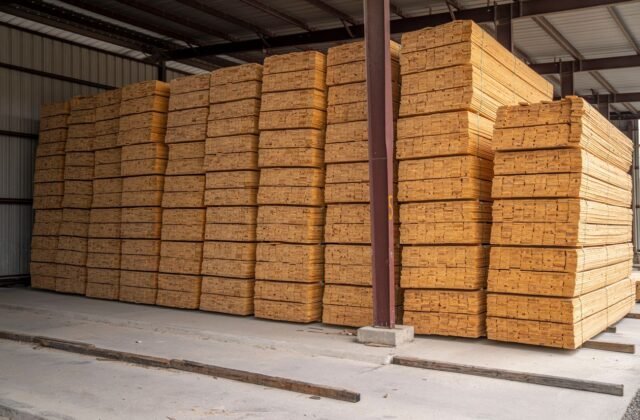
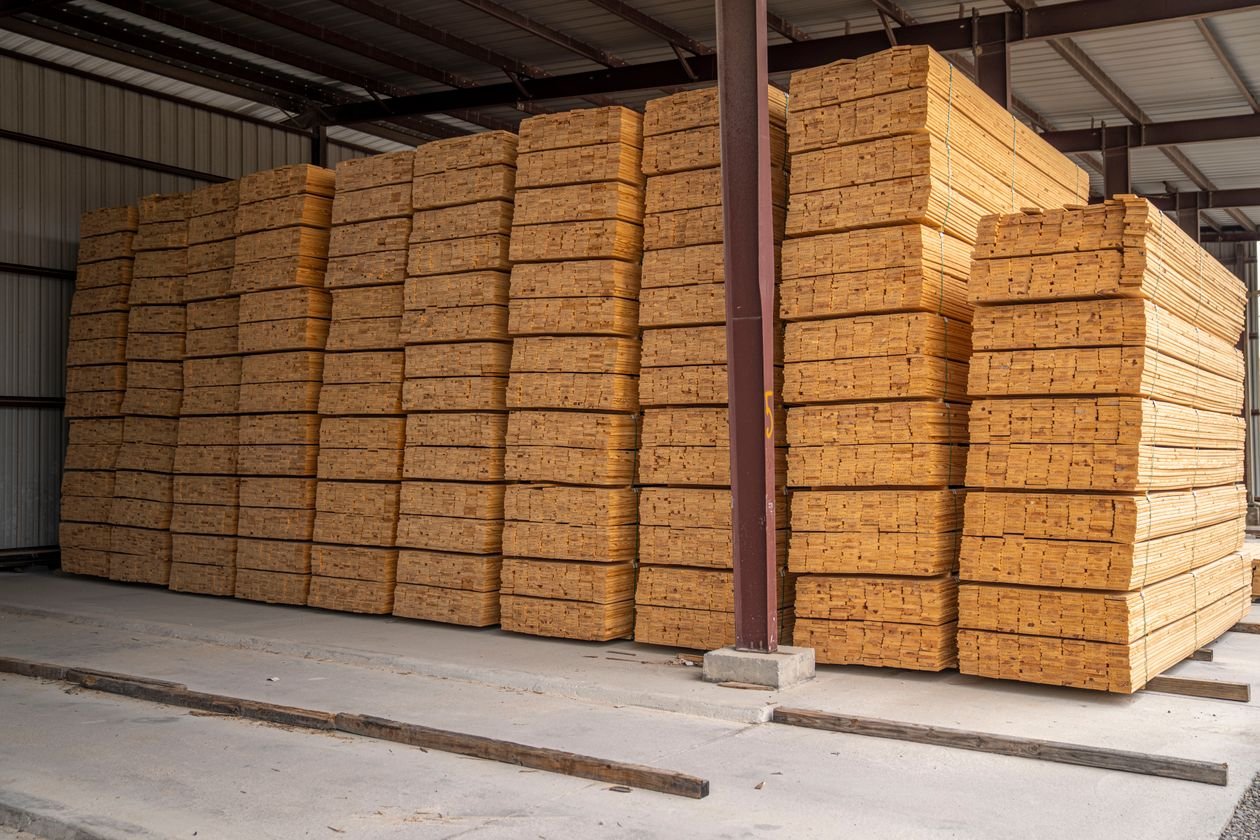
- Store sheets flat, off the ground. Stack on at least three level stickers (spacers) on a flat surface. Sheets stored on edge or on uneven ground take a permanent bow.
- Keep them dry before installation. A rainstorm on an uncovered stack swells edges and invites delamination. Tarp the stack; install dry sheets.
- Acclimate interior panels. Underlayment and hardwood plywood going inside a conditioned space should sit in that space 48 hours before installation so they equalize to indoor humidity.
- Carry, don’t drag. Dragging a sheet across a subfloor or driveway scars the face and rounds the edges — edges are the glue surface on T&G joints.
- Inspect at delivery. Check for delamination, broken corners, and warp before the truck leaves. Reject bad sheets on the spot; it’s far harder after delivery is signed. The checklist guide includes a delivery inspection list.
Fastening Judgment
- Follow a nailing schedule. Structural sheathing has prescribed fastener spacing — commonly 6″ (15 cm) on panel edges and 12″ (30 cm) in the field for walls, tighter for high-wind or seismic zones. Your local code or the APA panel stamp governs; see the code compliance guide.
- Leave expansion gaps. A 1/8″ (3 mm) gap between sheet edges allows for moisture expansion. Butted-tight sheets buckle when they swell — the single most common cause of wavy subfloors.
- Use the right fastener for the exposure. Exterior and pressure-treated-adjacent work wants hot-dipped galvanized or stainless fasteners; interior subfloors can use coated screws or ring-shank nails.
- Glue subfloors. A bead of construction adhesive on each joist before laying 3/4″ T&G subfloor dramatically cuts squeaks. It’s cheap insurance you’ll never get to retrofit.
- Don’t overdrive. Fastener heads should sit flush, not crush the face veneer. Overdriven nails lose a large share of their holding power.
Waste-Saving Habits
- Cut the big pieces first. Full and near-full sheets get cut before small fillers, so mistakes consume offcuts, not fresh sheets.
- Save every offcut wider than 6″. Strips fill narrow bays, back blocking, and shim stock. A labeled offcut pile is a free sheet over the course of a job.
- Batch identical cuts. Measure once, then gang-cut repeated pieces. Fewer setups mean fewer miscuts.
- Buy one spare sheet. Beyond the calculated waste allowance, one extra sheet covers the miscut, the dropped corner, and the piece the inspector wants doubled. Unused, it becomes shelving.
Worked Example: Applying Tips to the Canonical Wall
The standard example: a 12 ft × 16 ft surface = 192 sq ft → 6.0 sheets → × 1.10 = 6.6 → 7 sheets (metric: 3.66 m × 4.88 m = 17.84 m² → ÷ 2.973 = 6.0 → × 1.10 = 6.6 → 7).
If that surface is a 16-ft-tall wall: run sheets vertically in a 12-ft-wide run — but sheets are only 8 ft long, so plan two courses (8 ft + 8 ft covers 16 ft exactly) with staggered vertical seams, 1/8″ gaps between sheets, 6″/12″ nailing, and the better face oriented outward if the wall will be visible before siding. Zero rips, near-zero waste — the layout does the economizing the arithmetic can’t.
Related Guides
- Complete Guide — the full walkthrough of the calculator, formulas, and worked example.
- Formula Explained — the area ÷ 32 derivation, waste math, and cut optimization.
- Material Guide — grades, thicknesses, and T&G explained so you buy the right panel.
- Code Compliance — span ratings, nailing schedules, and what to verify locally.
- Checklist — ordering, delivery, and installation checklists.
- DIY vs Pro — when the labor savings justify doing it yourself.
Frequently Asked Questions
Should plywood seams be staggered?
Yes. Offset vertical seams between courses by at least one stud or joist bay so joints don’t align into a continuous weak line. Staggering also distributes offcuts usefully.
Which way should the long dimension of the sheet run?
Across the supports — perpendicular to joists, rafters, or studs — so each sheet bears on as many framing members as possible. This maximizes stiffness.
How much gap should I leave between plywood sheets?
About 1/8″ (3 mm) at edges and ends for expansion. Sheets installed tight will buckle as they absorb moisture.
Should I glue a plywood subfloor?
Yes — construction adhesive on the joists plus proper fastening is the standard defense against squeaks, and it adds composite stiffness to the floor.
Is it worth buying 4×10 sheets instead of 4×8?
For walls 9–10 ft tall, often yes: one course with no horizontal seam means fewer cuts, less waste, and a stiffer wall. Compare the per-square-foot price and the labor saved.
How should I store plywood before installation?
Flat, stacked on level stickers off the ground, covered and dry. Sheets stored on edge or on uneven ground warp permanently.
Get Your Number
Good sheathing is arithmetic plus fieldcraft: the Plywood Sheet Calculator gives you the sheet count, and these habits make every sheet perform — staggered seams, expansion gaps, dry storage, and cuts planned before the saw starts. Estimate with the estimating guide, buy with the cost guide, and install like the wall has to stand for fifty years — because it does.
Disclaimer: Calculator results are planning estimates based on the dimensions you enter. Actual sheet needs vary with layout, cuts, openings, and waste. Verify quantities with your supplier and consult a licensed professional or your local building authority for structural or code-related decisions.