Introduction
Hypothetical case study — illustrative example, not a real project. What follows is a worked-through scenario showing how the estimating, material, and cost guidance in this series combine on a single project. Every number is computed from the canonical example used across all twelve guides: a 24 ft × 30 ft (7.32 m × 9.14 m) monolithic slab with a 4 in (10 cm) interior and a thickened edge 12 in (30.5 cm) deep × 16 in (40.6 cm) wide. Check each step against the Monolithic Slab Calculator — the results should match.
The Scenario
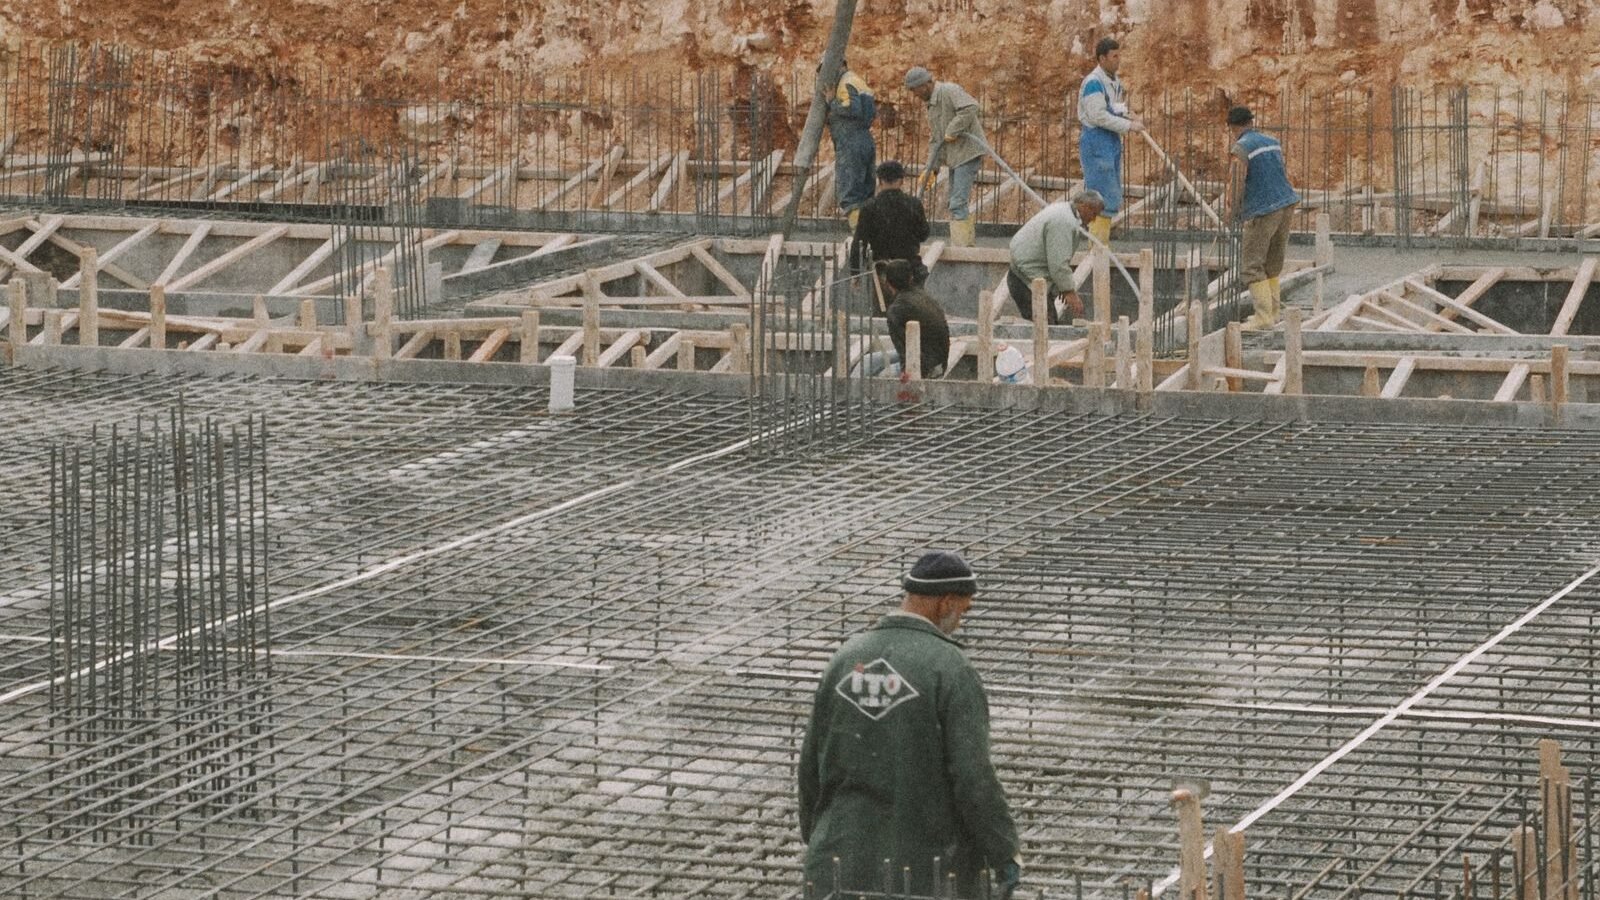
A homeowner plans a detached 24 ft × 30 ft garage on a flat, accessible lot with good soil in a mild climate — no frost-depth complication. The approach is the common hybrid: the owner handles excavation, base, forms, steel, and vapor barrier over two weekends, then hires a finisher crew for pour day. A permit is pulled up front, and the footing inspection is scheduled before the pour, per the code compliance guidance in this series.
Step 1: Volume
Following the formula derivation:
- Interior: 24 × 30 × (4/12) = 240 ft³ (6.796 m³)
- Edge strip area: 108 × (16/12) − 4 × (16/12)² = 136.89 ft² (12.717 m²)
- Edge volume: 136.89 × (8/12) = 91.26 ft³ (2.584 m³)
- Total: 240 + 91.26 = 331.26 ft³ = 12.27 yd³ (9.38 m³)
- Order with 10% waste: 13.50 yd³ (10.32 m³)
The edge contributes 27.5% of the total — had it been omitted from the estimate, the order would have fallen short by more than three cubic yards. The estimating guide was used to set the 10% waste allowance: machine-formed, level site, compacted base.
Step 2: Materials
| Material | Quantity (imperial) | Quantity (metric) |
|---|---|---|
| Ready-mix concrete, 3500 psi | 13.50 yd³ ordered | 10.32 m³ ordered |
| #4 rebar (edge, 2 bars + laps) | ~250 lineal ft | ~76 lineal m |
| Welded wire mesh 6×6 (field + laps) | ~790 ft² | ~73.6 m² |
| Crushed stone base, 4 in compacted | 8.89 yd³ (~12–13 tons) | 6.80 m³ |
| Vapor barrier, 10 mil (+ laps) | ~792 ft² | 73.6 m² |
| Chairs, tie wire, form lumber, stakes | 108 lineal ft of forming | 32.9 lineal m |
Mix selection followed the material guide: 3500 psi, 4–5 in slump, air entrainment for the region’s freeze-thaw exposure.
Step 3: Illustrative Budget
Using the planning ranges from the cost guide (US, regional variation applies):
| Line item | Illustrative cost |
|---|---|
| Concrete, 13.50 yd³ @ ~$175/yd³ | ~$2,360 |
| Excavation & grading (DIY rental + disposal) | ~$900 |
| Base stone, 12–13 tons delivered | ~$550 |
| Steel, mesh, chairs, barrier, forms | ~$900 |
| Finisher crew, pour day | ~$1,200 |
| Permit & inspections | ~$300 |
| Subtotal | ~$6,210 |
| Contingency (12%) | ~$745 |
| Total | ~$6,955 |
Step 4: Execution Notes
Prep followed the pro tips: topsoil stripped, subgrade compacted and proof-rolled, base screeded flat, 10-mil barrier lapped and taped, edge bars chaired 3 in clear, mesh chaired for the upper third. Control joints were planned on a 10 ft grid (two cuts each way) and saw-cut the same evening. The pour ran perimeter-first, interior field second, with the finisher crew of three completing 720 ft² inside the working window. Curing compound was applied immediately after finishing, and the slab stayed undisturbed for 7 days.
What This Illustrates
Three lessons generalize beyond the hypothetical: the edge volume is material (27.5% here — never estimate a monolithic slab as a flat rectangle); the hybrid approach concentrates spending where skill matters (prep is cheap in DIY hours, finishing is cheap in hired hours); and the sequence is the project — permit, inspection, prep, pour, cure, in that order, with no step skipped. The pre-pour checklist in this series is the operational version of this scenario’s Step 4.
A fourth lesson hides in the budget: the contingency line. Twelve percent on a well-understood site is enough; on unknown soil or a first-time owner-builder, fifteen to twenty is more honest. Contingency isn’t pessimism — it’s the recognition that excavation always reveals something the estimate couldn’t know. Spend it on nothing and it becomes savings; need it and it becomes the reason the project finished.
Finally, note what the case study deliberately left out: no structural surprises, no weather delays, no inspection failures. Real projects rarely run this clean, which is exactly why the estimate, the checklist, and the inspection schedule exist — they convert the surprises you can’t prevent into problems you can afford. Run your own version of Step 1 through Step 4, and the hypothetical becomes a plan you can actually build from.
Related Guides
- Monolithic Slab Complete Guide — the same example as a pure estimate.
- Monolithic Slab Cost Guide — the ranges this budget draws on.
- Monolithic Slab Estimating Guide — measurement and waste method.
- Monolithic Slab DIY vs Pro — the hybrid approach explained.
- Monolithic Slab Pro Tips — the execution details.
Frequently Asked Questions
Is this a real project?
No — this is a hypothetical, illustrative case study. The numbers are real arithmetic on the canonical example dimensions, but the scenario, budget, and timeline are constructed to demonstrate the method. Treat it as a worked template: substitute your own dimensions, local prices, and site conditions, and the same four steps produce your project’s numbers.
Why the hybrid DIY/pro approach?
It puts money where skill is time-critical (finishing) and sweat equity where pace is forgiving (prep) — the best cost-to-quality ratio for most owner-builders.
Would the numbers change in my region?
The geometry wouldn’t — 13.50 yd³ is 13.50 yd³ everywhere. The unit prices would: concrete, labor, and disposal vary widely by region, so re-price every line locally.
Get Your Number
Run your own dimensions through the Monolithic Slab Calculator, build the same four steps — volume, materials, budget, execution plan — and you’ll have a project plan, not just a number.
Disclaimer: Calculator results are planning estimates based on the dimensions you enter. Actual concrete requirements vary with site conditions, formwork accuracy, and mix design. Cost figures in this hypothetical example are illustrative — verify volumes with your supplier and consult a licensed professional or your local building authority for structural or code-related decisions.

