Introduction
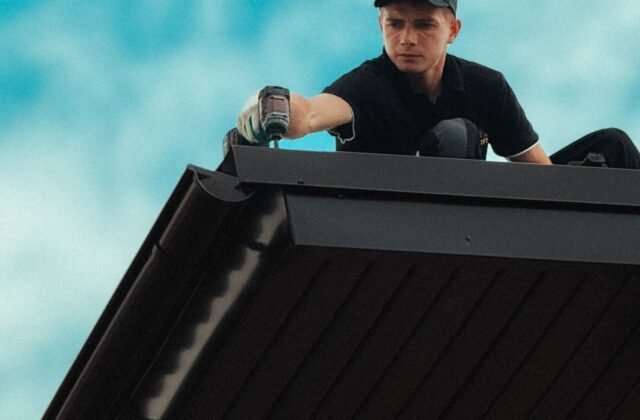
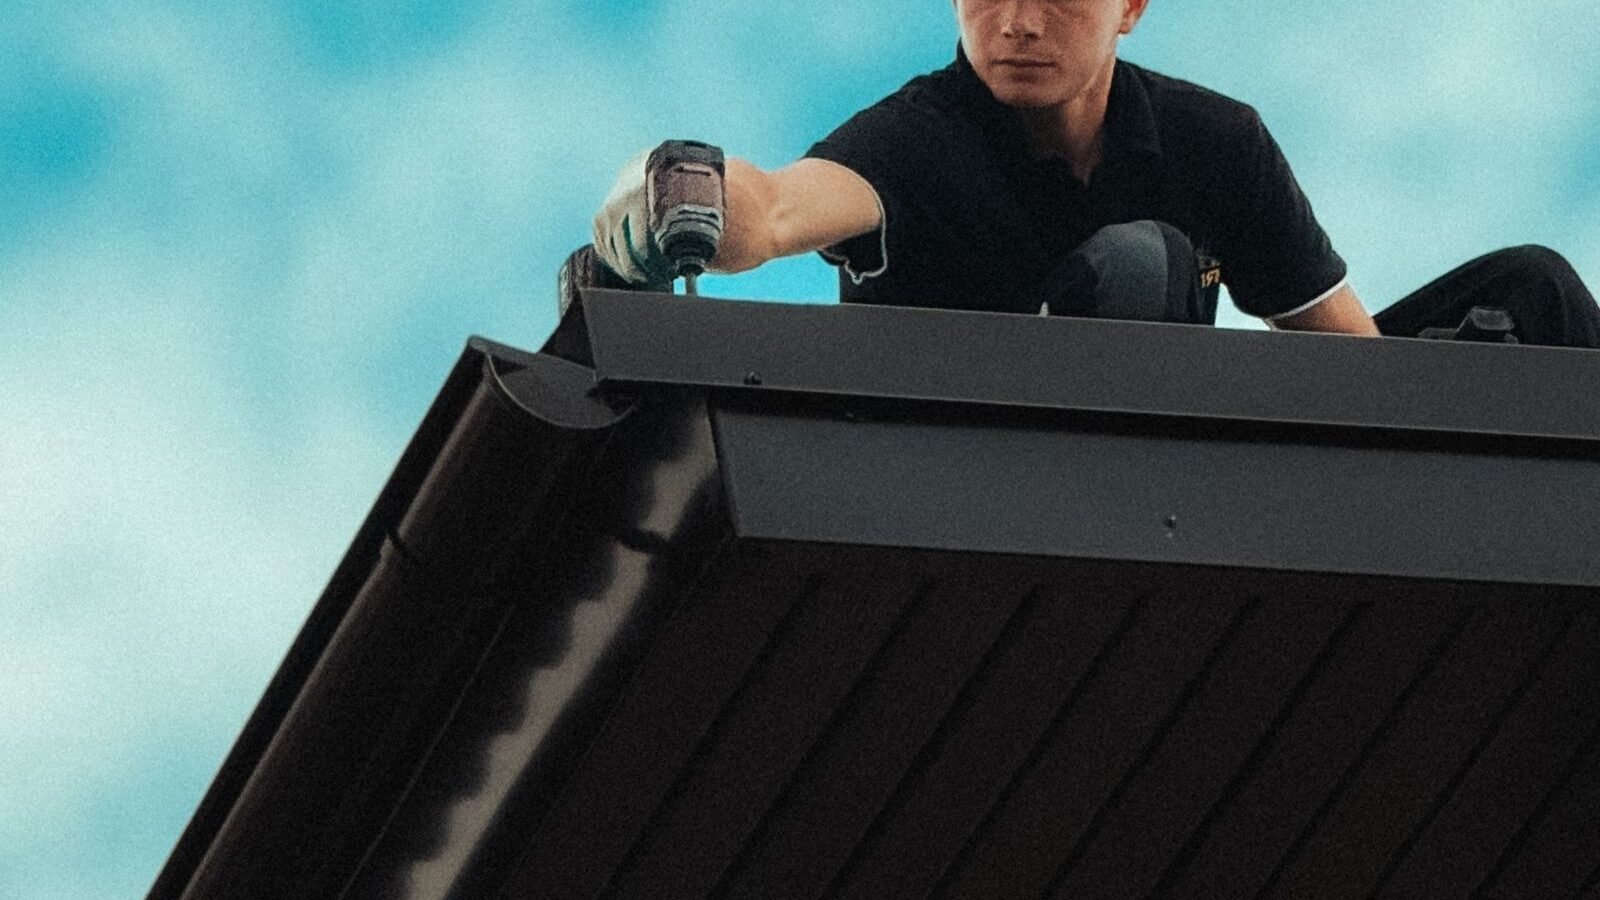
The difference between a metal roof that looks crisp for 40 years and one that waves, leaks, or rattles is rarely the panel — it is the ordering, handling, and installation judgment around it. The trade has settled on a set of practices that prevent the expensive, visible failures. This guide collects the ones that matter most.
Start with accurate quantities from the Metal Roof Calculator, then apply the tips below to make sure what you ordered arrives right, goes up straight, and stays flat.
Ordering Panels Like a Pro
Confirm coverage width on the quote — not overall width
Supplier quotes sometimes list the sheet width (“18 in”) rather than the coverage width (“16 in”). A 40 ft eave needs 480 ÷ 16 = 30 panels, not 480 ÷ 18 = 27. Before you approve any order, ask the supplier to state the coverage width in writing and re-run your panel count against it. This one check prevents the most common short-order in the trade.
Order every panel from the same coil lot
Paint color varies slightly between coil batches — invisible on the sample chip, obvious across a 40 ft roof in afternoon sun. Specify one coil lot for all panels and trim on the purchase order. If you must split an order across deliveries, put the break at a hip, valley, or gable end where a slight shade shift hides in the shadow line.
Add 1–2 spare panels beyond the waste factor
The waste percentage covers cutting; spares cover damage — a panel creased in handling, a mis-cut at a valley, a future repair. Custom colors carry multi-week lead times, so two spare panels stored flat in a dry place are cheap insurance. Add them to the order explicitly rather than hoping the waste allowance covers it.
Order trim from the same supplier, same color, same gauge
Ridge cap, rake trim, and valley flashing in a “close enough” color will read as a mismatch for the life of the roof. Trim is brake-formed from flat stock — order it with the panels so it comes from the same coil. The material guide lists every trim piece a typical roof needs.
Handling Long Panels
Panels over 20 ft (6 m) long behave less like building material and more like sailcloth — they catch wind, flex, and crease if carried wrong. Plan the delivery and the crew around them:
- Crew size: one person per 8–10 ft of panel length. A 26 ft panel wants three to four carriers, spaced evenly, lifting from the edges — never from the middle of the flat.
- Carry vertical, on edge. Panels carried flat sag between carriers and oil-can permanently. Carry them on edge, like a sheet of glass, and keep them vertical going up the ladder or lift.
- Never drag. Dragging a panel across the eave or another panel scratches the paint down to bare metal. Lift, don’t slide — and lay foam or carpet scraps on the roof surface where panels will rest.
- Support the overhang. A long panel staged on the roof should be supported every 8 ft and never left cantilevered far past a support in wind. Strap the bundle until the moment of installation.
- Check the delivery truck’s turning radius. A 40 ft flatbed delivering 30 ft panels needs a straight approach. Walk the delivery path before the truck arrives.
Preventing Oil Canning
Oil canning is the visible waviness in the flat areas of metal panels — a cosmetic issue, not a structural one, but the most common complaint about new metal roofs. It comes from a mix of panel stress, thermal movement, and installation technique. Prevention is a system:
- Choose striated or ribbed panels for wide flat areas. Striations (subtle longitudinal ribs) break up the flat and hide waviness that a dead-flat panel would show.
- Go heavier on gauge for wide coverage. 24-gauge oil-cans less than 26-gauge, which oil-cans less than 29-gauge. On standing seam wider than 16 in coverage, the heavier gauge is worth the upcharge.
- Install on a flat, true deck. Every dip and hump in the substrate telegraphs through the panel. Sight down the deck before underlayment goes on; shim or replace problem areas.
- Don’t over-tighten clips or screws. Clips should hold the panel without pinning it dead — the panel must be free to move with temperature. Overdriven screws dimple the panel around every fastener.
- Leave expansion room. A 26 ft steel panel grows about 0.2 in (5 mm) across a 100°F seasonal temperature swing. Floating clip systems and slotted fastener holes exist for exactly this reason — use them as the manufacturer directs.
- Install in moderate temperatures when possible. Panels installed dead tight on a cold morning will be under stress on a hot afternoon. Follow the manufacturer’s temperature guidance.
Some degree of oil canning is inherent to light-gauge metal — reputable manufacturers say so in their own literature. The goal is to keep it invisible from the ground, which the steps above accomplish on the vast majority of roofs.
Layout and Installation Sequence
Start square, stay square
Establish a true starting line: measure from the gable end and snap a chalk line square to the eave. Check the line against the ridge — if the roof is out of square (many are, by an inch or two over 40 ft), plan the drift so the error disappears under the rake trim at the far end, not in the middle of the field. Re-check square every few panels; a 1/8-in drift per panel becomes 3 in over 24 panels.
Install in the right order
The standard sequence: drip edge → underlayment → valley flashing → panels (eave to ridge, starting at the gable end away from the prevailing view) → rake trim → ridge cap. Valleys go under the panels; ridge cap goes over them. Pipe boots go in as their panel is laid, not afterward — cutting a boot into a laid panel is how leaks start.
Cut with the right tools
Nibblers and electric shears cut cleanly without heating the paint or leaving a hot edge that rusts. Abrasive cutoff wheels are fast but burn the coating back from the cut and void many manufacturer warranties — avoid them. Touch up every cut edge with the manufacturer’s touch-up paint, top and bottom.
Sealant: less is more, in the right places
Butyl tape belongs at panel end-laps, trim laps, and under ridge closures — compressed between the layers, not smeared on top. A bead of sealant on top of a seam is a sign the joint wasn’t designed right; sealant exposed to UV fails in years while a proper metal-to-metal lap lasts decades.
Snow Country and High-Wind Details
In snow regions, add snow guards or snow rails above entries, driveways, and lower roofs — a metal roof sheds snow in dramatic sheets, and the avalanche is the hazard, not the weight. In high-wind zones, tighten clip spacing to 12–16 in per the manufacturer’s wind-uplift tables rather than the standard 24 in, and confirm the assembly’s rating (more in the code compliance guide).
Before the panels arrive, run the pre-installation checklist — most installation-day problems are actually ordering-day or deck-prep problems discovered too late.
Related Guides
- Metal Roof Calculator — Complete Guide — the full estimating overview.
- Common Mistakes — the errors these tips are designed to prevent.
- Metal Roof Material Guide — gauge, coating, and profile choices that affect installation.
- Pre-Installation Checklist — verify everything before install day.
- DIY vs Pro — honest thresholds for doing it yourself.
Put It Into Practice
Good metal roofing is 20% product and 80% process: right quantities, one coil lot, careful handling, square layout, and room for the metal to move. Get your quantities from the Metal Roof Calculator, order with the coverage width confirmed in writing, and walk the roof with the checklist before the first panel goes up.
Open the Metal Roof Calculator
Disclaimer: Calculator results are planning estimates based on the dimensions you enter. Installation practices vary by manufacturer, panel profile, and local conditions — always follow the manufacturer’s installation instructions for your specific product. Consult a licensed roofer or contractor for installation decisions, and check local building code requirements before starting work.