Introduction
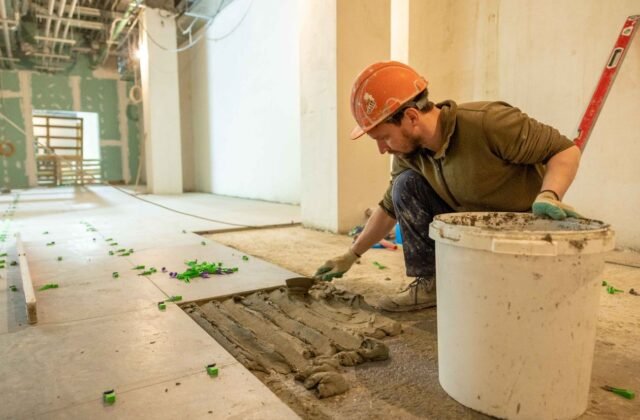
Floating click-lock engineered hardwood is one of the most DIY-accessible flooring projects — no nail guns, no wet adhesive, no sanding. But “DIY-friendly” doesn’t mean “DIY-optimal for every situation.” Nail-down solid hardwood, glue-down installations, stairs, and site finishing are professional territory for reasons that go beyond tools: moisture testing, subfloor correction, and the speed that comes from doing it daily.
Whatever you decide, start with the quantity: the Hardwood Flooring Calculator gives you net square feet and the waste-adjusted order. This guide helps you decide honestly who should install it.
When DIY Makes Sense
DIY is a strong choice when all of these are true:
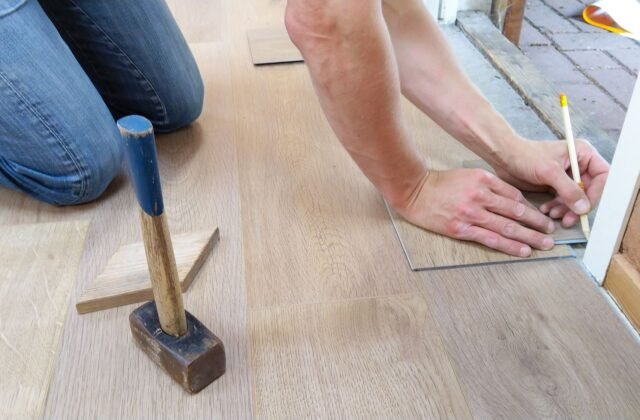
- Floating click-lock engineered flooring — the method designed for DIY; boards lock together over underlayment
- Square or rectangular rooms with few doorways — straight runs, minimal complex cuts
- Sound, flat subfloor — no leveling, no moisture issues, no squeak repairs needed
- Above-grade, wood subfloor or tested slab — no below-grade moisture puzzles
- You own or can rent the tools — tapping block, pull bar, spacers, jamb saw, miter saw or flooring cutter
- Realistic schedule — a pro crew does 400–600 ft²/day; a first-timer does 100–200 ft²/day
Typical DIY savings: $2–$5/ft² in labor. On our 224 ft² example room (251 ft² with waste), that’s $500–$1,250 saved — real money, as detailed in the cost guide.
When to Hire a Pro
Hire out when any of these apply:
- Nail-down or staple-down solid hardwood — flooring nailers, blind-nailing technique, and fastener schedules are pro skills; mistakes mean squeaks and split tongues
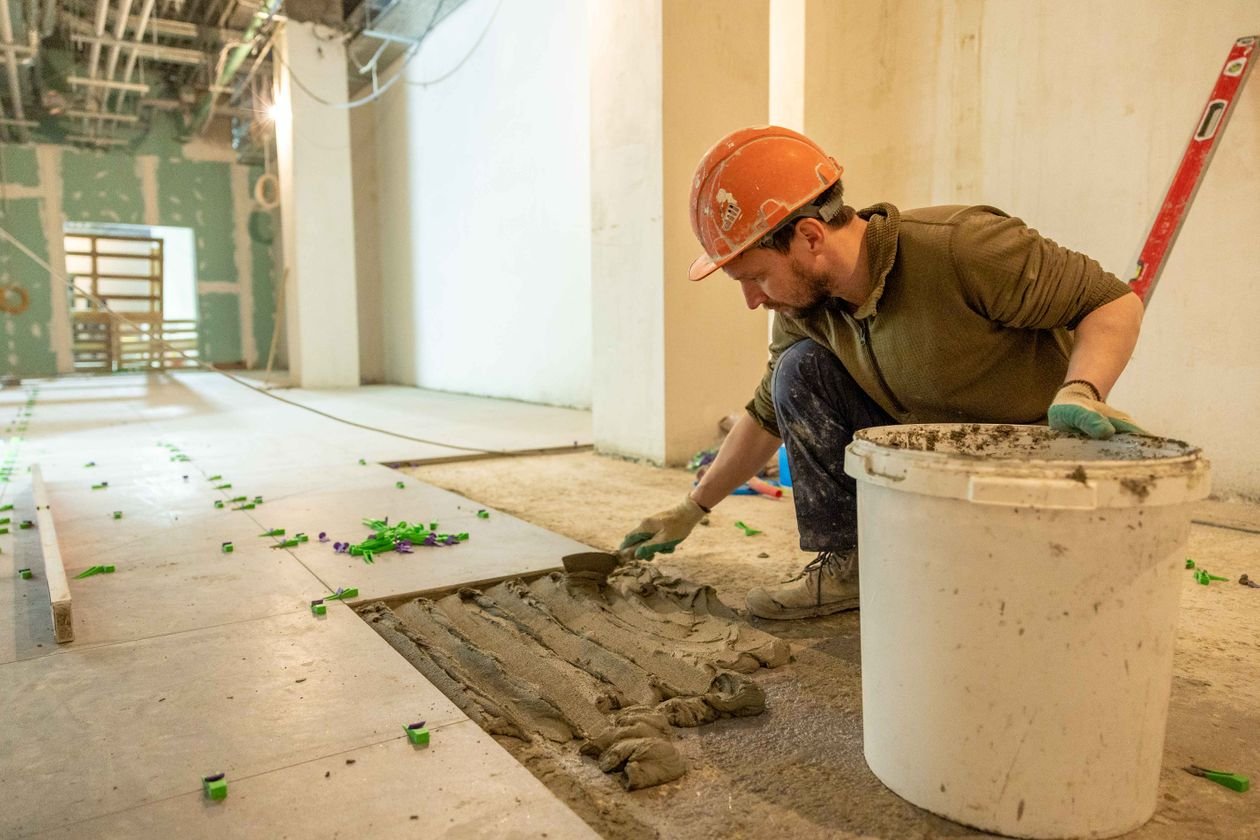
- Glue-down over concrete — moisture testing, adhesive selection, and working time are unforgiving
- Stairs — every tread custom-cut; nosing installation is fiddly skilled work
- Herringbone, chevron, or borders — layout geometry that punishes beginners
- Site finishing — drum sanders injure floors in inexperienced hands; dust containment and finish application are crafts
- Subfloor problems — leveling, moisture remediation, structural squeaks
- Below-grade or radiant-heat installations — warranty-sensitive conditions manufacturers scrutinize
The Honest DIY Cost Comparison
DIY isn’t free — price the full picture:
- DIY costs beyond materials: tool purchase/rental ($100–$300: miter saw or flooring cutter, tapping block kit, jamb saw rental, knee pads), underlayment, transitions, and the value of 2–4 weekends. Plus the rework risk: a first-timer’s waste rate runs closer to 15% than 10% — order accordingly.
- Pro costs beyond labor: the quote should include transitions, shoe molding, furniture moving (or state it doesn’t), and old-floor removal. Get these in writing.
- Break-even: on small rooms (under ~150 ft²), pro minimum charges ($500–$1,000) can exceed DIY tool costs — DIY wins. On large or complex jobs, pro speed and lower waste often narrow the gap.
Honest Skill Self-Assessment
Before committing to DIY, score yourself against the actual skills involved — not enthusiasm:
- Have you run a miter saw accurately? Flooring is dozens of precise crosscuts. If every cut needs three tries, your waste factor doubles and your timeline triples.
- Can you read a room for square? Snapping a true chalk line, checking final-row width, and undercutting jambs are layout skills, not strength skills.
- Do you own knee pads and patience? You’ll spend hours kneeling. Rushing the last 10% of a floor is where visible mistakes concentrate.
- Have you done a “test room”? A closet or laundry room in the same product is the ideal shakedown — low visibility, real experience. If the closet floor looks good, scale up; if it doesn’t, you’ve spent one box learning.
The test-room strategy de-risks the whole decision: one box of flooring and one weekend tells you more about your DIY viability than any guide. If the test goes well, your per-room speed will roughly double by the third room as technique locks in. Either way, review the layout fundamentals in pro tips before your first cut — racking, staggering, and starter-row planning are the same skills pros use daily.
The Hybrid Approach
The smart middle path many homeowners take:
- DIY the demolition and prep — remove old flooring, pull baseboards, clean and inspect the subfloor. Saves $1–$3/ft² with zero skill risk to the new floor.
- Pro the installation — especially nail-down, stairs, or patterns.
- DIY the finishing touches — paint and reinstall baseboards, install shoe molding, caulk transitions.
This captures most DIY savings while keeping the skilled work skilled. Discuss it with bidders upfront — most installers happily quote “install only” labor.
Vetting an Installer
Ask every bidder:
- How long will you acclimate the wood, and will you moisture-test subfloor and flooring?
- What fastener type and spacing will you use for my plank width?
- How do you handle the final-row width and expansion gaps?
- Is furniture moving, old-floor removal, and trim included?
- What does your warranty cover, and for how long?
Get three quotes. The cheapest bid that can’t answer the moisture question is the most expensive bid you’ll ever accept — the failure modes are catalogued in common mistakes.
Related Guides
- Complete Hardwood Guide — the full walkthrough.
- Cost Guide — DIY vs. pro pricing compared.
- Pro Tips — techniques worth learning either way.
- Project Checklist — what to confirm before work starts.
- Hardwood Calculator FAQ — quick answers.
Frequently Asked Questions
Can a beginner install hardwood flooring?
Yes — floating click-lock engineered flooring in a simple rectangular room is a genuine beginner project. Nail-down solid, glue-down, stairs, and patterns are not beginner projects.
How long does it take to DIY a bedroom floor?
A first-timer typically installs 100–200 ft² per day. A 224 ft² bedroom is a full weekend plus prep and trim — plan two weekends to avoid rushing.
What tools do I need to install click-lock hardwood?
Tapping block, pull bar, spacers, rubber mallet, miter saw or laminate flooring cutter, jamb saw or oscillating tool for door casings, tape measure, chalk line, and knee pads. Total purchase or rental: roughly $100–$300.
Disclaimer: Calculator results are planning estimates based on the dimensions you enter. Actual material needs vary with species, board widths, layout pattern, subfloor condition, and installer technique. Verify quantities with suppliers and local professionals before ordering.