Introduction
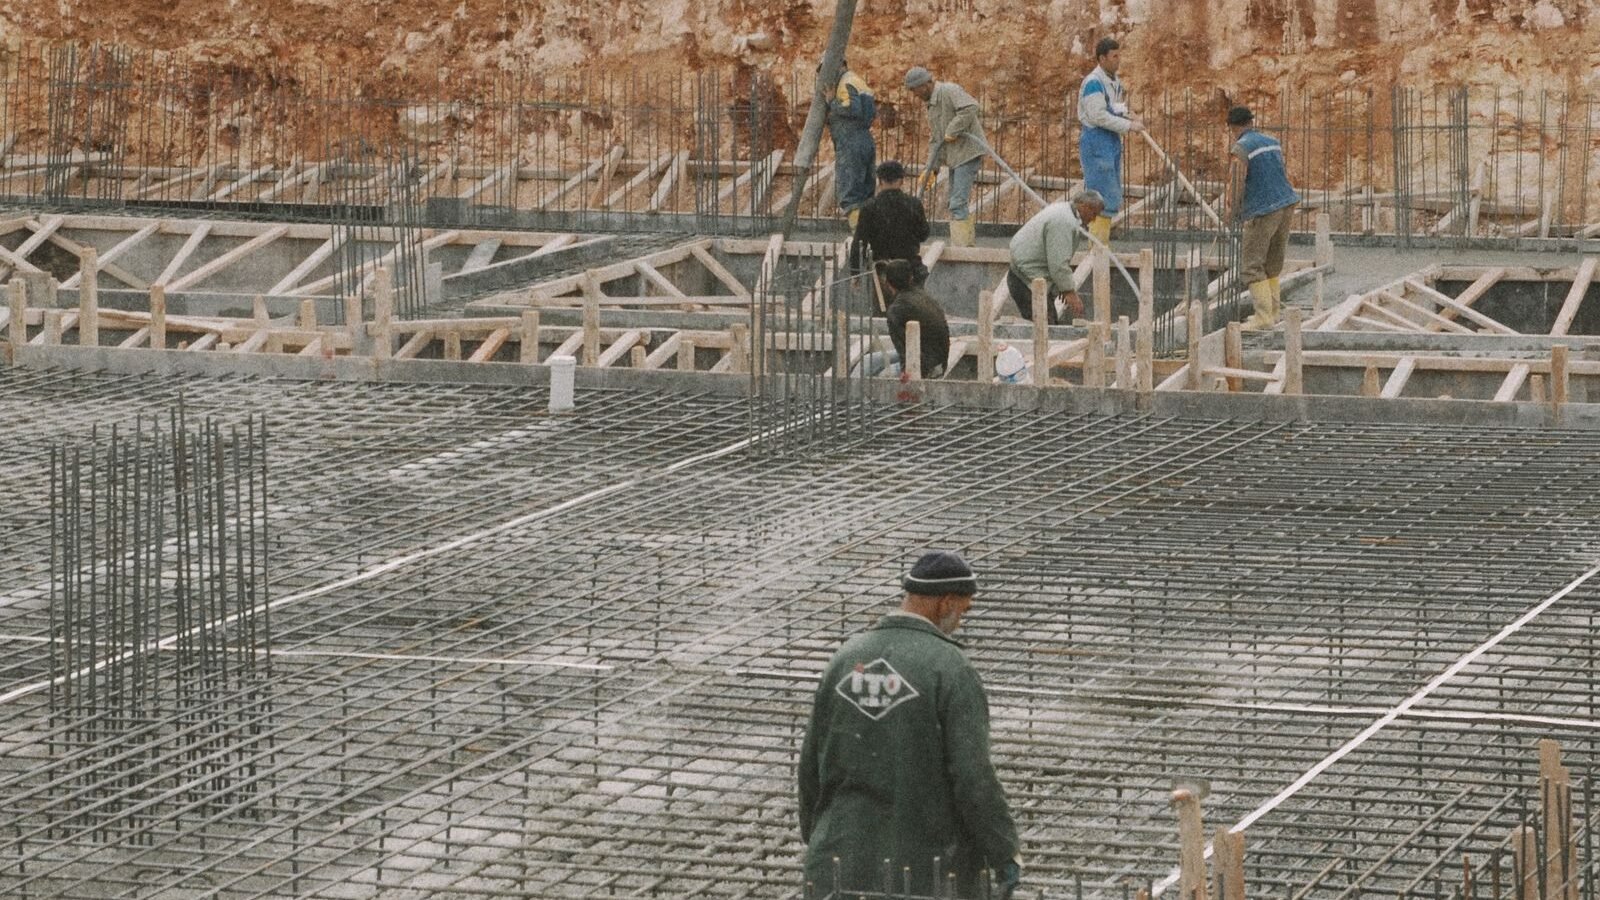
Buried concrete offers no second chances. Once the pour is placed, an undersized depth, a missing stirrup, or a cage with no cover becomes permanent — discoverable only by exposure, repairable only by replacement. The entire purpose of a pre-pour checklist is to move every verifiable decision to before the concrete arrives, when fixes cost minutes instead of thousands.
The Grade Beam Calculator verifies your quantities. This checklist verifies everything else: the takeoff, the forms, the steel, the cover, the order, and the pour-day setup — in the order you’d actually check them on site.
Before Ordering: the Takeoff Check
- ☐ Every beam tag on the foundation plan is listed and checked off — count the tags twice.
- ☐ Length, width, and depth per tag are taken from the beam schedule and sections, not from memory or a previous job.
- ☐ All dimensions converted to consistent units before multiplying (inches → feet, mm → m).
- ☐ Concrete volume computed per beam: L × W × D; subtotaled across the pour.
- ☐ Waste allowance applied: 10% standard, 10–15% for irregular or over-excavated trenches.
- ☐ Steel taken off per tag: longitudinal bars (count × length × unit weight) plus stirrups (count × length × unit weight).
- ☐ Lap splice allowance added: 10–15% on longitudinal steel; stock lengths confirmed with the supplier.
- ☐ Entire takeoff cross-checked in the other unit system — agreement is the proof.
- ☐ Beams grouped into the fewest deliveries; short-load fees accounted for.
The takeoff method behind these checks is in the estimating guide; the arithmetic is derived in the formula-explained guide.
Forms: Dimension, Bracing, and Line
- ☐ Inside dimensions match the design cross-section (e.g., 12 × 18 in / 300 × 450 mm) — measured, not assumed.
- ☐ Depth verified at multiple points along the run, not just the ends.
- ☐ Forms are level, straight, and braced against full-depth wet-concrete pressure.
- ☐ Excavation width is tight to design; over-excavation measured and waste allowance confirmed adequate.
- ☐ Subgrade compacted and stable; vapor barrier, blinding, or void forms placed where the design shows them.
- ☐ Form release agent applied where specified; joints sealed against grout leakage.
Steel: Count, Size, Spacing, and Position
- ☐ Bar count and size match the beam schedule — top steel and bottom steel both present.
- ☐ Stirrup size, spacing, and count verified with a tape: count = (length ÷ spacing) + 1.
- ☐ Every bar intersection tied; cage is rigid and cannot drift during the pour.
- ☐ Lap splice locations and lengths match the details; splices staggered as required.
- ☐ Cage supported on chairs or concrete dobies — never bricks, wood, or soil.
- ☐ Concrete cover verified on all faces including the bottom: typically 2–3 in (50–75 mm).
- ☐ Construction joint locations (if any) match the drawings; joint faces prepared.
What each item protects is explained in the material guide; the failure modes for skipped items are in the common mistakes guide.
Pour Day: Order, Equipment, and Crew
- ☐ Steel inspection passed and signed off before concrete is scheduled.
- ☐ Concrete ordered to the specified mix: strength (typically 3,000–4,000 psi), slump, admixtures — confirmed on the ticket.
- ☐ Delivery ticket math rechecked: volume + waste, in the supplier’s units.
- ☐ Short-load fee confirmed; access route for the truck verified (or pump booked).
- ☐ Internal vibrator on site and working; crew briefed on systematic consolidation.
- ☐ Pour sequence planned: continuous placement, one end to the other, no unplanned joints.
- ☐ Weather plan in place: hot-weather evaporation control or cold-weather protection as conditions require.
- ☐ Curing materials on site before the truck arrives — not ordered after.
- ☐ No water to be added beyond the mix design’s allowance; slump adjustments go through the plant.
After the Pour: Curing and Backfill
- ☐ Curing started promptly and maintained for the specified period (commonly 7 days): wet burlap, curing compound, or covers.
- ☐ Beam protected from freezing (cold weather) and rapid drying (hot weather).
- ☐ Forms stripped only per the specification’s timing — not the schedule’s convenience.
- ☐ No loading: no backfill against, no material stacked on, no wall started above until specified strength is reached.
- ☐ As-built dimensions recorded for the project file while the beam is still visible.
Execution detail for the pour itself is in the pro tips guide; permit and inspection requirements are in the code compliance guide.
Worked Example: the 60-Second Quantity Sanity Check
Before signing any order, run the canonical beam — 24 ft × 12 × 18 in — as a mental cross-check of your own takeoff’s method:
Imperial: 24 × 1 × 1.5 = 36 ft³ = 1.333 yd³; +10% = 1.467 yd³ → 1.5 yd³ ordered.
Metric: 7.3152 × 0.3048 × 0.4572 = 1.0194 m³; 1.333 × 0.7645549 = 1.0194 m³ ✓; +10% = 1.121 m³.
Steel: 6 #6 × 24 ft × 1.502 = 216.29 lb × 1.12 = 242.24 lb; 25 #4 stirrups × 4.17 ft × 0.668 = 69.64 lb; total 311.88 lb (141.46 kg; 311.88 × 0.453592 = 141.46 ✓).
If your takeoff’s method reproduces these numbers on the reference beam, the method is sound — apply it to every tag with confidence. If it doesn’t, the method has a bug; find it before it prices a real order.
Related Guides
- Grade Beam Pro Tips — the execution standard behind the pour-day checks.
- Grade Beam Common Mistakes — what each unchecked box risks.
- Grade Beam Code Compliance — the inspection sequence the checklist serves.
- Grade Beam Material Guide — the materials being verified.
- Grade Beam Estimating Guide — the takeoff the first section checks.
Frequently Asked Questions
What is the single most important pre-pour check?
The steel inspection sign-off. It verifies bar sizes, spacing, laps, and cover against the approved drawings — everything that becomes unverifiable the moment concrete is placed. Never schedule the truck before it passes.
How do I verify concrete cover?
Measure from the form face (or trench wall) to the nearest steel on all faces, including the bottom, after the cage is fully tied. Typical requirement: 2–3 in (50–75 mm). The cage must sit on chairs or concrete dobies.
Should I check every beam or just one?
Every beam. Different tags on the same project commonly have different depths, steel schedules, and lengths — the checklist is per beam, not per project.
What if the excavation is wider than designed?
Measure the actual excavation and increase the waste allowance (10–15%) — the extra width fills with concrete. If the over-excavation affects depth or bearing, the engineer of record decides the fix, not the crew.
When can I backfill against the beam?
Only after the concrete reaches the specified strength and the specifications’ timing allows — never on schedule convenience. Early loading of green concrete risks the element.
Do I need the curing materials before the pour?
Yes — on site before the truck arrives. Curing starts promptly after placement; ordering burlap or compound after the pour is already late.
Get Your Number
Print this checklist, walk it beam by beam, and check every box before the concrete is scheduled — quantities from the Grade Beam Calculator, everything else by tape measure against the approved drawings. The ten minutes a pre-pour check takes are the cheapest insurance in foundation work, because buried concrete forgives nothing.
Disclaimer: Calculator results are planning estimates based on the dimensions you enter. This checklist is general guidance for verification practice, not a substitute for the project specifications or inspection requirements. Grade beams are engineered structural elements — follow the structural drawings, and consult a licensed structural engineer or your local building authority for design, sizing, and code decisions.

