Introduction
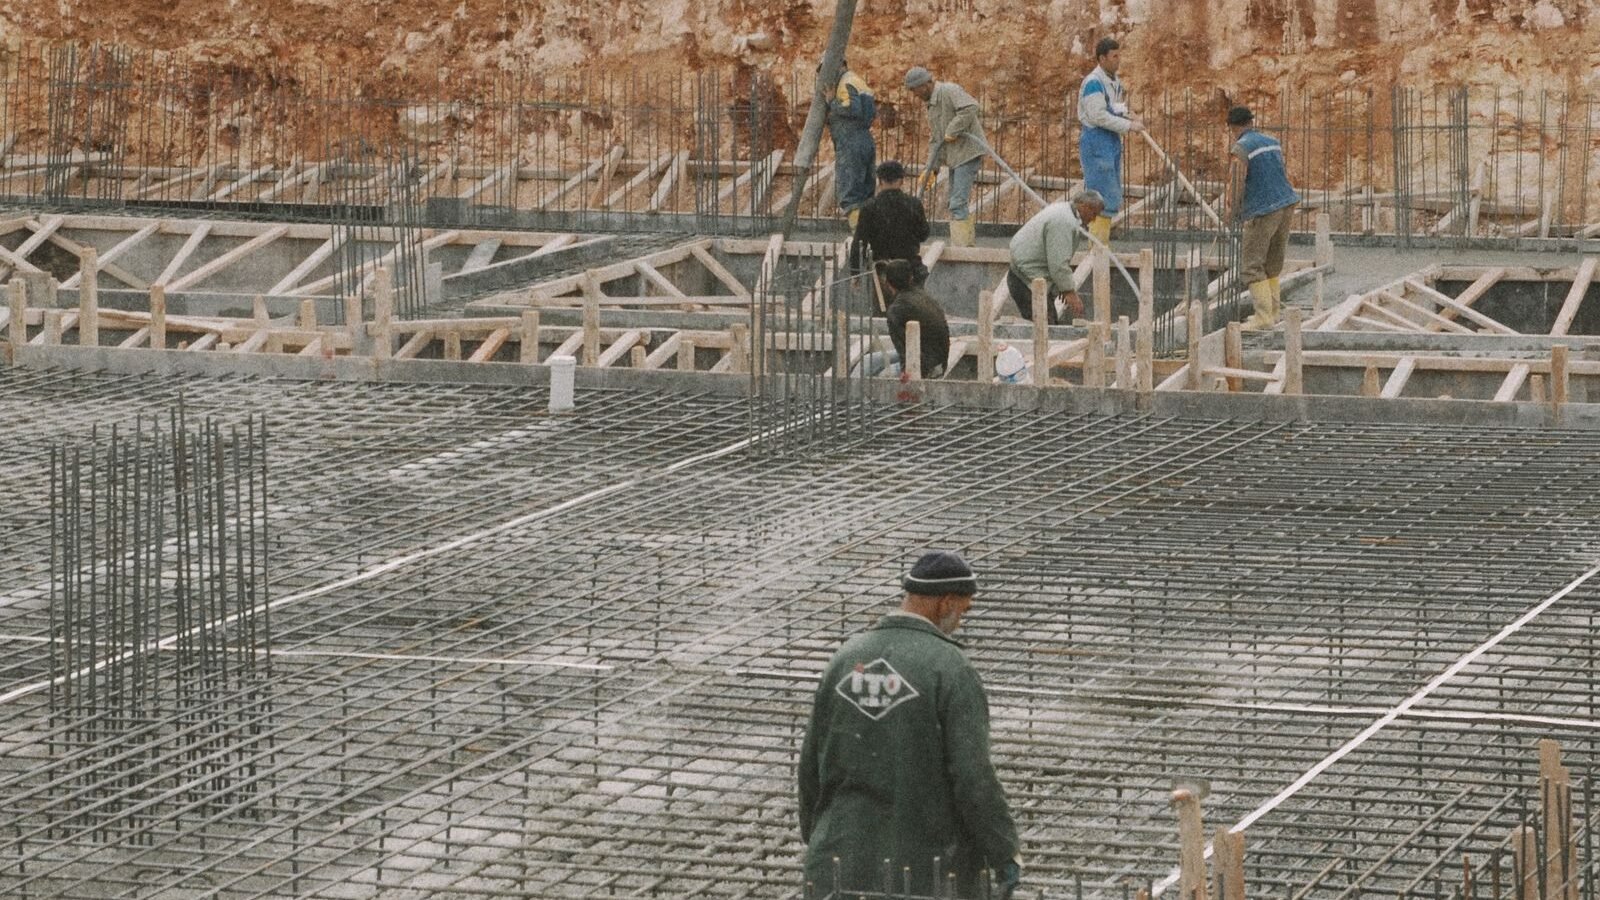
Estimating rebar is only half the job — the other half is getting the steel off the truck, cut, tied, and held in place so it actually ends up where the design puts it. Experienced crews treat this as a choreography: order once with a complete cut list, keep bars off the ground, tie efficiently, support everything, and inspect before the pour. The Foundation Rebar Calculator handles the counting; these tips cover everything that happens after you press “order.” For the estimating workflow itself, see the estimating guide; for what to check on pour day, the pre-pour checklist.
Ordering Tips
- Order from a cut list, not a guess. Write every piece down: size, length, quantity, and purpose (e.g., “cross bars #4 × 18 in, qty 41”). The cut list is both the order and the on-site verification sheet.
- Bundle the order. Steel, tie wire, chairs, and any mesh or dowels should ride one delivery — delivery is a flat charge that punishes split orders.
- Consider longer sticks. Suppliers often stock 30-ft and 40-ft lengths. Longer sticks cut lap count — and the lap steel you pay for — on long runs. Check transport: 40-ft sticks need a flatbed and a clear unloading path.
- Confirm grade and coating on the ticket. Grade 60 vs Grade 40 and black vs epoxy-coated bar look similar from the truck. Mismatched steel is a re-order, not a field fix — the material guide covers what each spec means.
- Check mill marks. Rebar carries rolled-in marks identifying mill, size, and grade. Spot-check a few sticks against the order before unloading.
- Keep 5–10% waste in the order, but keep it honest. Waste covers real cut-offs, not design changes. Over-ordering “to be safe” beyond 10% on simple layouts just ties up cash.
Handling and Storage Tips
- Store bars off the ground. Timber dunnage under the bundle keeps steel out of standing water and mud, which matters for keeping mill scale and rust off the bonding surface. Cover the bundle if rain is expected before placement.
- Keep coated bar separated. Epoxy-coated bars must not be dragged across black bar or dropped on hard ground — coating damage at a nick is a corrosion path. Handle with padded slings, not chains.
- Lift with two people minimum. A 20-ft #6 stick weighs about 30 lb (13.6 kg) — manageable alone, but two-person carries keep the bundle straight and prevent bent sticks that won’t tie cleanly.
- Cut with the right tool. A rebar cutter/bender tool, chop saw with an abrasive blade, or angle grinder all work. Measure twice — the calculator’s stick counts assume your cut lengths are right.
- Bend with a proper bender. Hooks and corner bends need the right radius for the bar size — sharp kinks weaken the bar and violate detailing rules. Hand benders work for #4 and #5; #6 and up want a mechanical bender.
Tying Tips
- Use 16-gauge tie wire for #4–#6 work. Heavier bars (#7+) want 14-gauge. Pre-cut wire ties with loop ends save enormous time over cutting from a spool.
- Tie a figure-eight or snap tie at every third or fourth intersection. Every intersection does not need a tie — the steel only needs to stay put during the pour. Alternating snap ties are fast and hold well.
- Keep ties tight but don’t over-twist. A snapped tie wire is a failed tie; two firm twists with pliers or a tie-wire spinner is enough.
- Tie laps, not just intersections. Each lap splice gets at least two ties (one near each end of the overlap) so the bars don’t separate when concrete flows around them.
- A spinning tie tool pays for itself. On anything over a few hundred ties, a manual or battery tie spinner cuts tying time roughly in half versus pliers.
- Keep the cage square. Check diagonals on tied sections — a cage that racked during tying pours out of position and throws off cover.
Placement and Support Tips
- Chairs and dobies every 4–5 ft (1.2–1.5 m). Bottom steel must sit on supports — concrete dobies (small concrete blocks) or plastic/metal chairs — so it holds its position and maintains cover above the soil. Undersupported bars sag between supports and end up with thin cover.
- Maintain cover everywhere. 3 in (75 mm) from soil-facing surfaces is the common requirement for footings cast against earth — verify the project requirement in the code compliance guide. Cover blocks at the sides as well as the bottom.
- Set top steel on supports too. Upper rows need chairs spanning from the bottom layer or the formwork — steel that rests on nothing ends up wherever gravity puts it.
- Plan the pour path. Keep walkways (planks over the steel) so the crew doesn’t step on the cage during the pour — foot traffic is the number one cause of displaced bars on residential jobs.
- Watch the vibrator. Concrete consolidation is necessary, but an overzealous vibrator head bangs bars out of position. Vibrate beside the steel, not against it.
Inspection Tips
- Walk the steel the evening before the pour. Check every lap for length and ties, every bar for cover, every corner for proper bends — fixes are free the night before and expensive the morning of.
- Count against the cut list. Your order cut list is the audit sheet: verify sizes, lengths, and quantities in place.
- Look for mud and loose rust. Bars should be free of mud, oil, and loose flaky rust before concrete goes in — heavy contamination breaks the bond. A wire brush pass fixes most of it.
- Photograph the cage. Photos of the tied steel, with a tape in frame for scale at laps and cover, are cheap insurance for inspection disputes and future reference.
- Confirm the inspector’s visit. Many jurisdictions require a steel inspection before the pour — schedule it so the inspector sees the cage, not the finished concrete. Missed inspections can mean uncovering work.
Related Guides
- Pre-Pour Checklist — everything to verify before the concrete arrives.
- Common Mistakes — the errors these tips are designed to prevent.
- Estimating Guide — step-by-step measurement and counting workflow.
- Material Guide — grades, coatings, and accessories.
- FAQ — quick answers to the most asked questions.
Make the Estimate Work in the Field
Good rebar work is mostly logistics: a complete cut list, one consolidated order, bars stored off the ground, efficient tying, supports every few feet, and an inspection walk before the pour. The Foundation Rebar Calculator gives you the quantities to build that cut list from — run your footing dimensions through it, then use the tips above to turn the order into steel that’s actually in the right place when the concrete arrives.
Open the Foundation Rebar Calculator
Disclaimer: Calculator results are planning estimates based on the dimensions and layout you enter. Installation practices, cover requirements, and inspection rules vary by jurisdiction — verify with your local building authority and have structural designs reviewed by a qualified engineer before ordering or installing.


1 comment