Introduction
The difference between a drywall job that looks professional and one that looks homemade is rarely the sheet count — it’s layout, hanging order, and finishing discipline. Pros don’t work harder; they sequence the work so each step makes the next one easier. The tips below cover layout, hanging, cutting, finishing, and delivery, in the order you’ll actually use them.
Start with quantities from the Drywall Calculator so material isn’t the thing you improvise. Then apply these tips — drawn from standard trade practice — to spend less time and get cleaner results.
Layout Tips: Plan Before You Hang
- Hang the longest sheets horizontally where possible. Horizontal hanging puts the long tapered edge at mid-wall height — the easiest joint to finish — and minimizes vertical butt joints, which are the hardest to hide. This is the single highest-leverage layout decision.
- Stagger butt joints. Never let butt joints line up vertically across adjacent rows. Offset them by at least one stud bay so joints don’t share a stud and don’t create a visible column of seams.
- Ceilings first, then walls. Hang ceiling sheets before wall sheets so the wall sheets tuck up under the ceiling edge and support it. The top wall joint also lands in the least visible position.
- Plan outlets and switches before cutting. Mark every box location on the sheet with a tape measure from a fixed reference corner — two measurements per box — and cut with a jab saw or rotary tool. Cutting boxes after hanging is how sheets get ruined.
- Choose sheet length to match the room. A 12-ft wall covered by one 4×12 sheet has zero butt joints; the same wall in 4×8 sheets has two. Measure your access route first — if a 12-ft sheet won’t fit up the stairs, the 4×10 or 4×8 plan wins. Sheet options are compared in the complete guide.
Hanging Tips
- Screw, don’t nail, for DIY work. Screws hold better, don’t pop, and are forgiving — a mis-driven screw backs out cleanly. Use 1-1/4 in coarse-thread screws for 1/2-in board on wood studs (fine thread for metal studs).
- Set screws just below the surface. The screw head should dimple the paper slightly without tearing it. A torn face holds nothing — if you tear one, add another screw an inch away. A dimpler bit or drywall screw gun with depth control makes this consistent.
- Don’t over-tighten or break the paper. Related to the above: the paper face is the fastener’s strength. Crushed or torn paper means that screw isn’t holding, and mud won’t fix it.
- Leave a small gap at the floor. Hold sheets about 1/2 in off the floor (a scrap of plywood as a spacer works). It protects the board from floor moisture and leaves room for flooring expansion.
- Rent a drywall lift for ceilings. A panel lift costs little to rent and turns a three-person struggle into a one-person job. Ceiling sheets are heavy, overhead, and unforgiving — the lift pays for itself in the first hour.
Cutting and Handling Tips
- Score and snap for straight cuts. Score the face paper with a sharp utility knife along a T-square or straightedge, snap the board back, then cut the back paper. One clean score beats three ragged ones — change blades often.
- Cut face-up for the face side. Always score the side that will face the room; the snap breaks cleanly away from the scored face.
- Carry sheets vertically, on edge. Two people, one at each end, sheet on edge — carrying flat invites a snap in the middle. This matters most for 4×12 sheets.
- Store flat and dry. Stack sheets flat on a level surface (on 2×4 sleepers) in a dry room. Leaning sheets against a wall warps them; moisture swells the edges. Delivery-day handling is covered in the drywall checklist.
Finishing Tips
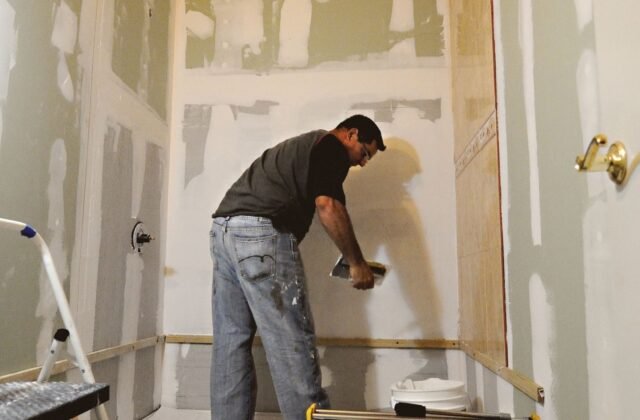
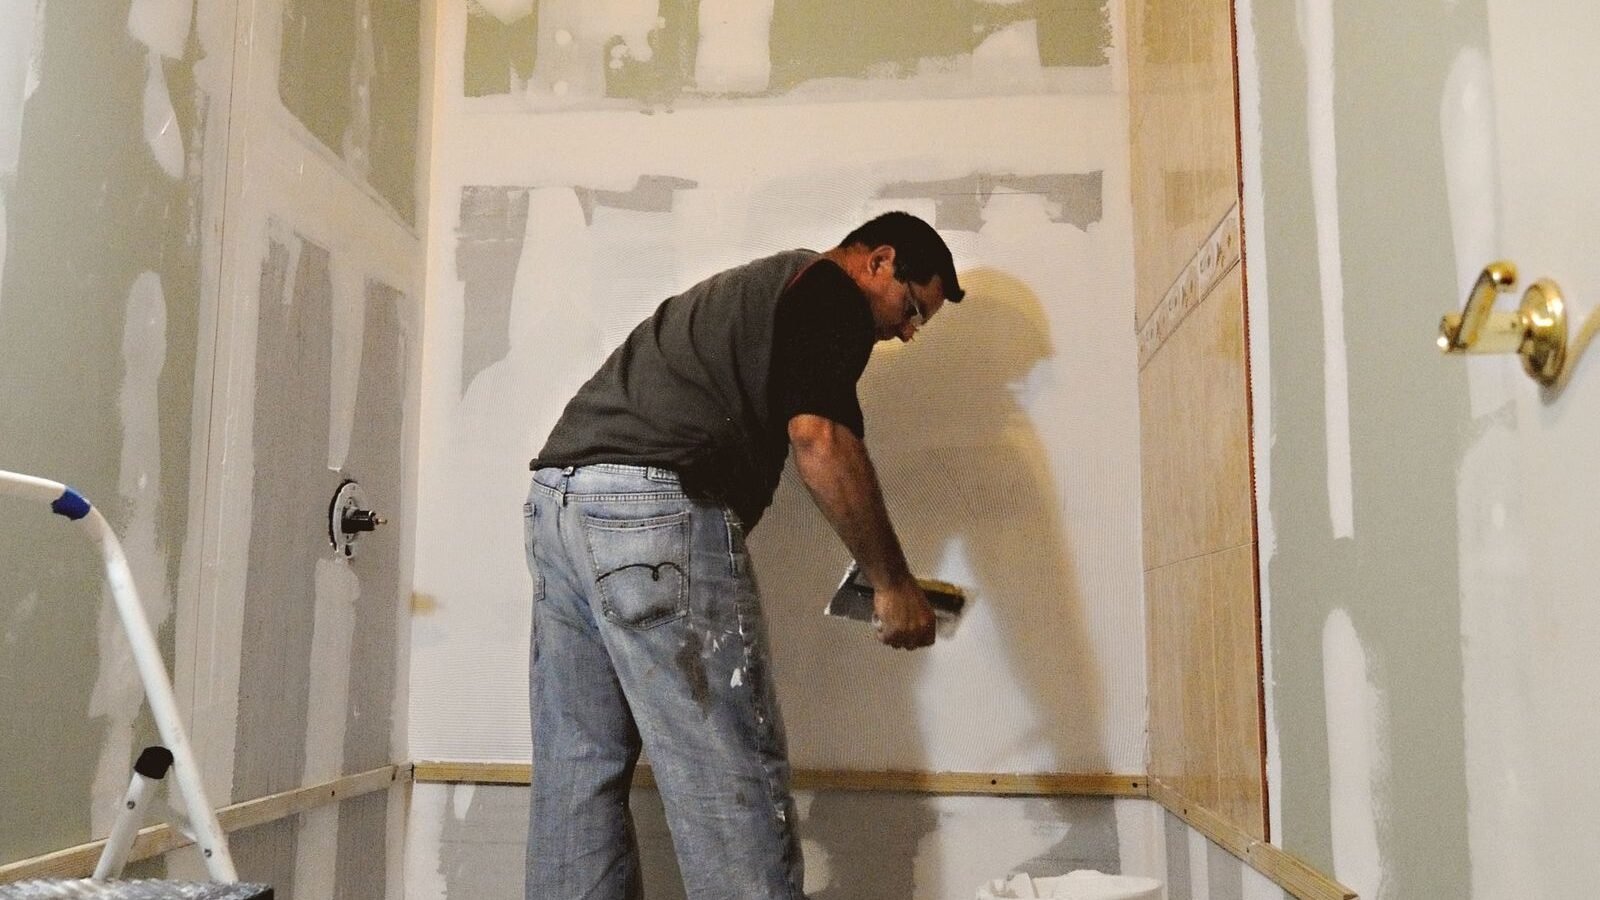
- Thin coats beat thick ones. Three thin coats dry faster, shrink less, and sand easier than one thick coat. Mud shrinks as it dries — thick coats crack and need rework.
- Use setting-type (hot) mud for the first coat on deep fills. Setting-type compound hardens chemically rather than by evaporation, so it won’t shrink in deep butt joints and it lets you recoat the same day. Mix only what you can use in the stated working time.
- Feather butt joints wide. Butt joints (non-tapered edges) need compound feathered 12–18 in on each side to disappear. The wide feather is what makes a butt joint invisible — skimping here is the classic DIY giveaway.
- Sand between coats, lightly. Knock down ridges and tool marks with a light pass before the next coat; heavy sanding at the end can’t fix lumps buried under three coats.
- Prime before painting. Fresh mud and paper absorb paint differently — unprimed drywall shows every joint as a “flash” through the paint. A PVA drywall primer equalizes absorption. Mud types and their uses are detailed in the material guide.
Delivery and Ordering Tips
- Order 10% extra, not the exact count. The waste allowance in the estimating guide exists because damaged sheets and bad cuts happen — one cracked sheet without a spare stops the job.
- Have sheets placed where they’ll be hung. Supplier boom trucks can often place sheets through a window opening directly into the room. Carrying 22 sheets up stairs by hand is a day’s work you can skip.
- Check every sheet on delivery. Reject cracked corners, crushed edges, and water-stained sheets before the driver leaves — damaged stock discovered mid-hang is your problem.
- Schedule hanging after inspections. Electrical, plumbing, and insulation inspections happen before drywall goes up. Hanging early and failing an inspection means cutting open finished walls.
Related Guides
- Drywall Calculator: The Complete Guide — the full estimating method with a worked example.
- Common Estimating Mistakes — the errors these tips help you avoid.
- DIY vs. Hiring a Pro — which parts of the job to keep and which to hire out.
- Drywall Material Guide — mud types, tape, screws, and board explained.
- Drywall Checklist — sequencing the whole job from measure to paint.
- Drywall Calculator FAQ — quick answers to the most asked questions.
Work Smarter, Not Harder
Good drywall work is mostly sequencing: measure once with the Drywall Calculator, plan the layout, hang ceilings before walls, finish in thin coats, and prime before paint. None of these tips requires special talent — just doing the steps in the right order. Get the sequence right and the finish takes care of itself.
Disclaimer: Calculator results are planning estimates based on the dimensions you enter. Actual material needs vary with room geometry, cutting efficiency, and site conditions. Verify sheet counts with your supplier and local building code, and consult a licensed professional for fire-rated assemblies or structural questions.