Introduction
Corner bead sits in the sweet spot of DIY drywall work: the materials are cheap, the tools are basic, and mistakes are fixable with more mud and sanding. But “fixable” still costs weekends, and a pro finisher’s corners look better faster. This guide compares the two paths honestly — skills, tools, time, and money — so you can decide per project, not per ideology. Either way, start with quantities from the Drywall Corner Bead Calculator.
What DIY Actually Requires
Skills
Modest. You need to measure and cut straight, drive fasteners without punching through the flange, and spread joint compound in progressively wider coats. The mud work has the learning curve — expect your first 3–4 corners to need extra sanding, then a visible improvement. Paper-faced bead flattens the curve considerably since there are no face fasteners to manage.
Tools
- Tape measure and pencil
- Aviation snips (straight-cut) for metal bead
- Hammer tacker or hammer + staples/nails (a pneumatic stapler speeds things up but isn’t required)
- 6-in and 10-in (15 and 25 cm) drywall knives, mud pan
- Sanding sponge or pole sander, dust mask
- Work light for raking-light inspection
Total tool investment for a first-timer: roughly $60–$120 if starting from zero — most of it reusable on every future drywall job.
Time
A beginner should budget 30–45 minutes per corner across installation and three coats (spread over 2–3 days of drying time), versus 10–15 minutes for an experienced finisher. A 50-ft (15 m) bead job — say 6–8 corners — is a long weekend for a DIYer including drying waits, or a single day for a pro crew.
What a Pro Brings
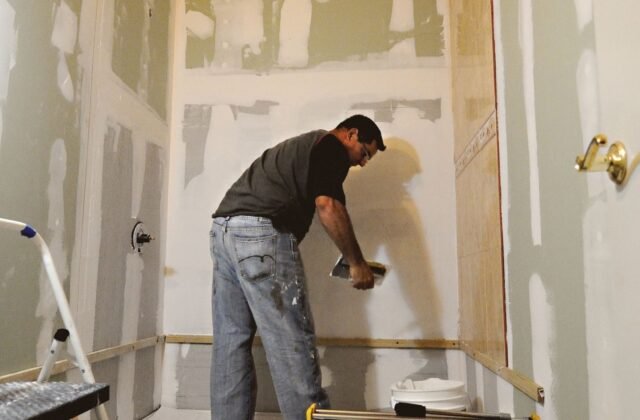
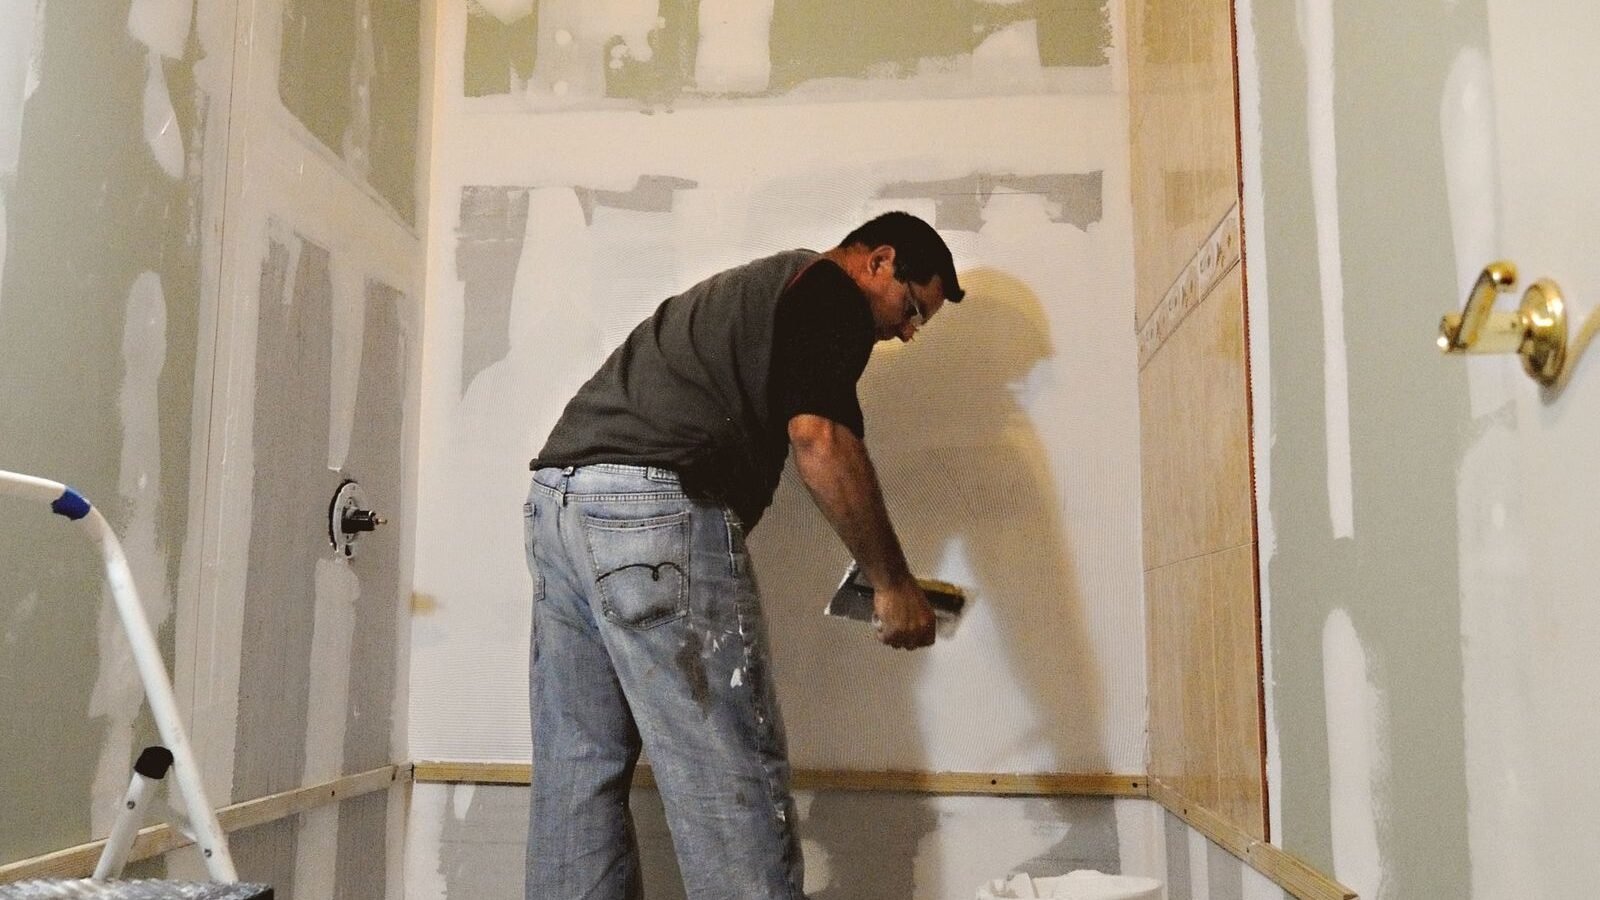
Speed, straightness, and finish level. A professional taper installs bead straighter (fastening from the middle out, reading the corner as they go), coats it in fewer passes with less sanding, and delivers a finish that holds up under raking light and glossy paint. For pros, bead work is usually bundled into the drywall finishing contract rather than billed separately.
Typical US planning range for pro bead installation plus three finish coats: $1–$3 per linear foot ($3.30–$9.85 per linear meter), with $150–$300 minimum charges on small standalone jobs. Full pricing context is in the cost guide.
Head-to-Head Comparison
| Factor | DIY | Pro |
|---|---|---|
| Material cost (50-ft job) | $40–$70 (bead + mud + fasteners) | Same materials, often at trade pricing |
| Labor cost (50-ft job) | $0 (your weekend) | $50–$150 (often subject to minimums) |
| Time (50-ft job) | 2–3 days elapsed, 6–10 hours hands-on | 1 day elapsed |
| Finish quality | Good after practice; first corners need extra sanding | Consistently crisp; holds up under raking light |
| Risk | Wavy corners, extra sanding; all fixable | Low; recourse if the work is subpar |
One more factor that rarely makes it into the comparison: rework tolerance. A pro prices the job to get it right the first time; a DIYer can afford to redo a corner twice and still come out ahead on cash — just not on weekends. If your schedule has slack but your budget doesn’t, that asymmetry favors DIY. If the reverse is true, hire it out.
When DIY Makes Sense
- Small jobs — a room or two, where pro minimum charges make hiring disproportionately expensive.
- Low-visibility areas — closets, garages, utility rooms where a learning-curve corner won’t be scrutinized.
- You own the tools already — the economics get much better past the first job.
- Schedule flexibility — you can live with drying time spread across evenings and a weekend.
- You choose paper-faced bead — the most forgiving product meaningfully lowers the skill bar.
When to Hire a Pro
- Whole-house or large jobs — the time math flips hard; a crew finishes in days what takes you weeks.
- High-visibility, high-light areas — entryways, great rooms with raking natural light, glossy paint specs.
- Complex details — arches, bullnose transitions, tray ceilings with many short runs.
- You’re already hiring hanging — bundling bead and finishing into the drywall contract is almost always cheaper per foot than a separate bead-only call-out.
- Deadlines matter — drying time is fixed, but a pro’s hands-on hours are a fraction of yours.
Whichever path you choose, the technique fundamentals are the same — the pro tips guide is worth reading even if you’re hiring, so you can judge the work. And run the checklist before materials day.
The Hybrid Approach
The choice isn’t always all-or-nothing. A common middle path: install the bead yourself, hire out the finish coating — or vice versa. Bead installation (measuring, cutting, fastening) is the more mechanical half of the job and very DIY-friendly, while the three finish coats are where the visible skill lives. Some finishers will quote coating-only work on customer-installed bead, though expect them to re-check (and occasionally re-set) your bead before coating — crooked bead they’ve “inherited” becomes their reputation once it’s coated.
The reverse hybrid works too: hire the bead installation on complex details (arches, bullnose transitions, tray ceilings) and DIY the straightforward full-height corners. This concentrates the pro’s hours where skill matters most and keeps the budget down. Whichever split you choose, agree it in writing before work starts — specifically who supplies materials (the cost guide‘s ranges help you sanity-check the materials line) and what finish level is expected.
Related Guides
- Complete Guide — the flagship overview: inputs, formula, and a worked example.
- Cost Guide — full material and labor pricing breakdown.
- Pro Tips — the techniques behind a pro-quality result.
- Corner Bead Checklist — the full job sequence for DIYers.
- Corner Bead FAQ — quick answers to the most asked questions.
Get Your Number
The decision usually comes down to job size and finish expectations: DIY wins small, low-visibility jobs; pros win big jobs and showcase spaces. Either way, accurate quantities keep both paths honest — run your corners through the Drywall Corner Bead Calculator, price both options with the cost guide’s ranges, and pick the one that fits your weekend and your standards.
Disclaimer: Calculator results are planning estimates based on the dimensions you enter. Actual corner bead requirements vary with layout, bead type, cutting waste, and installation method. Prices vary by region and supplier — treat cost ranges as planning figures, not quotes. Verify quantities with your supplier and consult a licensed professional or your local building authority for code-related decisions.