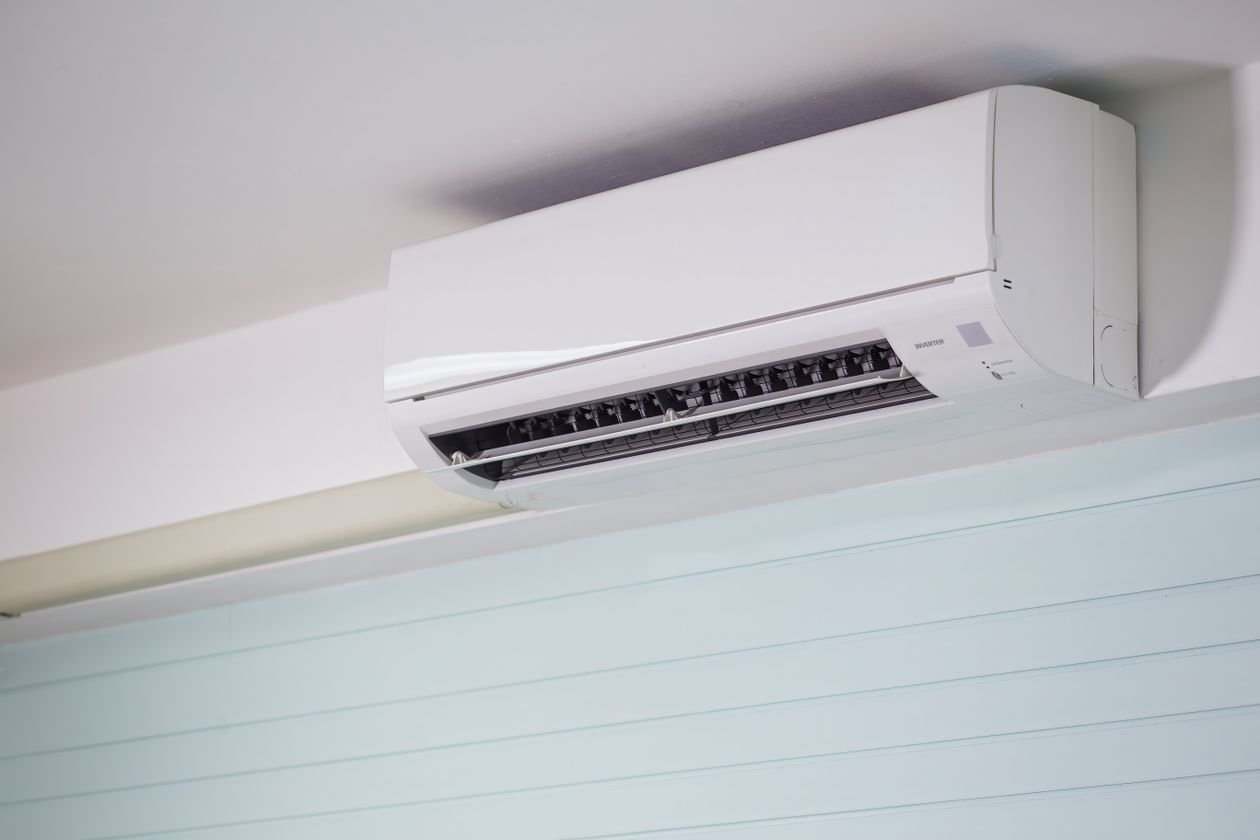
Introduction
Most uncomfortable homes are not victims of bad equipment — they are victims of bad arithmetic. The same handful of cooling load mistakes shows up in project after project: oversized units that short-cycle, west-facing glass that was never accounted for, humidity loads that were wished away. Each mistake has a predictable cost in comfort, energy bills, or equipment life. Run your own figures through the cooling load calculator first, then use this guide as a pre-flight inspection for the result.
Mistake 1: Oversizing “Just to Be Safe”
The most expensive mistake in residential HVAC is also the most common. An oversized air conditioner satisfies the thermostat in minutes, then shuts off — before it has run long enough to wring moisture from the air. The result is the classic complaint: “it’s 72 degrees but it feels clammy.” Short-cycling also slams the compressor with frequent starts, shortening equipment life and raising energy use, since starting current dwarfs running current. Manual J already contains appropriate safety margins; adding another half-ton on top is not safety, it is sabotage. Proper sizing produces long, steady run times — the boring, efficient cycles that actually dehumidify.
Mistake 2: Ignoring Window Orientation
Lumping all glazing into one number treats a north window and a west window as equals. They are not: west glass admits three to four times the peak solar heat of north glass, and east glass is not far behind. A home with 250 sq ft of glass concentrated on the west and east can carry 8,000–10,000 BTU/hr of solar load — nearly a full ton — while the same glass facing north and south might contribute half that. Any calculation that does not split windows by orientation is guessing at the single most volatile input in the whole model. Our formula guide shows the solar math that makes orientation impossible to ignore.
Mistake 3: Skipping the Latent Load
In dry climates you can almost get away with ignoring moisture; in humid ones it is a quarter of the job. Every occupant contributes roughly 200 BTU/hr of latent load, and humid outdoor air infiltrating through leaks adds more. Skip it and two things go wrong: the total tonnage comes up short on muggy days, and — worse — equipment gets selected on sensible capacity alone, leaving nothing in reserve for dehumidification. If your climate has humid summers, the latent line item is mandatory, not optional.
Mistake 4: Sizing From the Old Unit’s Nameplate
“The old one was 4 tons, so put in 4 tons” is how oversized systems reproduce themselves across generations. The original unit may have been oversized in 1998; since then, windows may have been replaced, insulation added, and attic ductwork sealed — each change shrinking the true load. Nameplate sizing also ignores that the old system may have been compensating for duct losses rather than building load. Every replacement deserves a fresh calculation from current conditions, as our DIY vs. pro guide explains.
Mistake 5: Using a Naked Square-Footage Rule
“One ton per 500 square feet” is a conversation starter, not a design method. It ignores climate (the real range spans 400 to 1,000 sq ft per ton), window area and orientation, insulation levels, ceiling height, occupancy, and shading. Two identical-floor-plan homes can differ by a full ton based on which way they face. Rules of thumb are fine for a first guess; they are indefensible as the basis for a multi-thousand-dollar equipment purchase.
Mistake 6: Forgetting Infiltration and Ventilation
Air leaking into the building carries both heat and humidity, yet infiltration is the input most often left at a software default. A leaky older home can have an infiltration load of 4,000–6,000 BTU/hr — and a large latent component with it — while a tight new build might see under 1,500. If the home has had air sealing or new windows since the last calculation, the infiltration assumption must be updated, or the load will be overstated and the equipment oversized.
Mistake 7: Counting Bedrooms Instead of People
Load calculations need occupants, not bedrooms. Defaulting to two people per bedroom inflates internal gains (about 600 BTU/hr per person, sensible plus latent) and pushes the design toward a larger unit than the actual household needs. Ask who really lives there and what their schedules look like — a home office with two adults home all day has a very different profile from an empty-until-evening household.
Mistake 8: Upsizing Equipment Instead of Fixing Ducts
When a system “can’t keep up,” the reflex is to buy bigger. But leaky or undersized ducts routinely waste 20–30% of capacity, so a 3-ton system with bad ducts delivers like a 2-ton system — and a new 4-ton unit on those same ducts still underperforms while short-cycling. The correct fix is a duct assessment (Manual D territory) alongside the load calculation, not a bigger box on a broken delivery system.
Mistake 9: Designing for the Record Heat Wave
Sizing to the hottest day in recorded history adds capacity that is used a few hours per decade and penalizes efficiency the other 99.9% of the time. Manual J’s 1%-design temperature already represents a genuinely hot day your climate sees most years. Trust the method’s built-in margin instead of stacking your own on top — stacked margins are just oversizing with extra steps.
Mistake 10: Never Re-Calculating After Upgrades
Insulation, air sealing, window replacements, and reflective roofing all shrink the load — that is their job. But homeowners routinely buy new equipment sized for the old load, erasing much of the upgrade’s benefit and landing oversized on day one. The correct sequence is: upgrade the envelope first, re-run the calculation, then size equipment to the new number. Our materials guide quantifies how much each improvement typically saves.
Related Guides
- Complete Cooling Load Guide — the full overview with a worked example.
- Pro Tips — field-tested habits that prevent these mistakes.
- Estimating Guide — measuring the inputs correctly the first time.
- Cooling Load Calculation Checklist — a step-by-step worksheet.
- Cooling Load FAQ — twelve detailed answers to common sizing questions.
Get Your Number
The best defense against every mistake on this list is a transparent calculation you can inspect. Enter your home’s measurements into the cooling load calculator and check the result against each mistake above before you talk to a contractor.
These examples are educational illustrations, not diagnoses of any specific building. Actual cooling loads depend on site-specific construction, shading, occupancy, and climate data — verify your results with a licensed HVAC professional before purchasing equipment, and consult your local building authority for any code-related decisions.
2 comments