Introduction
Pour day has no pause button: once the truck arrives, every missing tie, unverified measurement, and forgotten sleeve becomes a problem solved under time pressure with concrete stiffening in the forms. This checklist is the pre-pour verification sequence — run it the evening before and again the morning of. The Concrete Wall Calculator confirms your volume first; everything below confirms the site is ready to receive it.
1. Volume and Order Verification
- Recompute the volume from the set forms (form face to form face), not the drawings — length × height × thickness per segment, corners handled per the estimating guide.
- Confirm all openings are deducted and the waste allowance matches site conditions (10% typical; 10–15% for tall walls or pump placement).
- Confirm the ordered quantity with the plant: mix strength, slump (100–125 mm / 4–5 in typical), admixtures, and total cubic meters/yards.
- Confirm the delivery schedule: truck count, arrival intervals (loads must arrive while previous concrete is still plastic — typically within 30–60 minutes), and the plant’s phone number on site.
- Confirm who pays waiting-time charges and what the free discharge window is.
2. Formwork Inspection
- Sight down every wall run from the end — no visible bows or kinks.
- Every snap tie seated, tight, and spaced per the formwork plan for the actual wall height.
- Walers continuous and secured; strongbacks plumb; diagonal bracing anchored to deadmen or stakes that won’t shift.
- Form release agent applied to every concrete-contact surface.
- Top of form marked with the target concrete elevation (chalk line or nails) around the full perimeter.
- Blockouts for windows, doors, and sleeves secured against float and displacement — a loose blockout becomes a very expensive void in the wrong place.
Formwork pressure at the base of a 2.4 m wall approaches ~1,180 psf in the simplified hydrostatic case — if any part of this inspection feels uncertain, the common mistakes guide explains what under-built forms cost.
3. Reinforcement and Embeds
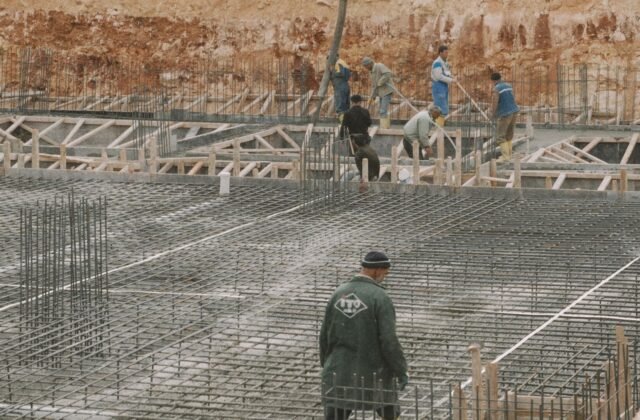
- Bar size, spacing, and lap lengths match the design; laps tied, not just overlapped.
- Concrete cover verified: ~5 cm (2 in) minimum on soil-side faces — no steel touching formwork.
- Waterstop installed at planned construction joints, centered and secured.
- All anchor bolts, pipe sleeves, and conduit in place, at correct locations and elevations, plugged against concrete entry.
- Rebar chairs/dobies in place; cage can’t shift during placement.
- Pre-pour inspection signed off, if the permit requires it — see the code compliance guide.
4. Access, Equipment, and Crew
- Truck access route walked and confirmed: turning radius, overhead lines, soft ground, gate widths.
- Pump booked and confirmed if the truck can’t reach the forms — with a backup contact.
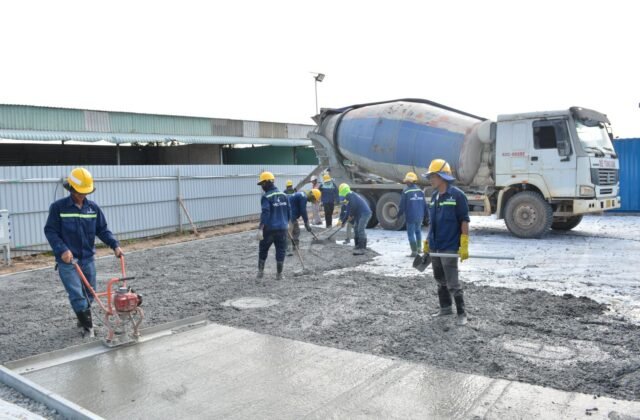
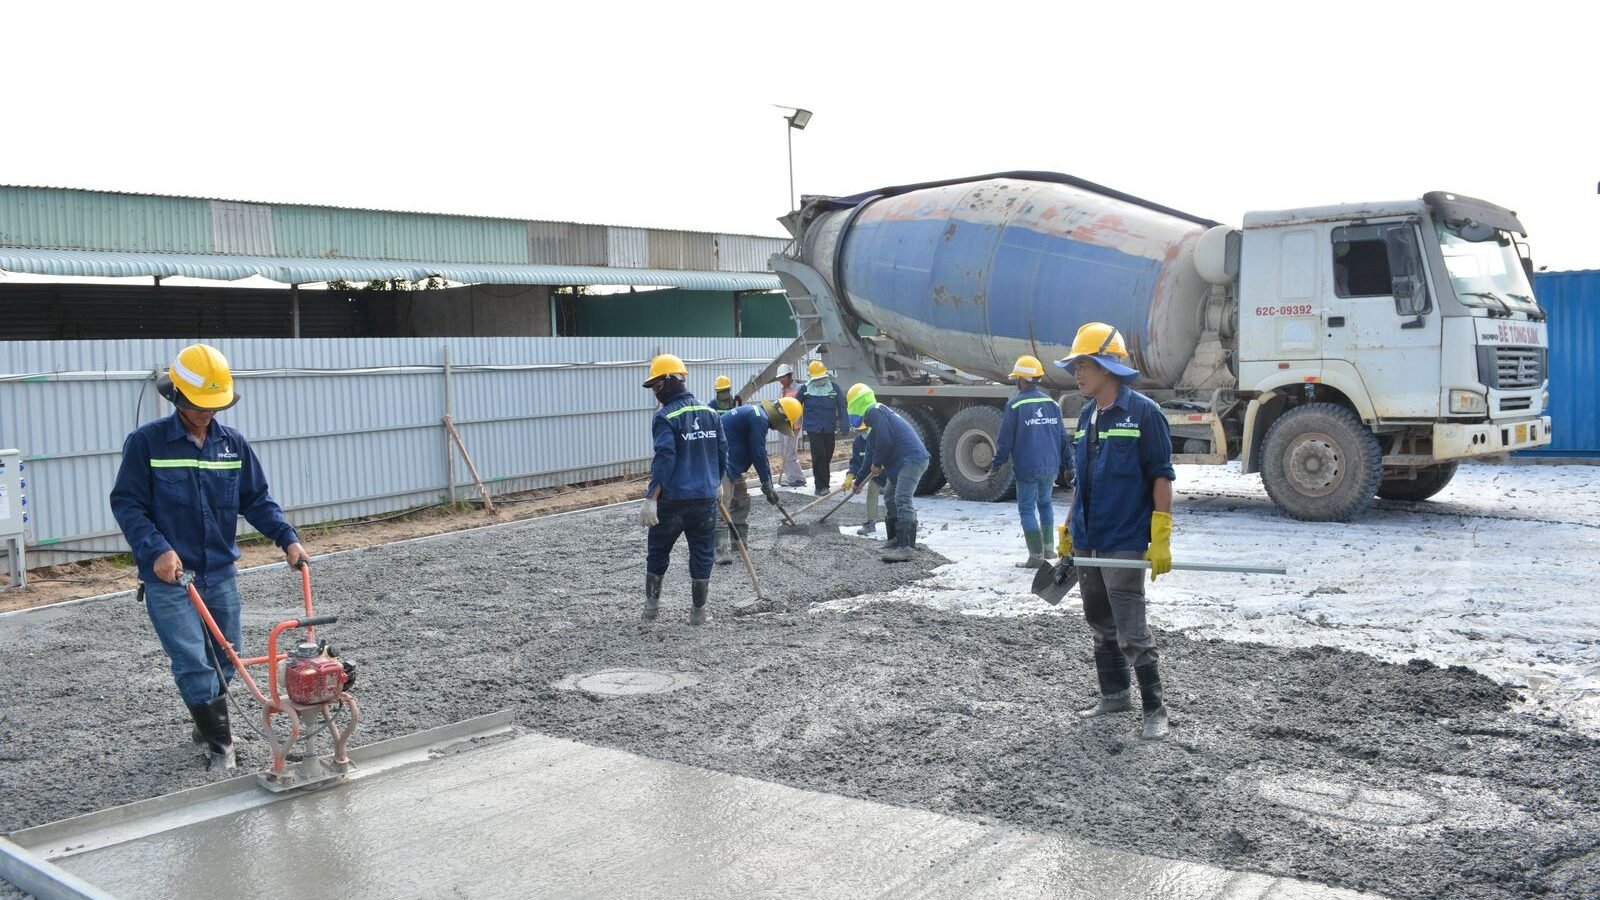
- Vibrator(s) on site, tested, with spare; enough crew assigned that nobody vibrates for six straight hours.
- Placement plan agreed: pour in 60–90 cm (2–3 ft) lifts around the perimeter; discharge point moved along the wall; drop height under ~1–1.2 m (3–4 ft).
- Contingency for a delayed truck: an agreed construction-joint location with waterstop, not an improvisation mid-pour.
- Weather checked: hot/windy (evaporation, retarders, windbreaks), cold (protection, accelerators), rain (cover the work).
5. Curing and Post-Pour Supplies On Site
- Curing materials physically present: wet burlap, soaker hoses, or curing compound — not “arriving tomorrow.” Plan for 3–7 days of moist curing after stripping.
- Waterproofing/dampproofing materials and drainage board on site for application between stripping and backfill.
- Perimeter drain pipe and gravel staged — the drain goes in before backfill, per the material guide.
- Tools for screeding the wall top level and finishing as specified.
6. Morning-Of Final Pass
- Walk the forms once more — overnight shifts happen.
- Confirm the first truck’s ETA with the plant; crew in position.
- Check ambient temperature and adjust: retarders/misters in heat, protection in cold.
- Verify the ordered mix on the delivery ticket before discharge — strength, slump, admixtures. A wrong mix caught at the truck is a phone call; caught in the wall is a demolition.
- Designate one person to watch the forms during the pour (bows, leaks, tie distress) with authority to stop placement.
Related Guides
- Pro Tips — placement, vibration, and curing technique for pour day.
- Complete Guide — the full estimating walkthrough.
- Common Mistakes — what this checklist is designed to prevent.
- Code Compliance — inspections and permit hold points.
- Concrete Wall FAQ — quick answers to the most asked wall questions.
Frequently Asked Questions
When should I run the pour-day checklist?
The full sequence the evening before the pour, and the five-step final pass the morning of. Never for the first time while the truck is waiting — waiting-time charges punish unprepared sites.
What should I check on the delivery ticket?
Mix designation/strength, slump, admixtures, total volume, and time batched. Verify before discharge — a wrong mix in the forms is enormously expensive to fix.
How do I know the forms are strong enough?
Tie spacing and waler sizing matched to the actual wall height, all ties seated and tight, bracing anchored immovably, and no visible bows when sighted down the run. When uncertain, pour in lifts to cut peak pressure.
What if a truck is delayed mid-pour?
Fall back to the pre-agreed construction joint location: stop placement there with a keyed, waterstopped face rather than letting concrete stiffen mid-wall. Agree this location before the pour, not during it.
How soon after the pour can I backfill?
After forms are stripped, the wall has cured adequately, and waterproofing plus the perimeter drain are installed and inspected. Backfilling against green concrete or over unprotected walls invites cracking and water problems.
Who watches the forms during the pour?
Designate one person whose only job is watching for bows, leaks, and tie distress, with clear authority to halt placement. It’s the cheapest insurance on the site.
Get Your Number
A checklist doesn’t pour the wall — but it makes sure nothing preventable goes wrong while you do. Verify the volume in the Concrete Wall Calculator, run this sequence the night before, do the five-step pass in the morning, and pour day becomes what it should be: unremarkable.
Disclaimer: Calculator results are planning estimates based on the dimensions you enter. Actual concrete requirements vary with site conditions, formwork accuracy, and mix design. Verify volumes with your supplier and consult a licensed professional or your local building authority for structural or code-related decisions.