Introduction
Reinforcement mistakes share one cruel trait: they’re invisible after the pour. Concrete hides every error — wrong spacing, missing supports, short laps — and the slab looks fine for months or years while the steel silently fails to do its job. Almost every reinforcement failure traces back to a mistake made before the concrete arrived, when it was still cheap to fix.
The Concrete Reinforcement Calculator protects you from quantity errors — bar counts, total length, weight. This guide covers the errors it can’t catch: the placement, planning, and judgment mistakes that turn good steel into wasted steel. Read it before you order, not after you pour.
Mistake 1: Wrong or Drifting Spacing
The error: marking spacing by eye, or marking the first few bars carefully and then “keeping the rhythm” across 20 ft of slab. Spacing drifts — 18 in becomes 20, then 24 — and the far half of the slab is under-reinforced exactly where nobody measured.
The fix: mark every bar position on the formwork or a layout string with a tape measure before tying. Snap a chalk line or mark both edges so both ends of each bar land on a mark. Spacing is a structural input — treat it like one. If you’re unsure how the spacing interacts with your slab, walk through the complete guide’s worked example first.
Mistake 2: No Chairs — Rebar Sinks to the Bottom
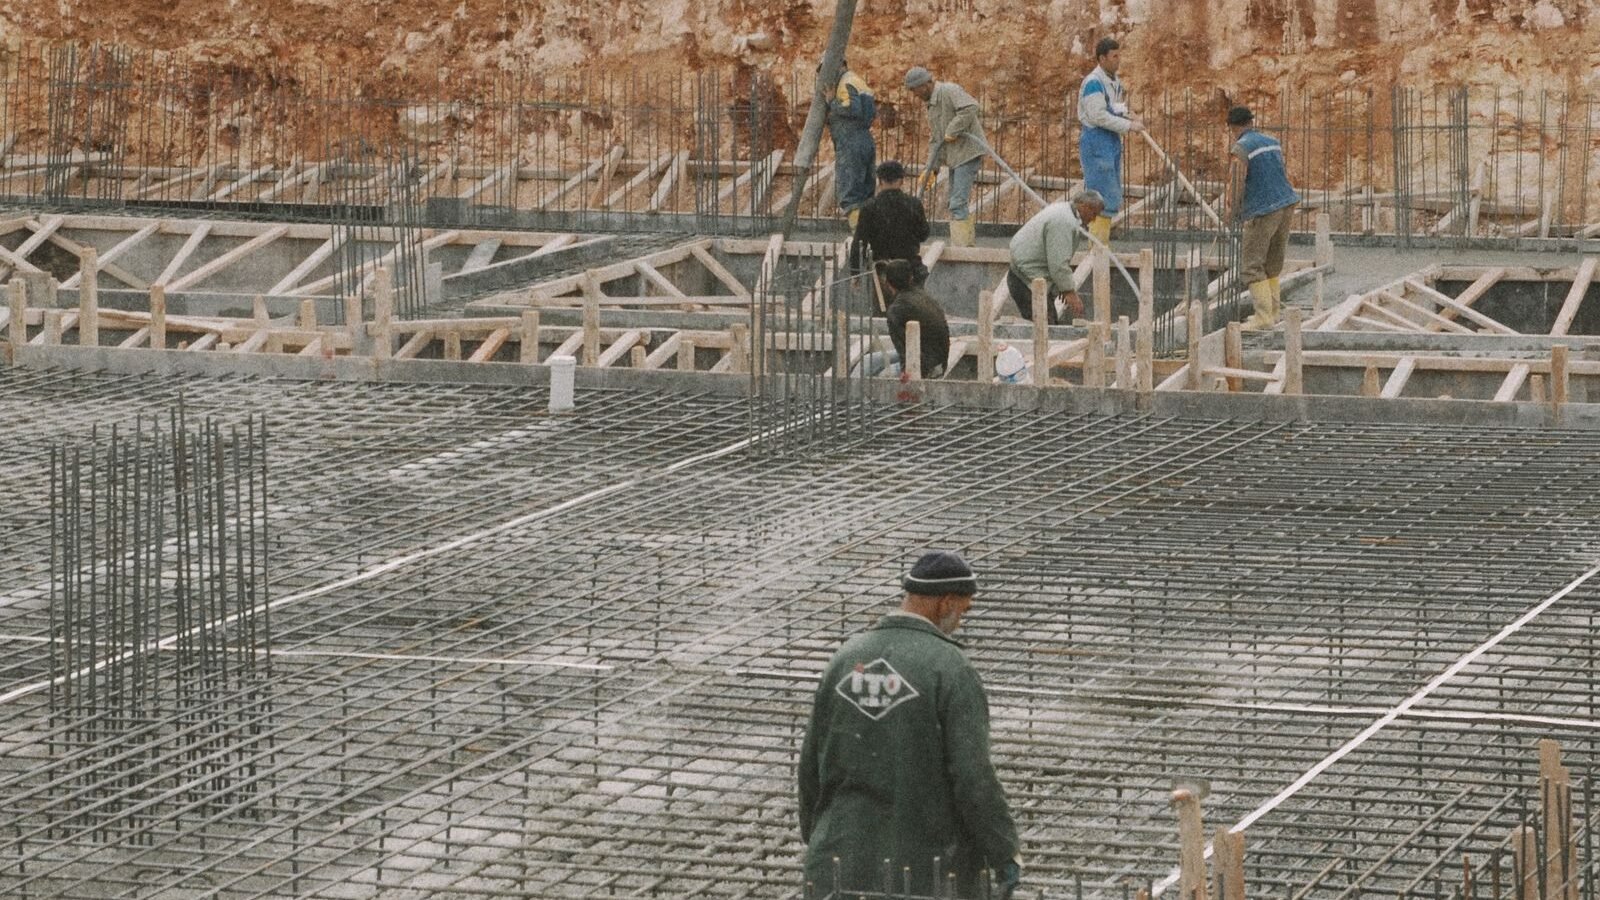
The error: laying the grid directly on the ground or on the vapor barrier to “save time” before the pour, intending to pull it up as concrete is placed. It never gets pulled up evenly. The steel ends up at or near the bottom of the slab, in contact with soil moisture — where it contributes almost nothing against the surface cracking that slabs actually suffer, and where it corrodes.
The fix: chairs, bolsters, or dobies under every grid, spaced 4–6 ft apart, set so the steel sits in the designed position (upper third for slab-on-grade) before a drop of concrete arrives. This is covered in detail in the pro tips guide. Chairs are the cheapest item on the cost guide — skipping them is the most expensive saving in concrete work.
Mistake 3: Forgetting Lap Splices in the Estimate
The error: the calculator says 700 ft of #4, so you order 700 ft of #4 — and then discover the 15 bars spanning 24 ft exceed the 20-ft stock length. Each one needs a splice, each splice needs ~20 in of extra bar (40-diameter rule of thumb for #4), and suddenly you’re 25 ft short with a truck on the way.
The fix: add lap length to every bar that exceeds one stock length before ordering — 15 splices × 1.67 ft = 25 ft in the worked example — plus 1–3% cutting waste. The how-to-estimate guide walks the full ordering workflow including laps.
Mistake 4: Cutting Bars to the Full Slab Dimension
The error: cutting every bar to 24 ft for a 24-ft slab, forgetting that steel needs concrete cover at the edges — commonly 3 in (75 mm) per side. The bars either poke through the formwork (cut them again, wasting time and steel) or get jammed in short of the forms (leaving the slab edge unreinforced).
The fix: subtract cover from both ends before cutting: 24 ft − 6 in = 23.5 ft bars. Measure against the actual formwork, not the drawing — forms are rarely exactly the drawing dimension.
Mistake 5: Mixing Bar Sizes or Spacing “to Save Money”
The error: the drawings call for #4 at 12 in; #3 is cheaper, so #3 at 12 in goes in — or #4 at 18 in “should be close enough.” Steel area doesn’t scale the way intuition suggests: a #3 bar has about 44% of a #4 bar’s cross-section (0.11 in² vs 0.20 in²), so substituting one size down at the same spacing nearly halves the steel.
The fix: any change to size or spacing is a structural change, not a purchasing decision — it needs the engineer’s sign-off. If cost is the pressure, the legitimate savings are in the accessories (rent the cutter, buy chairs in bulk), not in the steel itself.
Mistake 6: Panicking Over Surface Rust
The error: rejecting delivered rebar because it has a light orange film, delaying the pour while replacement steel is sourced. Light surface rust on deformed bars is normal and actually improves the concrete-to-steel bond slightly — it’s how rebar arrives on most jobsites.
The fix: reject only steel with heavy scaling, pitting, or loose flaking rust that reduces the bar’s cross-section. A uniform light film is cosmetic; deep pitting is structural.
Mistake 7: Tying Too Little — or Tying Everything
The error (too little): tacking a few intersections and trusting the pour to “settle” the grid. Wet concrete is heavy and workers drag hoses across the mat — an under-tied grid shifts, and shifted steel is steel in the wrong place.
The error (too much): tying literally every intersection on a 700-ft grid, burning hours of labor for no structural gain over the standard every-other-intersection pattern.
The fix: every other intersection for flatwork; every intersection at laps, edges, and corners. Then walk the grid — any joint that springs back gets tied.
Mistake 8: No Pre-Pour Verification
The error: assuming the grid is right because it was right yesterday. Overnight wind, a delivery truck, or yesterday’s crew can shift bars, knock chairs, and loosen ties.
The fix: walk the grid the morning of the pour with the pre-pour checklist: spacing, chairs, laps, ties, cover at edges. Photograph it. Ten minutes of verification protects a slab that has to last decades.
Related Guides
- Pro Tips — the correct practices behind every fix above.
- Pre-Pour Checklist — the final verification pass.
- How to Estimate — laps, waste, and the ordering workflow.
- FAQ — quick answers on spacing, weight, and sizing.
- Code Compliance — when the drawings and the local code have the final word.
Frequently Asked Questions
What happens if rebar spacing is too wide?
The slab gets less steel than designed, and cracks that the steel should have controlled grow wider. Spacing is a structural input — mark every position with a tape and don’t let it drift.
Can rebar sit on the ground before the pour?
No. Steel on the ground ends up at the bottom of the slab (where it does little against surface cracking) and in contact with soil moisture (where it corrodes). Use chairs to hold the grid at the designed height.
How much extra rebar should I order for laps?
Add one lap length per bar that exceeds a stock length (20 ft / 6.1 m). At the 40-diameter rule of thumb, that’s ~20 in per splice for #4. Then add 1–3% cutting waste.
Is rusty rebar okay to use?
Light surface rust is normal and acceptable — it can slightly improve bond. Reject steel with heavy scaling, pitting, or flaking that reduces the bar’s cross-section.
What’s the most expensive reinforcement mistake?
Skipping chairs. A grid at the wrong height is nearly the same as no grid, and nothing about the finished slab reveals it. Chairs cost a few dozen dollars; a failed slab costs thousands.
Learn From Other People’s Pours
Every mistake above is a real jobsite story with the same moral: the errors that matter happen before the concrete arrives, when fixing them costs minutes. Get your quantities from the Concrete Reinforcement Calculator, mark your spacing with a tape, chair the grid, add the laps to your order, and walk everything one last time on pour morning. The slab will hide your mistakes — make sure there aren’t any to hide.
Disclaimer: This guide describes common field errors and conventions, not structural requirements. Spacing, bar size, lap lengths, cover, and support positions are set by the structural design and local building code. Consult a licensed engineer or your local building authority for structural design and code compliance.