Introduction (Hypothetical Case Study — Illustrative Example)
This case study is hypothetical and illustrative. It walks through a realistic ceiling joist project from first measurement to final inspection, showing how sizing, estimating, budgeting, and code compliance fit together in sequence. The numbers are worked carefully in both unit systems, but the project, the people, and the prices are illustrative — your lumber yard, your inspector, and your local code will write their own version.
Follow along with your own dimensions in the Ceiling Joist Calculator — every decision point below corresponds to an input or a table lookup you can replicate.
The Project: A 24 × 28 ft Detached Garage
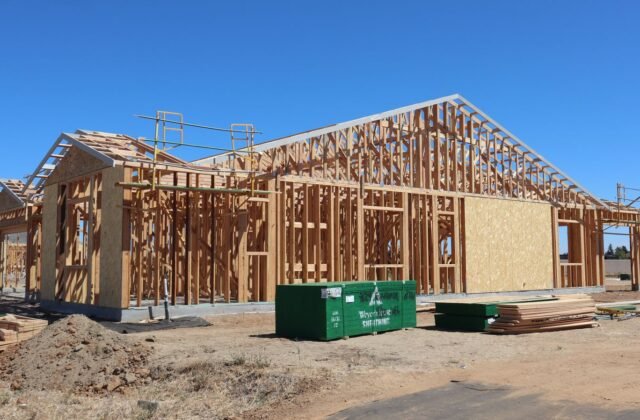
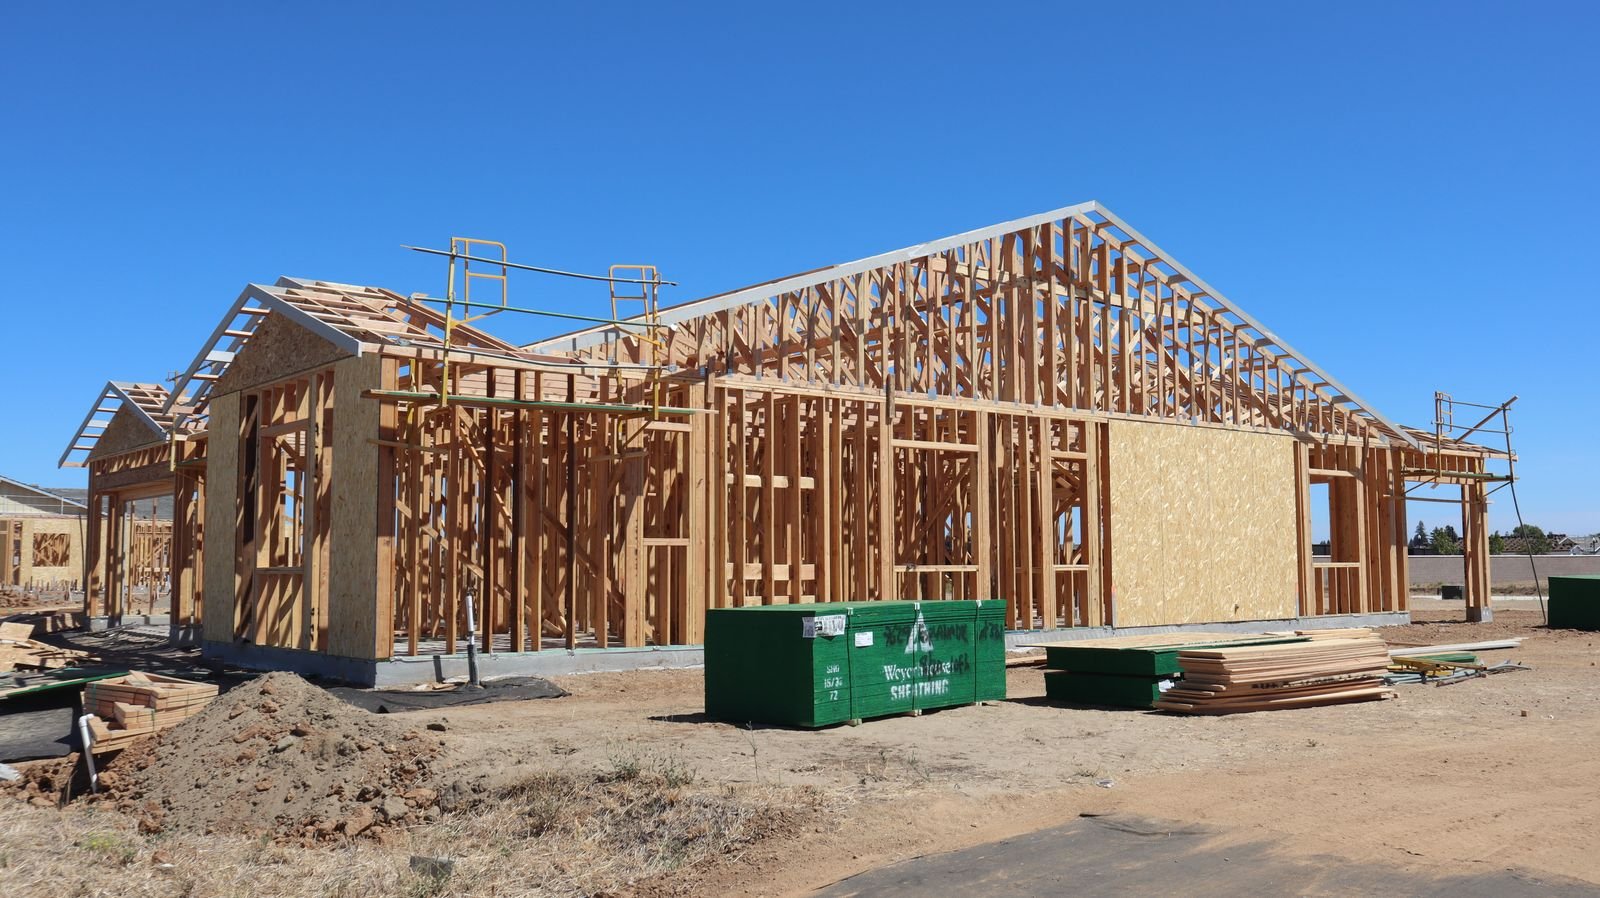
The scenario: a homeowner is building a detached garage, 24 × 28 ft (7.32 × 8.53 m), and wants the attic as usable storage — holiday decorations, luggage, the usual. The ceiling joists will span the 24 ft direction wall-to-wall. The local yard stocks SPF #2. The design load case is therefore attic with limited storage: 20 psf live + 10 psf dead (0.96 + 0.48 kPa).
Step one is honest load selection — the complete guide explains why “we’ll never store anything up there” is the most expensive sentence in framing. Here the owner stated the intent upfront, so the design uses the storage tables from the start.
Sizing: Two Candidate Designs
Checking the span tables for SPF #2 at 24 ft (7.32 m) with limited storage:
| Option | Size @ spacing | Table maximum | Verdict |
|---|---|---|---|
| A | 2×10 @ 16″ o.c. (38×235 mm @ 406 mm) | 19′-10″ (6.05 m) | Fails — short of 24 ft |
| B | 2×10 @ 12″ o.c. (38×235 mm @ 305 mm) | 22′-11″ (6.99 m) | Fails — tighter spacing isn’t enough |
| C | 2×10 @ 16″ o.c. + midspan beam | 12 ft spans each side | Passes — joists span 12 ft to beam |
Options A and B both fail — a useful reminder that tables give maximums, not suggestions, and that even dropping to 12″ (305 mm) spacing can’t stretch a 2×10 SPF across 24 ft of storage attic. Option C wins: a midspan beam halves each joist’s span to 12 ft (3.66 m), where 2×10s at 16″ o.c. have enormous margin (19′-10″ maximum). The beam itself — a built-up or LVL member on posts — becomes a separate engineered element, which is normal and expected at this width.
The load math for the record: w = 30 psf × 1.333 ft = 40 lb/ft (584 N/m) per joist; M = 40 × 12²/8 = 720 lb-ft (976 N·m) per 12 ft span; each joist end bears 40 × 12/2 = 240 lb (1,068 N). All comfortably within 2×10 capacity — the beam does the heavy lifting now, not the joists.
Takeoff and Budget (Illustrative Prices)
With Option C, the joists span 12 ft each way from the center beam across the 28 ft length:
- Joists: (28 × 12 / 16) + 1 = 22 joists of 2×10 × 12 ft = 264 linear ft (80.5 m). At a typical $1.75–$3.50/linear ft: $460–$925.
- Rim boards: 2 × 28 ft = 56 linear ft (17.1 m) of 2×10: $100–$200.
- Blocking: from offcuts — effectively free.
- Midspan beam: LVL or built-up beam, 28 ft, plus 3–4 posts: $400–$900 materials.
- Fasteners and hardware: hangers at the beam, ties, nails: $150–$300.
- Permit: $150–$400 typical.
Illustrative material total: roughly $1,260–$2,725, plus 10% waste allowance. Hired framing labor for the joists and beam would add roughly $1,500–$3,000 in typical US markets; DIY saves that at the cost of two weekends and a helper. The cost guide and estimating guide detail both methods — prices vary significantly by region and market conditions, so these are planning ranges, not quotes.
Installation Sequence
- Set the beam first. Posts on footings, beam leveled and braced — the joists need something true to land on. Beam pockets or hangers per the beam’s spec sheet.
- Snap layout lines on the wall plates and the beam for 16″ o.c. spacing, starting from one end so the last bay lands sensibly.
- Cull and crown-mark all 22 joists at ground level — reject twisted, split, or heavily waned boards to the blocking pile, and mark crowns up.
- Set joists in two 12 ft runs: wall plate to beam, beam to wall plate. Full bearing at each end, hangers at the beam per spec.
- Nail the schedule as you go — toe-nails to plates, face nails to rim boards, hanger nails (not substitutes) into every hanger hole.
- Block at midspan of each 12 ft run and install rim boards on both eave walls.
- Walk the installation checklist before calling for inspection — stamps visible, spacing verified, no notches.
- Framing inspection, then insulation, then drywall. Nothing gets covered before the inspector signs off.
What Could Go Wrong (and the Planned Response)
- Delivery includes twisted stock: cull to blocking per the 10% waste allowance; the two spare joists cover it.
- Inspector questions the beam: the LVL spec sheet and the post footing details are on site with the permit card — engineered products pass on paperwork.
- Owner later wants a heavier attic floor: the design already covers 20 psf storage; anything beyond that (habitable space) was excluded in writing at the permit stage.
- An HVAC contractor wants to cut joists for a duct: the planned response is a pre-drywall walk-through marking approved drilling zones — notches in 2×10s at midspan are forbidden, per the common mistakes guide.
Lessons From the (Illustrative) Project
- Load honesty first. Declaring storage upfront changed the design from 2×8s to 2×10s-plus-beam — a few hundred dollars at framing versus a five-figure retrofit.
- The beam beat tighter spacing. When even 12″ o.c. spacing couldn’t cover 24 ft, a midspan beam halved the span instead — cheaper than exotic lumber, and it preserved attic headroom.
- Paperwork is structural. The beam spec sheet, the permit, the inspection sign-off — each one is as load-bearing as the lumber when the house sells or the insurer asks.
- Sequence protects quality. Beam, layout, cull, set, nail, block, inspect, cover — in that order, no shortcuts, no covered work before inspection.
Related Guides
- Ceiling Joist Complete Guide — the sizing method used in this project.
- Ceiling Joist Estimating Guide — the takeoff method, step by step.
- Ceiling Joist Cost Guide — budgeting your own version.
- Installation Checklist — the pre-inspection walk-through.
- DIY vs Pro — who should do each part of this project.
- Code Compliance — permits and inspections for structural work.
Frequently Asked Questions
Is this case study based on a real project?
No — it is a hypothetical, illustrative example constructed to demonstrate the decision sequence. The structural math follows standard prescriptive tables, but the project, prices, and outcomes are illustrative.
When does a midspan beam make sense?
When the room width exceeds what sensible joists can span — typically beyond 20–22 ft for storage loads. The beam halves the joist span, often dropping two lumber sizes and paying for itself.
Can I apply this sequence to a house addition instead of a garage?
The sizing and installation logic is identical; attached structures add tie-in details (ledger connections, flashing, matching existing framing) that deserve professional design.
Run Your Own Version
Every project writes its own numbers, but the sequence never changes: honest loads, table sizing, takeoff, budget, permitted installation, inspection before cover. Start yours with the Ceiling Joist Calculator — and remember this was an illustration, not a prescription: your AHJ and your lumber yard have the final say on your build.
Disclaimer: This case study is hypothetical and illustrative; it is not a real project and its prices are typical ranges, not quotes. Structural designs must be verified against the code edition your local building authority enforces. Calculator results are planning estimates — consult a licensed professional for engineered elements such as beams and for any non-prescriptive design.