Introduction
Cedar is forgiving lumber — light, stable, and naturally rot-resistant — but it rewards a few trade habits that pressure-treated pine lets you skip. Buy it right, let it acclimate, fasten it with the right metal, and finish it on schedule, and a cedar fence or deck will outlast its warranty-era expectations. Skip those steps and even perfect estimating won’t save the project.
The Cedar Lumber Calculator gets your quantities right; these tips make sure the lumber you ordered performs the way cedar should. They come from standard trade practice for exterior cedar — buying, handling, fastening, and finishing.
Buying Smart
- Hand-pick when the yard allows it. Sight down each board for crook and twist; reject boards with loose knots, deep checks, or wane on the face. Ten minutes at the rack saves hours of cutting around defects — and lets you run the lower end of the waste factors.
- Buy all the finish-visible stock from one lot. Cedar’s color varies between mills and runs. One lot means one tone; mixed lots mean a patchwork fence until it all weathers gray.
- Order 8-ft and 12-ft lengths where the design allows. Long-length premiums on 16-ft+ cedar are steep, and long boards are harder to transport and more likely to arrive bowed.
- Match grade to exposure. STK for fences and pergolas, A&BTR or better for siding and deck surfaces. The material guide maps grades to applications.
- Check moisture content. Kiln-dried (KD) cedar, typically 15–19% moisture, moves less after install than green or air-dried stock. For decking and siding, KD is worth specifying.
Acclimation and Storage
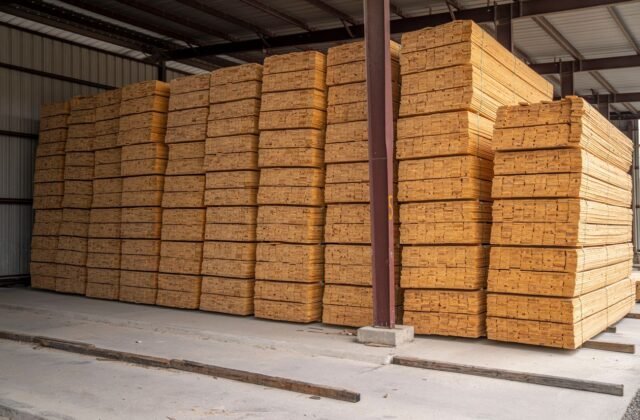
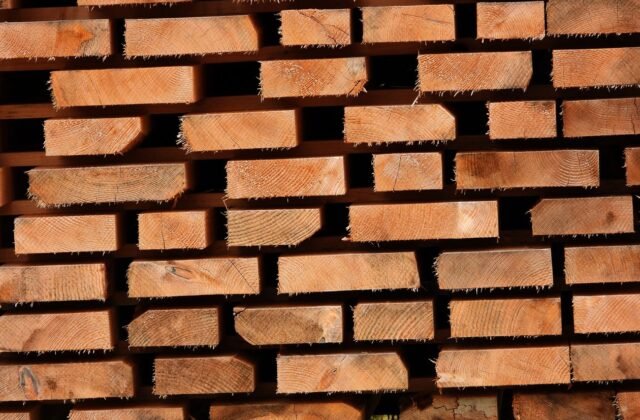
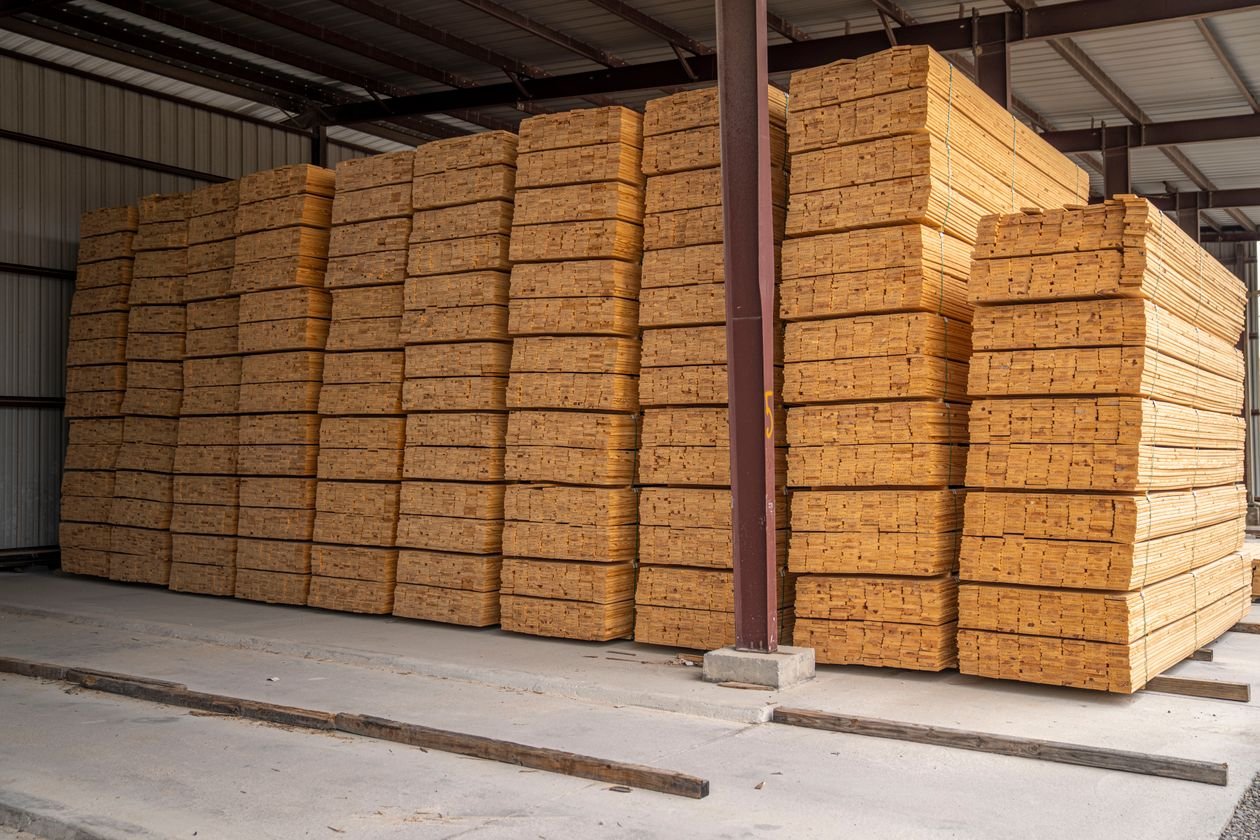
- Acclimate 48–72 hours on site before installing. Stack boards with stickers (spacers) between layers so air circulates, keep the stack off the ground, and cover the top while leaving the sides open.
- Never store cedar in direct sun under plastic. Trapped heat and moisture cause uneven drying, cupping, and mildew before the first board is nailed.
- Install bark-side up or down consistently on decking — pick one orientation per project. (Conventional advice favors bark-side up for drainage on flat grain; the key is consistency so the deck weathers evenly.)
- Seal end grain promptly. A coat of end-grain sealer or the finish itself on every fresh cut slows checking, cedar’s most common cosmetic defect.
Fasteners: The Stainless Rule
This is the tip that saves the most cedar: use stainless steel fasteners — screws for decking and fencing, stainless or hot-dip galvanized for framing connections. Standard steel and even electro-galvanized fasteners react with cedar’s natural tannins and extractives, producing black iron-tannate streaks that bleed down the face of every board. The streaks are permanent.
- Decking and pickets: 304 stainless screws (316 near saltwater). Expect to pay 2–3× the price of coated deck screws — budget it in the cost plan, not as an afterthought.
- Pre-drill near ends. Cedar splits easily; pre-drill within 2 in (50 mm) of board ends and keep fasteners 3/4 in (19 mm) from edges.
- Set screws just below the surface without tearing the wood fiber — overdriven screws hold water and start rot at the hole.
- Hidden fastener systems work well on cedar decking and eliminate face holes entirely, at the cost of pricier clips.
Finishing Schedules That Work
Cedar’s choice is binary: maintain the color with finish, or let it weather to silver-gray. Both are legitimate; the mistake is drifting between them.
- To keep the color: apply a penetrating, UV-inhibiting semi-transparent stain within 2–4 weeks of installation — sooner in strong sun. One liberal coat at install, then a maintenance coat every 2–4 years depending on exposure. Film-forming paints and solid stains trap moisture and peel; penetrating finishes are the standard for cedar.
- To go gray: do nothing, but do it deliberately — the gray is even and attractive only if the whole structure weathers together. Partial finishing creates a patchwork.
- Finish all six sides where practical. Back-priming siding and sealing deck board undersides dramatically slows moisture cycling. At minimum, seal every cut end the day it is cut.
- Never finish over gray without prep. Once cedar has silvered, stain will not adhere properly until the weathered layer is removed — usually by power washing or sanding. Finishing late means refinishing, not just finishing.
Layout and Spacing Habits
- Gap decking 1/4 in (6 mm) for drainage and expansion; gap fence pickets 1/4 in or butt them tight depending on the look — but estimate with the gap you intend to build, since it changes the board count.
- Keep cedar 6 in (150 mm) above grade where possible. Cedar resists rot but is not rated for ground contact the way treated lumber is; use standoff post bases or concrete piers for posts.
- Ventilate behind siding. A rainscreen gap (3/8–3/4 in / 10–19 mm furring) behind cedar siding is the single best durability upgrade for a siding job.
- Stagger deck butt joints over joists, never between them, and keep joints at least 2 ft apart in adjacent rows.
Seasonal Buying Advantages
Lumber yards often discount cedar in late fall and winter when demand drops, sometimes 10 to 15 percent below spring prices. If your project can wait, buying off-season and storing boards properly — stickered, covered, and off the ground — locks in savings without sacrificing quality. Just confirm the return policy before stockpiling, and re-check board straightness when you finally build, since wood can move during months of storage.
Related Guides
- The Complete Guide — full overview of cedar estimating, terms, and a worked example.
- Material Guide — cedar species, grades, and rough vs. surfaced stock.
- Common Mistakes — the errors these tips exist to prevent.
- Cost Guide — budgeting fasteners, finish, and delivery alongside the lumber.
- Pre-Order Checklist — everything to verify before the lumber order goes in.
Get Your Number
Good technique starts with a good order: right quantities, right grade, fasteners and finish in the same purchase so nothing gets substituted at the last minute. Run your dimensions through the Cedar Lumber Calculator, add the stainless fasteners and stain to the list, and check the pre-order checklist before you buy.
Disclaimer: Calculator results are planning estimates based on the dimensions you enter. Actual material needs vary with site conditions, product availability, and local pricing. Verify quantities with your supplier and consult a licensed professional for structural or code-related decisions.