Introduction
Framing with 2×4s looks simple — cut, nail, repeat — until a twisted stud fights you for twenty minutes or a wall comes out wavy because nobody checked the crowns. The difference between a frustrating framing job and a smooth one is rarely skill with a hammer; it’s material selection, storage, and layout discipline. These are the practices working framers use on every job.
The 2×4 Lumber Calculator handles the quantities — studs, plates, linear feet, and board feet from your wall dimensions in feet or meters. This guide covers everything the calculator can’t: buying straight lumber, keeping it straight, and framing walls that come out plumb, flat, and square.
Buying: Sort Like a Framer
Lumber piles are graded for strength, not straightness — even #2 studs include boards you’d never want in a wall. Sort every board before it goes on the truck:
- Sight down the edge like a rifle barrel. Reject boards with visible bow (curve along the face), crook (curve along the edge), twist, or cup.
- Check the ends for large knots, splits, and wane (missing wood/bark edge). Small tight knots are fine; loose or large knots near edges weaken the stud.
- Read the grade stamp — species, grade (#2, STUD), mill number, and moisture content (S-DRY/KD vs S-GRN). Kiln-dried (KD) stock is more stable; green (S-GRN) lumber will shrink and move as it dries. The material guide decodes the full stamp.
- Pull from the middle of the pile, not the sun-bleached top layer — top boards dry unevenly and warp first.
- Buy 5–10% extra specifically for culling. Planning to reject the worst boards at the yard is cheaper than fighting them on the wall.
Crown: The Mark That Straightens Walls
Nearly every stud has a slight crown — a gentle bow along its length. Pros don’t fight the crown; they orient every crown the same direction (usually outward or upward on walls) so the wall face stays in one plane:
- Sight down each stud and mark the crown side with a lumber crayon or pencil arrow.
- Install all crowns facing the same way on each wall.
- Put the straightest studs at door and window openings, where flatness matters most for trim.
- Relegate the worst-but-usable boards to blocking, cripples, and fire blocking — short pieces where a bow doesn’t matter.
A wall with crowns alternating randomly looks fine until drywall goes on — then every other stud telegraphs through as a wave. Ten seconds of marking per stud prevents it.
Straightening Tricks on Site
Even sorted lumber moves. When a stud is slightly bowed in an already-built wall:
- The kerf-and-wedge: cut a shallow kerf on the concave side, drive a shim to straighten, then nail. Works for minor bows in non-load-bearing spots.
- Sister it: nail a straight stud alongside the bowed one and let the straight one carry the layout. Fast and structurally honest.
- Planer pass: a power planer can shave a high crown flush — but never remove more than about ⅛ in (3 mm) from a load-bearing stud’s face.
- When to reject: twist (spiral along the length) can’t be fixed — cut it up for blocking or return it. A twisted stud will never sit flat against sheathing or drywall.
Storage: Keep Boards Flat and Dry
Lumber warps when one face dries faster than the other. Storage discipline is warp prevention:
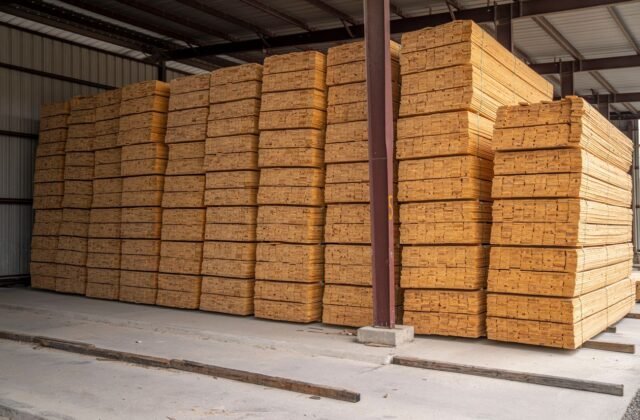
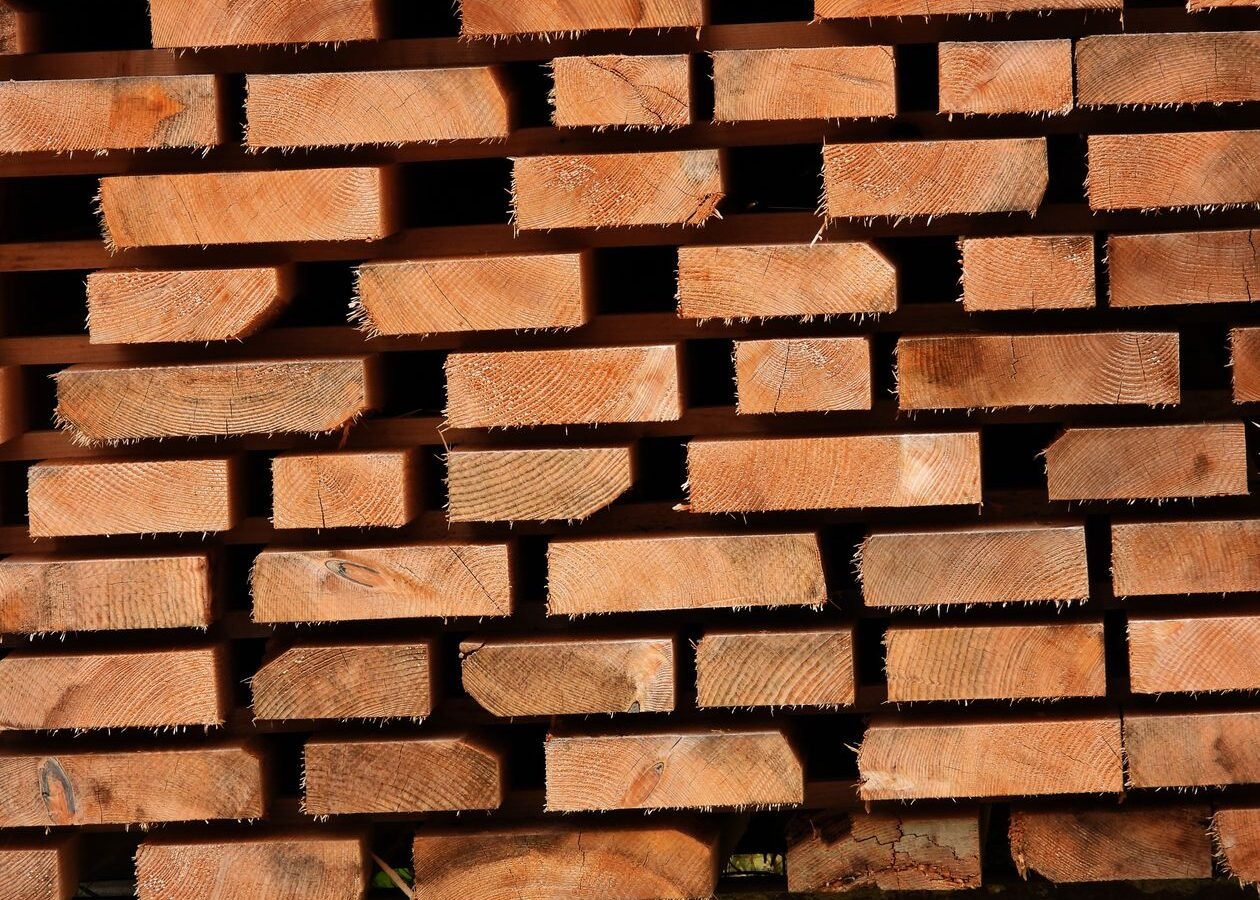
- Stack flat on level stickers (spacer strips) every 16–24 in (400–600 mm), aligned vertically so weight transfers straight down.
- Cover the top with a tarp or plywood — but leave the sides open for airflow. Fully wrapped piles trap moisture.
- Keep it off the ground — at least 4–6 in (100–150 mm) on blocks or pallets — and out of mud.
- Don’t lean boards against a wall for more than a day or two; they’ll take a permanent set in the lean.
- Acclimate before critical work: let interior partition lumber sit in the conditioned space 48+ hours before hanging drywall-sensitive trim walls.
Layout Discipline That Saves Hours
- Mark plates together: lay the bottom and top plates side by side and transfer stud marks across both at once — layouts stay identical, and the wall can’t rack out of square.
- Start layout from the same end on every wall so 16-in (406-mm) modules align at corners and sheathing breaks land on studs.
- Pre-cut in batches: cut all studs for a wall at once from a stop block — identical lengths mean a level top plate without shimming.
- Nail plates with two nails per stud end (three on load-bearing or shear walls per local requirements) — one nail lets the stud pivot.
- Check diagonal measurements before sheathing: equal diagonals = square wall. Fix it now; sheathing locks in whatever you have.
Consistent layout also makes your estimate behave — when studs land where the spacing formula assumed, the board count you ordered is the board count you use.
Cutting and Fastening Notes
- Sharp blade, right tooth count: a 24-tooth framing blade rips 2×4s fast and clean; a dull blade burns, binds, and wanders.
- Support both sides of the cut — unsupported offcuts splinter the keeper piece as they fall.
- Nail gun pressure: set depth so heads sit flush, not countersunk. Overdriven nails lose a surprising amount of holding power.
- Save the offcuts: pieces over 14½ in (368 mm) become blocking; 16-in (406-mm) pieces become fire blocking. A cut list planned before the saw starts turns waste into parts.
- Separate your PT: pressure-treated bottom plates should be cut and stored apart from standard studs so they don’t get mixed into the wall — and wear a dust mask when cutting treated lumber.
When the Job Gets Big: Delivery and Staging
For whole-room or whole-house quantities, stop thinking in truckloads and start thinking in lifts and staging:
- Have the yard deliver and stack by length near the work area — sorting a 300-board pile twice wastes half a day.
- Stage studs at each wall location before assembly day; plates and blocking in a central cut station.
- Keep one cull pile for twisted stock — don’t let bad boards drift back into the good stack.
- On multi-day jobs, re-cover the pile every evening. One overnight rain on uncovered framing lumber undoes a week of careful drying.
Before any of that, run the pre-order checklist — verifying lengths, grades, and quantities on paper is the cheapest hour of the project.
Related Guides
- 2×4 Complete Guide — the full overview of 2×4 estimating.
- 2×4 Material Guide — species, grades, and kiln-dried vs green.
- Common Mistakes — the errors these tips prevent.
- 2×4 Estimating Guide — step-by-step board counts.
- DIY vs Pro — when to hand the framing to a crew.
- Pre-Order Checklist — verify before you buy.
Frequently Asked Questions
How do you pick straight 2×4s at the store?
Sight down each board’s edge, reject bow/crook/twist/cup, check ends for splits and large knots, read the grade stamp for KD (kiln-dried), and buy 5–10% extra for culling.
Which way should the crown face on wall studs?
All crowns on the same side of the wall — the direction matters less than consistency. Mark each stud’s crown with a crayon before installing.
Can you straighten a twisted 2×4?
Twist can’t be reliably fixed — cut twisted boards into blocking or return them. Minor bow can be kerfed, sistered, or planed.
Get Your Number
Straight lumber, consistent crowns, flat storage, and disciplined layout — that’s the whole trade secret behind walls that frame fast and finish flat. The 2×4 Lumber Calculator gives you the quantities to match: studs, plates, and waste in imperial and metric. Sort smart at the yard, and the boards you counted are the boards you’ll actually want to use.
Disclaimer: Calculator results are planning estimates based on the dimensions you enter. Actual lumber requirements vary with site conditions, framing details, and local code requirements. Verify quantities with your supplier and consult a licensed professional or your local building authority for structural or code-related decisions.