Introduction
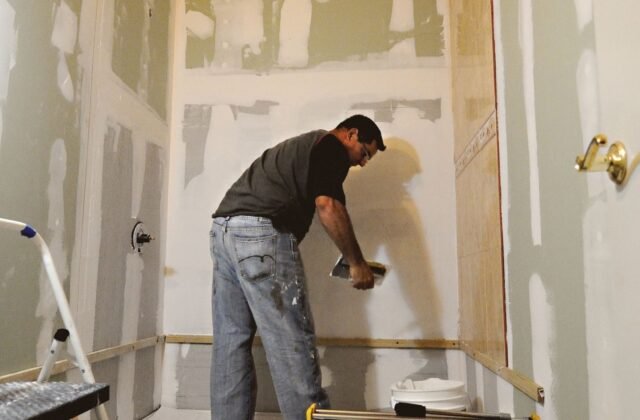
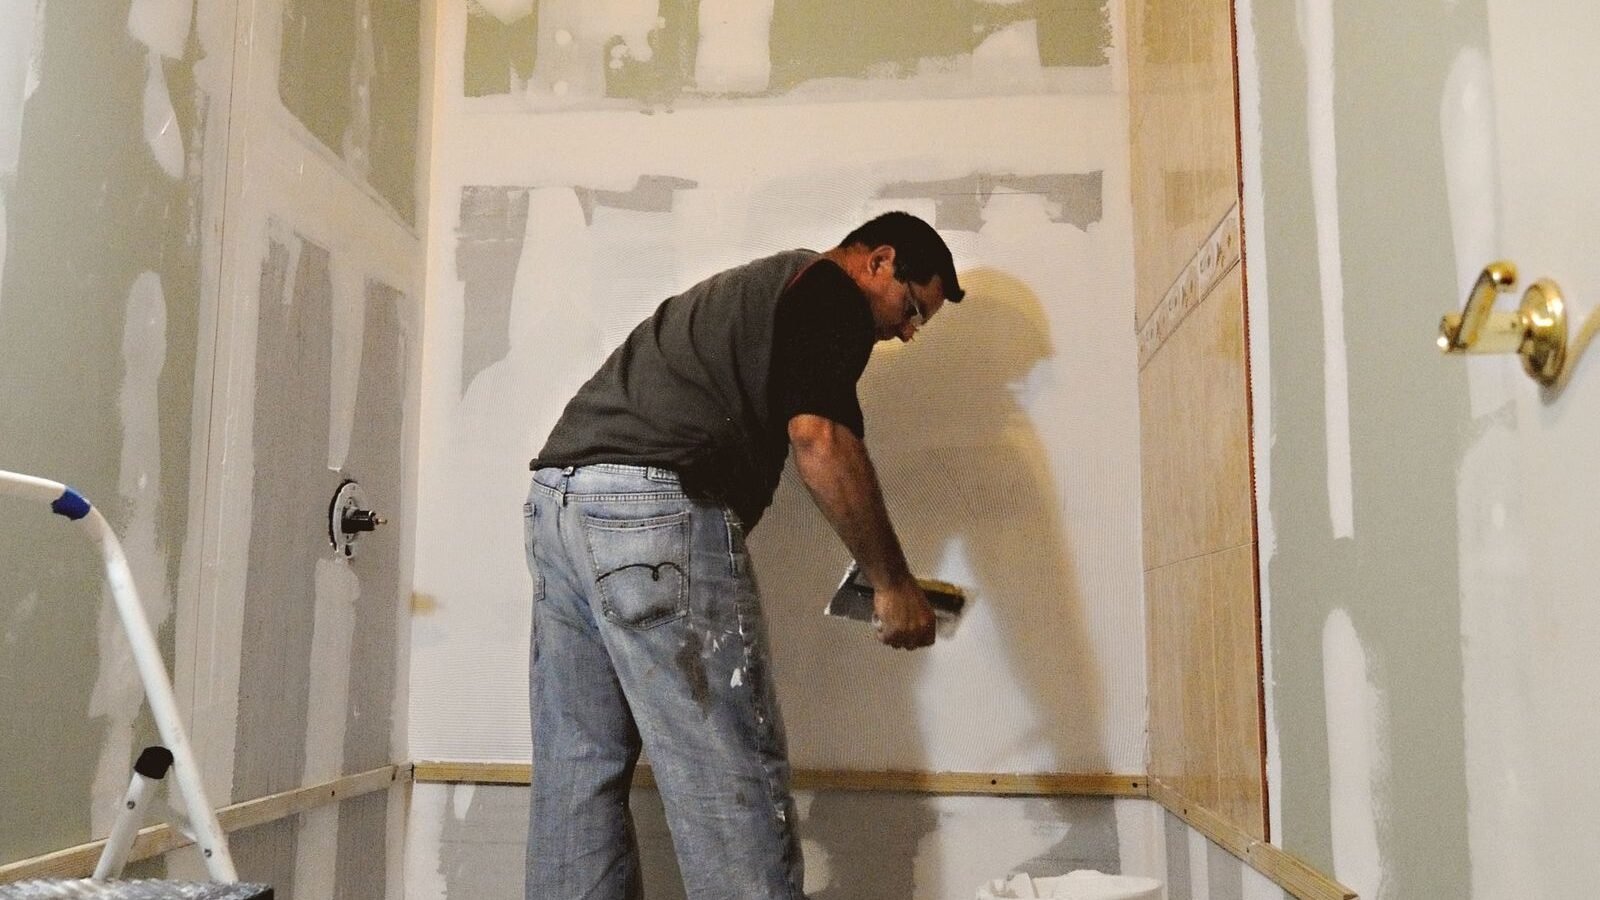
Priming drywall sits squarely in the overlap between “a careful homeowner can do this well” and “a pro will do it faster” — which makes the DIY-vs-pro decision less about skill and more about scale, schedule, and how much you value your weekend. The Drywall Primer Calculator gives both paths the same quantity; this guide helps you choose the path.
Head-to-Head Comparison
| Factor | DIY | Pro |
|---|---|---|
| Material cost (per room) | $30–$75 (2–3 gal PVA) | Same material, usually included in quote |
| Labor cost (per room) | Your time | $150–$400 depending on room size and market |
| Tools | $0–$80 if starting from zero | Included |
| Time (single room) | Half to full day incl. prep and cleanup | 2–4 hours for the priming pass |
| Quality ceiling | Excellent with care; cut-ins are the learning curve | Consistent; spray + back-roll on large jobs |
| Scheduling | Your evenings and weekends | Their calendar — may wait days or weeks |
Labor rates vary widely by region — metro markets run higher, rural lower — so treat these as typical US planning ranges and get local quotes. Pros rarely quote priming alone; it’s bundled into the painting price, so ask for the line item when comparing. Deeper budget tables are in the cost guide.
When DIY Is the Right Call
- One to three rooms. The material bill is $30–$150, the skill floor is low, and you’ll finish in a weekend. This is the sweet spot.
- You’re already painting. If the finish coats are DIY, priming is the same tools, same motions, easier product — there’s no reason to split the job.
- Schedule flexibility matters. Priming between drywall finishing and flooring on your own timeline, without coordinating a contractor’s visit, keeps a remodel moving.
- Repairs and touch-ups. Spot-priming patches is a 30-minute job; no pro mobilizes for that economically.
- You want the learning. Priming is the most forgiving painting step — thin product, white color, mistakes sand out. It’s the ideal first rung.
When to Hire a Pro
- Whole-house new construction. A crew with sprayers primes a house in a day or two; DIY takes weeks of evenings. The labor premium buys schedule.
- High or vaulted ceilings. Anything needing tall ladders or scaffolding adds real fall risk — pros carry the equipment and the insurance.
- Level 5 finishes. The skim-coat-and-sand sequence behind a Level 5 is genuinely skilled work; the priming is the easy part of a job you probably want quoted whole. See the pro tips for the sequence.
- Stain, smoke, or water damage. Pros diagnose whether the stain needs sealing, more remediation, or both — shellac-based blockers and the ventilation they demand are pro territory for most homeowners.
- Pre-1978 homes. Disturbing old paint may trigger lead-safe work practices (EPA RRP); certified renovators are required for covered work. The code compliance guide covers the regulatory side.
- Your time is worth more. Honest math: if a pro charges $250/room and you’d spend two evenings, price your evenings. A rushed DIY job that needs redoing is the most expensive option of all.
How Pros Price (So You Can Compare Bids)
Residential painters typically price by one of three methods — and knowing which one a bid uses makes comparisons honest:
- Per room — $200–$500/room for prime + two finish coats, walls and ceiling, varying with size and condition.
- Per square foot of floor area — roughly $1–$3/ft² for the full prime-and-paint system; priming alone is a fraction of that.
- Per day — $300–$600/day per painter in many US markets, plus materials.
Get at least two bids, confirm primer type (PVA on new drywall — not “paint and primer in one” as the first coat), and confirm the coat count in writing. The cheapest bid that skips the primer isn’t cheaper; it’s the most common expensive mistake wearing a low price.
Questions to Ask Before Hiring
If you lean pro, these questions separate real painters from low bidders:
- What primer will you use on the new drywall, and how many coats? The right answer names a PVA drywall primer/sealer and one coat (two over heavy repairs). “Paint and primer in one” as the first coat is a red flag.
- Is priming itemized in the quote? You want to see the line — material and labor — not a lump sum that hides a skipped step.
- How do you handle repairs? Look for spot-priming patches before the full coat, the sequence in the pro tips.
- Are you licensed and insured? Verify, don’t assume — especially for anything above a single room.
- What’s the schedule? Primer needs its cure window before topcoat; a crew that promises prime-and-two-coats in one day is rushing the chemistry.
The Hybrid Option
A legitimate middle path: DIY the priming, hire the finish coats — or vice versa. Priming is the forgiving step (white, thin, sandable), so homeowners often prime to save money while leaving the color-critical topcoats to a pro. If you go hybrid, coordinate the schedule: primer needs its full cure before topcoat, and the painter will want to inspect your priming before quoting the finish. Get the arrangement — who’s priming what, and when — in writing with the bid.
Related Guides
- Cost Guide — the full budget breakdown for both paths.
- Complete Guide — the full overview: formulas, worked example, primer types.
- Pro Tips — the techniques pros use that DIYers can borrow.
- Priming Checklist — the job sequence for the DIY path.
- Code Compliance — lead-safe rules and VOC limits that affect the decision.
Get Your Number
Whichever path you choose, the quantity doesn’t change: measure the rooms, pick the coverage rate for your surface, add waste, round up. Run the numbers through the Drywall Primer Calculator before you decide — knowing the material is a $50 line item either way keeps the DIY-vs-pro conversation focused on what actually differs: time, risk, and schedule.
Disclaimer: Cost ranges are typical US planning figures and vary by region, market, and project conditions. Verify contractor licensing and insurance locally, and consult a licensed professional for specification or code questions.