Introduction
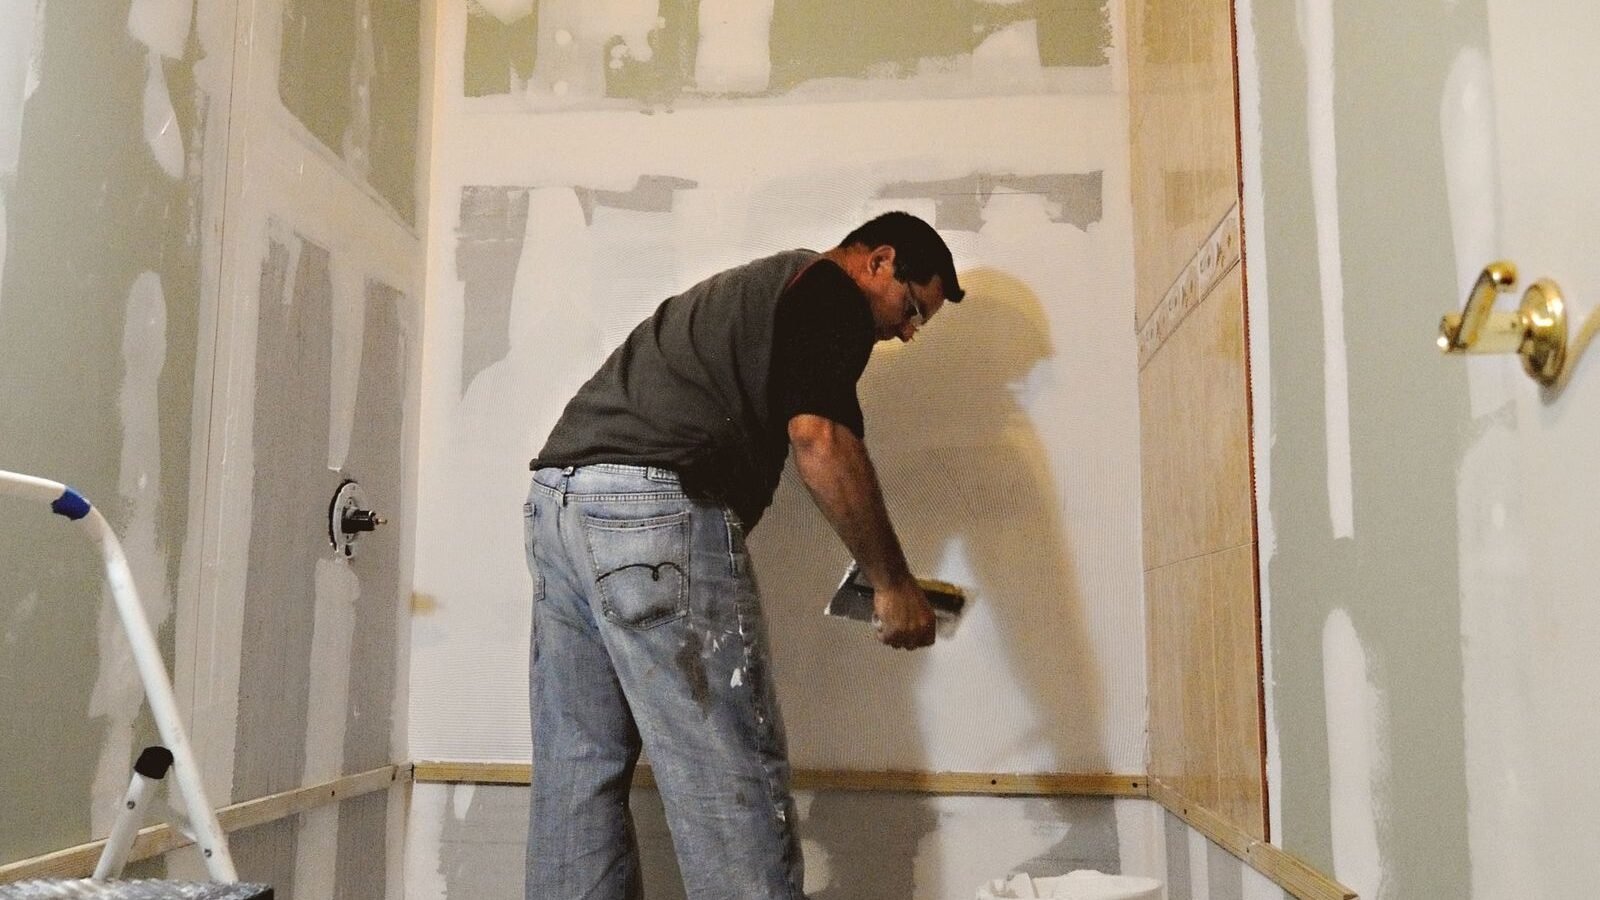
Drywall splits neatly into two jobs: hanging (straightforward, physical, learnable in a day) and finishing (slow, dusty, and genuinely hard to do well). That split is the whole DIY-vs-pro decision. Plenty of homeowners hang their own board and hire out the taping and mudding — capturing most of the savings while buying the quality where it matters most.
The 4×12 Drywall Calculator gives you the material quantities either way — sheets, screws, and compound don’t care who installs them. This guide helps you decide who should, with honest cost and quality comparisons.
The Honest Breakdown: Hanging vs Finishing
| Phase | Skill level | Time (584 sq ft room) | DIY verdict |
|---|---|---|---|
| Hanging sheets | Beginner–intermediate | 1–2 days (2 people) | Very doable |
| Taping + 3 coats of mud | Intermediate–advanced | 4–7 days (with drying) | Hard to do well |
| Sanding + priming | Beginner (with patience) | 1–2 days | Doable, dusty |
Hanging is measuring, cutting, lifting, and screwing — physical but conceptually simple, and mistakes are visible immediately. Finishing is the opposite: each coat must be thinner, wider, and flatter than the last, with full drying time between coats, and mistakes only reveal themselves under raking light or paint. As the pro tips guide puts it, finishing is where the job is won — and where DIY jobs most visibly lose.
Cost Comparison
Using our standard 12×14 ft room (584 sq ft, 15 sheets):
| Approach | Typical US cost | You do | Pro does |
|---|---|---|---|
| Full DIY | $450–$900 | Everything | — |
| DIY hang + pro finish | $1,300–$2,800 | Hanging, sanding, priming | Taping + mudding |
| Full pro | $1,460–$3,504 | — | Everything |
The hybrid middle row is the sweet spot for many homeowners: hanging saves $600–$1,200 in labor on a room this size, while professional finishing buys the invisible seams that make or break the final look. Detailed per-square-foot pricing is in the cost guide.
When DIY Makes Sense
- Garages, basements, and utility rooms — where a Level 3 finish is acceptable and minor imperfections won’t be scrutinized.
- You have a helper and a lift. Two people plus a $40–$70/day drywall lift make 4×12 sheets manageable; solo ceiling work with 12-foot sheets is asking for injury or a wavy ceiling.
- Schedule flexibility. Finishing needs 24 hours of drying between coats — three to four coats means nearly a week of calendar time even if the labor is only a few hours per coat.
- You’re willing to practice. Mud a closet first. If the closet looks good after paint, you’re ready for visible rooms.
When to Hire a Pro
- Visible living spaces with critical lighting. Great rooms, entryways, and walls opposite big windows show every flaw — this is where pro finishing pays for itself.
- Level 5 (skim-coated) finishes. Full skim coating is a specialist skill; don’t attempt it as a first finishing project.
- Ceilings you’ll stare at. Ceiling seams catch light from every angle. If your ceilings matter visually, hire the finishing.
- Tight timelines. A pro crew hangs and finishes a room in days; a DIYer’s evenings-and-weekends schedule stretches the same work across weeks.
- Fire-rated or code-sensitive assemblies. Garages and shared walls have fastening and thickness requirements an inspector will check — see the code compliance guide. A pro knows the local expectations.
The Hybrid Approach, Step by Step
- You hang. Follow the layout principles in the pro tips guide — ceilings first, stagger butt joints, dimple screws without tearing paper. Good hanging makes the finisher’s job (and bill) smaller.
- Pro tapes and muds. Get quotes per square foot of drywall area for taping + three coats, and confirm the finish level (Level 4 is the standard paint-ready spec).
- You sand and prime. Sanding is dusty but unskilled; priming with PVA drywall primer is straightforward. Doing these yourself trims the pro invoice.
- Inspect before paint. Hold a work light at a low angle across every wall — raking light reveals ridges the finisher should fix before you accept the work.
What DIYers Underestimate
- Dust. Drywall dust is extraordinarily fine and travels through an entire house. Seal vents, hang plastic sheeting, wear a respirator — not a paper dust mask — for sanding.
- Drying time. Three coats × 24 hours minimum, longer in cold or humid conditions. Rushing coats causes bubbles and delamination that must be cut out and redone.
- The weight. A 1/2-inch 4×12 sheet is 65–75 lb of awkward. Back and shoulder strains are the most common DIY drywall injuries — get help, use a lift, don’t be a hero.
- Tool costs. A screw gun, T-square, lift rental, mud pans, knives, and sanding gear add $150–$300 if you’re starting from zero. Factor it into the DIY savings honestly.
Related Guides
- Cost Guide — full per-square-foot pricing for materials and labor.
- Pro Tips — the techniques that make DIY hanging successful.
- Code Compliance — where pro knowledge of local code matters most.
- Complete Guide — the flagship overview of 4×12 drywall estimating.
- Pre-Hang Checklist — verify the job is ready before anyone starts.
Frequently Asked Questions
Is it cheaper to DIY drywall?
Yes for materials — roughly $450–$900 for a 12×14 ft room versus $1,460–$3,504 pro. But finishing quality is the risk; the hybrid (DIY hang, pro finish) captures most savings with pro quality where it shows.
How long does it take to drywall a room yourself?
Hanging: 1–2 days with two people. Finishing: 4–7 days of calendar time (three coats with 24-hour drying between). Sanding and priming: 1–2 days.
What’s the hardest part of DIY drywall?
Finishing — specifically, feathering butt joints invisibly and achieving flat, thin coats. Hanging is physical but straightforward; mudding is the craft.
Should I hire out just the mudding?
It’s the most popular hybrid for a reason: you save the hanging labor (the easy part) and buy professional finishing (the hard part). Most drywall contractors will quote finish-only work.
Get Your Number
Whoever does the work, the material list is the same: measure your rooms, divide by 48, add waste, and round up. Run your numbers through the 4×12 Drywall Calculator, price both the DIY and pro paths with the cost guide’s ranges, and get two or three local quotes before you decide. The right answer is the one that matches your skill, your schedule, and how closely the finished walls will be looked at.
Disclaimer: Calculator results are planning estimates based on the dimensions you enter. Cost ranges are typical US planning figures and vary by region. Verify pricing locally and consult a licensed professional or local building authority for structural or code-related decisions.
1 comment