Introduction
A monolithic slab sits in an awkward middle: simple enough in concept that many owner-builders attempt one, demanding enough in execution that many regret it. This guide gives an honest framework for deciding what you do yourself and what you hire out — with the real constraints being time, crew, and the unforgiving setting clock of concrete. Whatever you decide, size the job first with the Monolithic Slab Calculator.
When DIY Is Realistic
DIY works when the pour is small enough to place and finish before the concrete sets, with the people you actually have — not the people you hope show up:
- Small slabs — shed pads, small patios, equipment bases under ~200 ft² (18.6 m²): one or two people can place, screed, and finish these in a morning.
- Site work — excavation with a rented mini-excavator, base placement and compaction, form building, and steel tying are all learnable and forgiving of pace. This is where DIY saves the most money.
- You have a crew for pour day — three or four reliable people with defined roles (placing, screeding, floating, edging) can handle a medium slab if someone experienced leads the finishing.
DIY advantages are real: labor savings (often 30–50% of the project cost), full control of prep quality, and scheduling freedom. There’s a second, subtler advantage: prepping your own site teaches you exactly what’s under the slab, so years later you know where the utilities, the barrier laps, and the edge trench are. The pro tips guide covers the prep sequence; the pre-pour checklist is your pour-day script.
When to Hire a Pro
Hire out when any of these are true:
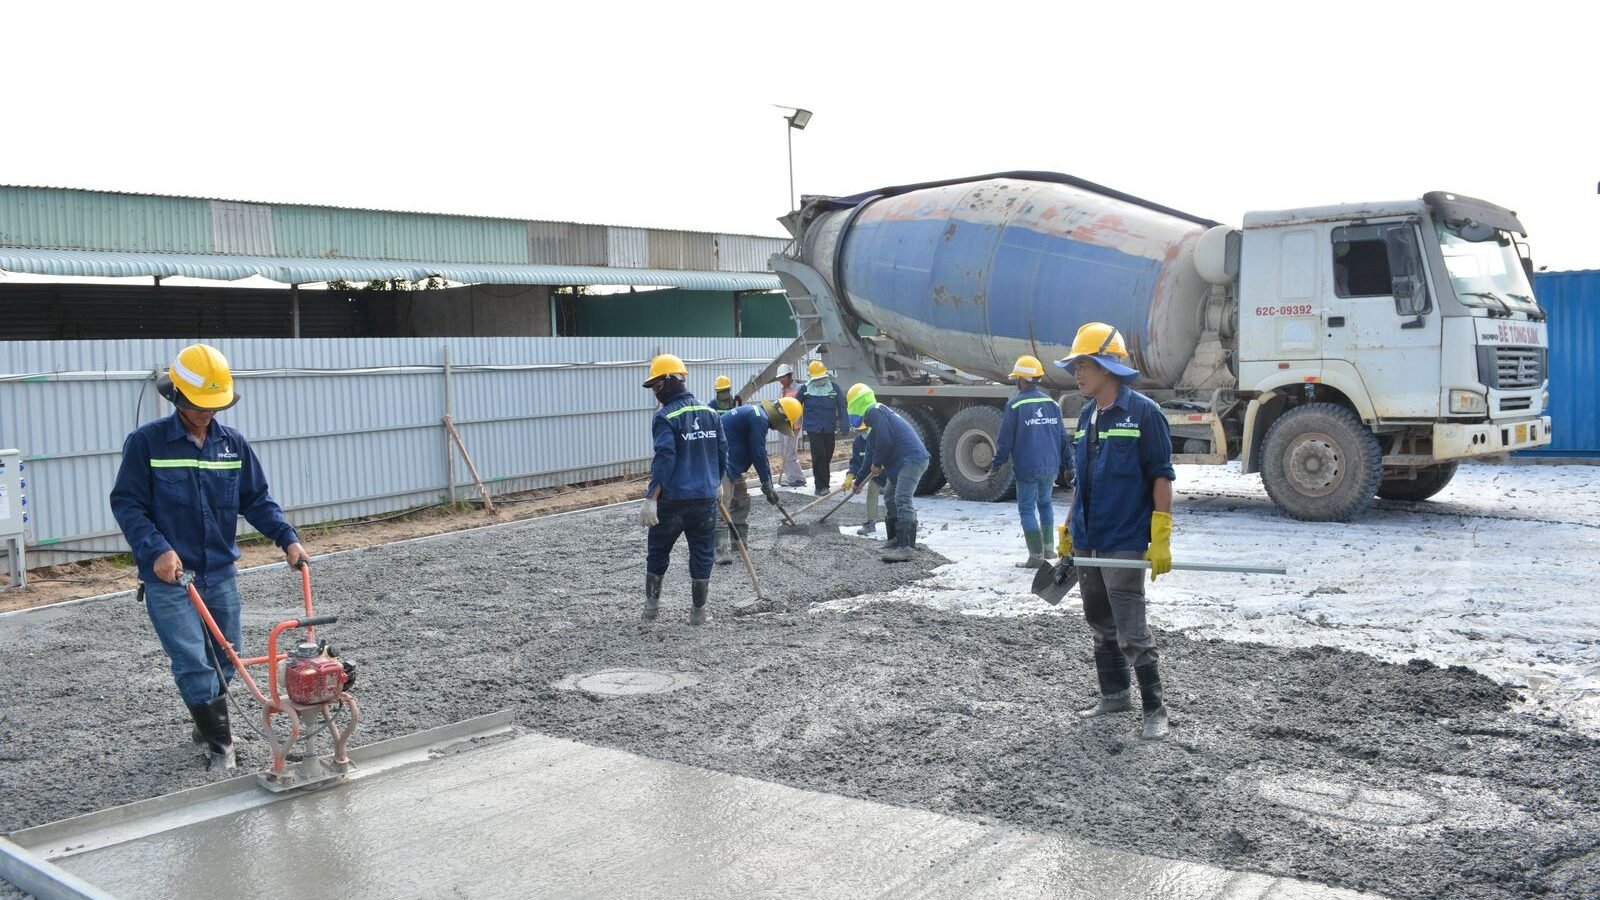
- The pour exceeds your finishing capacity. Our 24×30 example (720 ft² / 66.9 m², 13.50 yd³) needs placing, screeding, bull-floating, edging, and jointing inside a few-hour window. Under-crewed finishing is the #1 DIY failure — the surface sets whether you’re ready or not.
- Structural or permitted work. Anything carrying a building, requiring a permit, or needing a footing inspection should have professional involvement at minimum — see the code compliance guide.
- Difficult site conditions. Slopes, poor soils, high water tables, and tight access all multiply the ways prep can go wrong.
- You’ve never finished concrete. Finishing is a feel skill; a first attempt on 720 ft² is an expensive classroom.
None of these are judgments on ability — they’re judgments on timing. Concrete’s setting clock doesn’t pause for learning curves, and the cost of a failed finish (grinding, overlay, or tear-out) dwarfs the cost of hired finishing. Be honest about which side of each line you fall on before the plant is booked, not after the first truck arrives.
The Smart Middle: Hybrid Approach
Most successful owner-built slabs are hybrids: DIY the prep, hire the pour and finish. You do the excavation, base, forms, steel, and barrier — the slow, learnable work where your labor saves thousands — and a concrete contractor or experienced finisher crew handles placement and finishing in one day. You get professional surface quality at a fraction of turnkey cost, and the contractor gets a well-prepped site (which is what they want anyway). Get the hybrid quote in writing with clear handoff points: who orders the concrete, who provides finishers, who cuts joints.
A practical tip for the hybrid route: have the finisher walk your site a week before pour day. They’ll spot forming, access, or grade problems in ten minutes that you’d discover at 6 a.m. with a truck idling — and their sign-off on the prep removes the most common source of day-of friction between owner and crew. Treat that walkthrough as cheap insurance against the most expensive morning of the project.
Cost Comparison (Illustrative)
For the 24×30 example, turnkey contractor pricing typically runs $4–$8/ft² ($2,880–$5,760), per the cost guide. A hybrid approach — you prep, pro pours and finishes — commonly lands 25–40% below turnkey. Full DIY saves the labor portion entirely but shifts all risk to you: a botched finish can’t be patched into looking right, and tearing out and re-pouring costs more than hiring once.
Permits and Inspections Either Way
DIY doesn’t exempt you from permits. Footing inspections typically occur before the pour — the inspector wants to see the trench, steel, and barrier, not the finished slab. Schedule inspections before you need them; inspectors don’t do same-day. Skipping this step risks a stop-work order or a tear-out.
Related Guides
- Monolithic Slab Complete Guide — overview and worked example.
- Monolithic Slab Cost Guide — turnkey vs DIY cost breakdown.
- Monolithic Slab Pro Tips — the prep sequence for DIY site work.
- Monolithic Slab Code Compliance — permits and inspections.
- Monolithic Slab Common Mistakes — the errors DIY pours make most.
Frequently Asked Questions
What’s the biggest DIY slab I should attempt alone?
As a rule of thumb, what you can place, screed, and finish with your actual crew before initial set — for most first-timers with two helpers, that’s under ~200–300 ft². Larger than that, hire finishers.
Can I DIY the prep and hire just the finishing?
Yes — this hybrid is the most common successful owner-builder path. Do the slow prep work yourself; pay for the time-critical finishing skill.
Do I need a permit for a DIY slab?
Usually yes for anything structural or attached to a building. Check with your building department before excavating, and schedule the footing inspection before pour day.
Get Your Number
Decide the approach with clear eyes about crew and skill, then size the job: the Monolithic Slab Calculator gives you the volume either way, and the cost guide prices each path. The right call is the one that gets a flat, well-finished slab — not the one that saves the most on paper.
Disclaimer: Calculator results are planning estimates based on the dimensions you enter. Actual concrete requirements vary with site conditions, formwork accuracy, and mix design. Verify volumes with your supplier and consult a licensed professional or your local building authority for structural or code-related decisions.

